To make a wooden table lamp, you’ll need lamp making kits, wood, and some basic tools. Wood is a beautiful medium for lighting fixtures, and with lamp making kits, you can easily create your own unique wooden table lamp.
From driftwood to full trees, the possibilities are endless. With the right supplies and a little creativity, you can reinvent your space with a DIY wooden table lamp. We will guide you through the process of making a wooden table lamp step by step, from selecting the wood to wiring the lamp.
So let’s dive in and get started on this fun and creative woodworking project.

Credit: www.pooky.com
Materials And Tools Needed
To make a wooden table lamp, you will need a large can, a lamp socket, wire and switch kit, LED bulb, wooden glue, and a sharpie. Drill a hole through the center of the can for the lamp rod, paint or stain wooden button caps to match the base, cut the lamp rod to desired length, and thread the lamp cord through the rod.
To create your own wooden table lamp, you will need a few essential materials and tools. These items will ensure that you can construct a beautiful and functional lamp that adds warmth and ambiance to any room. Here is a list of what you’ll need:
Large Can Socket
The first item you will need is a large can socket. This socket will serve as the base for your lamp, providing stability and support. It should be able to securely hold the bulb and allow for easy wiring.
Wire And Switch Kit
Next, you will need a wire and switch kit. This kit will provide you with the necessary components to connect the socket to a power source and control the lamp’s on and off function. Make sure to choose a kit that is compatible with your socket and meets safety standards.
Led Bulb
An LED bulb is an excellent choice for your wooden table lamp. Not only do LED bulbs consume less energy and last longer, but they also emit a bright and warm light. Look for a bulb that fits your socket and provides the desired level of brightness.
Wooden Glue
To assemble your lamp, you will need wooden glue. This adhesive will ensure that the different wooden components of your lamp stay securely together. Make sure to choose a high-quality wooden glue that is suitable for the type of wood you’re using.
Sharpie
A sharpie will come in handy during the construction process. You can use it to mark measurements on the wood, indicate where to drill holes, or make any necessary adjustments. Having a sharpie on hand will help you stay organized and ensure precise craftsmanship.
With these materials and tools, you’ll have everything you need to start creating your own wooden table lamp. Gather them together, find a comfortable workspace, and let your creativity shine through as you bring your lamp to life.

Credit: www.stylemepretty.com
How to Make a Wooden Table Lamp? Step-by-step Guide
Learn how to make a wooden table lamp with this step-by-step guide. Discover the materials needed, the process of drilling and shaping the wooden base, and how to wire and assemble the lamp. Create a unique and personalized lighting fixture for your home.
Step 1: Drill A Hole In The Base
To start making your wooden table lamp, you’ll need to create a hole in the base. This hole will be used to thread the lamp rod and cord through. Choose a drill bit that is slightly larger than the width of your lamp rod, ensuring that the hole is big enough for a smooth fit.
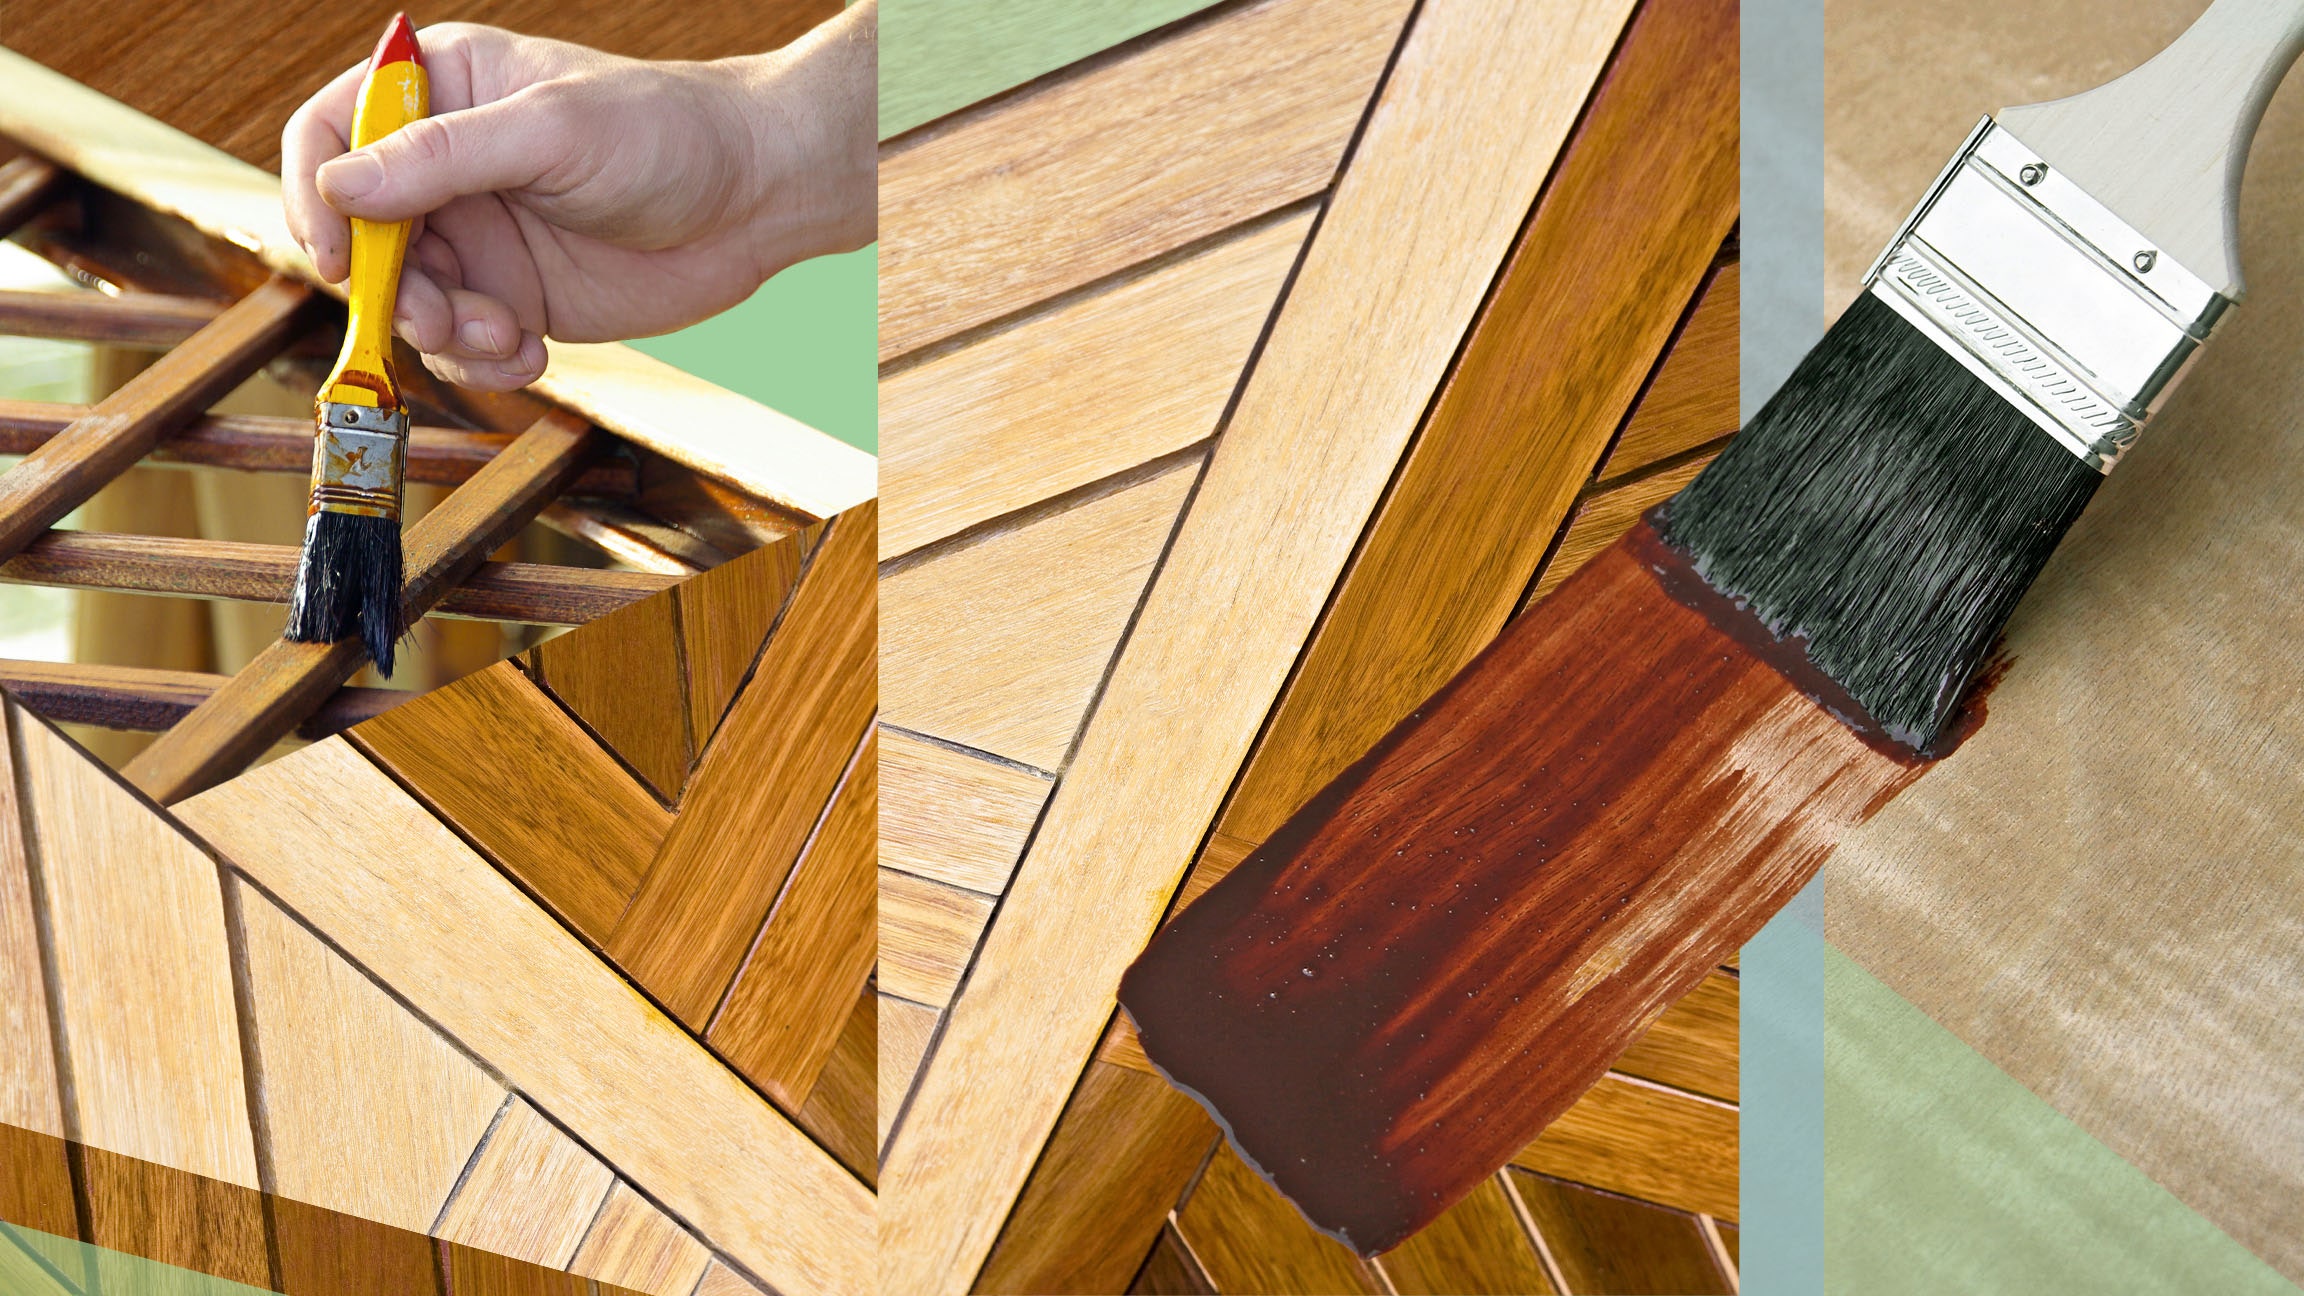
Step 2: Stain Or Paint The Wooden Button Caps
Next, it’s time to add some color or finish to the wooden button caps that will be attached to the top and bottom of the lamp rod. This step allows you to customize the appearance of your lamp and coordinate it with your existing decor. Apply a wood stain or paint of your choice, ensuring an even coat on all surfaces. Let it dry completely before moving on to the next step.
Step 3: Cut The Lamp Rod To Length
Once the button caps are dry, it’s time to cut the lamp rod to the desired length. Measure and mark the rod according to your desired lamp height, ensuring an even cut. Use a hacksaw to carefully cut through the rod, making sure to file off any rough edges to create a smooth finish.
Step 4: Thread The Lamp Cord Through The Rod
Now it’s time to thread the lamp cord through the rod. To make this process easier, place masking tape around the end of the cord. This will prevent fraying and make it easier to navigate through the rod. Carefully feed the cord through the hole in the base and up through the lamp rod. Take your time to ensure a smooth and neat threading.
Once the cord is threaded through, you can attach the button caps to the top and bottom of the lamp rod, securing them in place. Make sure everything is tight and secure, and then connect the cord to a bulb socket and plug it in to test your new wooden table lamp! Enjoy the warm and cozy ambiance it brings to your space.
By following these four simple steps, you can create a beautiful and unique wooden table lamp that adds a touch of warmth and style to any room. Have fun with the process and let your creativity shine!
Credit: www.jennasuedesign.com
Frequently Asked Questions Of How To Make A Wooden Table Lamp
Can You Make Lamps Out Of Wood?
Yes, lamps can be made out of wood using lamp making kits. Wood is a beautiful medium for lighting fixtures, and you can create unique and reinvented designs with a variety of wood types. Explore DIY wooden lamp ideas on Pinterest for inspiration and learn how to wire a wooden lamp on Instructables.
How Do You Wire A Wooden Lamp?
To wire a wooden lamp, follow these simple steps:
1) Drill a hole through the base for the cord.
2) Stain or paint wooden button caps to match the base.
3) Cut lamp rod to desired length and file rough edges.
4) Thread cord through the rod, using masking tape for easier threading.
5) Attach socket, wire, and switch kit to the cord.
How Do You Make A Lamp Step By Step?
To make a lamp step by step, follow these instructions:
1. Drill a hole in the center of your chosen base.
2. Stain or paint wooden button caps to match the base.
3. Cut the lamp rod to desired length using a hacksaw, and smooth rough edges with a file.
4. Place masking tape around the end of the lamp cord to make threading easier.
5. Use a socket, wire, and switch kit to wire the lamp. Supplies needed include a large can, LED bulb, wooden glue, and a sharpie.
What Is Needed To Make A Table Lamp?
To make a table lamp, you will need a large can, a socket, wire, and switch kit, an LED bulb, wooden glue, and a sharpie. Drill a hole in the center of the can, stain or paint wooden button caps, cut the lamp rod to desired length, and thread the lamp cord through the rod.
Conclusion
Creating a wooden table lamp is a fulfilling and creative project that adds a touch of warmth and elegance to any space. Whether you’re a seasoned woodworker or a beginner, this DIY endeavor allows you to showcase your craftsmanship and design skills.
By following the step-by-step instructions and using the right tools and materials, you can bring your vision to life. So grab your lamp making kit and get ready to illuminate your home with a beautiful and unique wooden table lamp.
Enjoy the process and the satisfaction of creating something truly special.

I’m Emily Johnson, an affiliate marketer and blogger focused on lamps and lighting. I share honest reviews, simple buying guides, and practical tips. My goal is to help readers choose the right lamp for their space, style, and budget with confidence.