
To make a homemade oil lamp, create a wick by rolling up a strip of cotton fabric, and place it in a container. Fill the container with oil and insert the wick into the oil, leaving a small portion exposed.
Light the exposed part of the wick, and the oil will fuel the flame, creating a homemade oil lamp. In need of an alternative light source during a power outage or a camping trip? Look no further than a homemade oil lamp.
With just a few simple materials and a little bit of ingenuity, you can create your own light source that is convenient, cost-effective, and easy to make.
Whether you want to add some rustic charm to your home decor or ensure you’re always prepared for emergencies, making a homemade oil lamp is a practical and fun DIY project.
In this guide, we will walk you through the step-by-step process of creating your own oil lamp using everyday household items. So, let’s get started and shed some light on the subject!
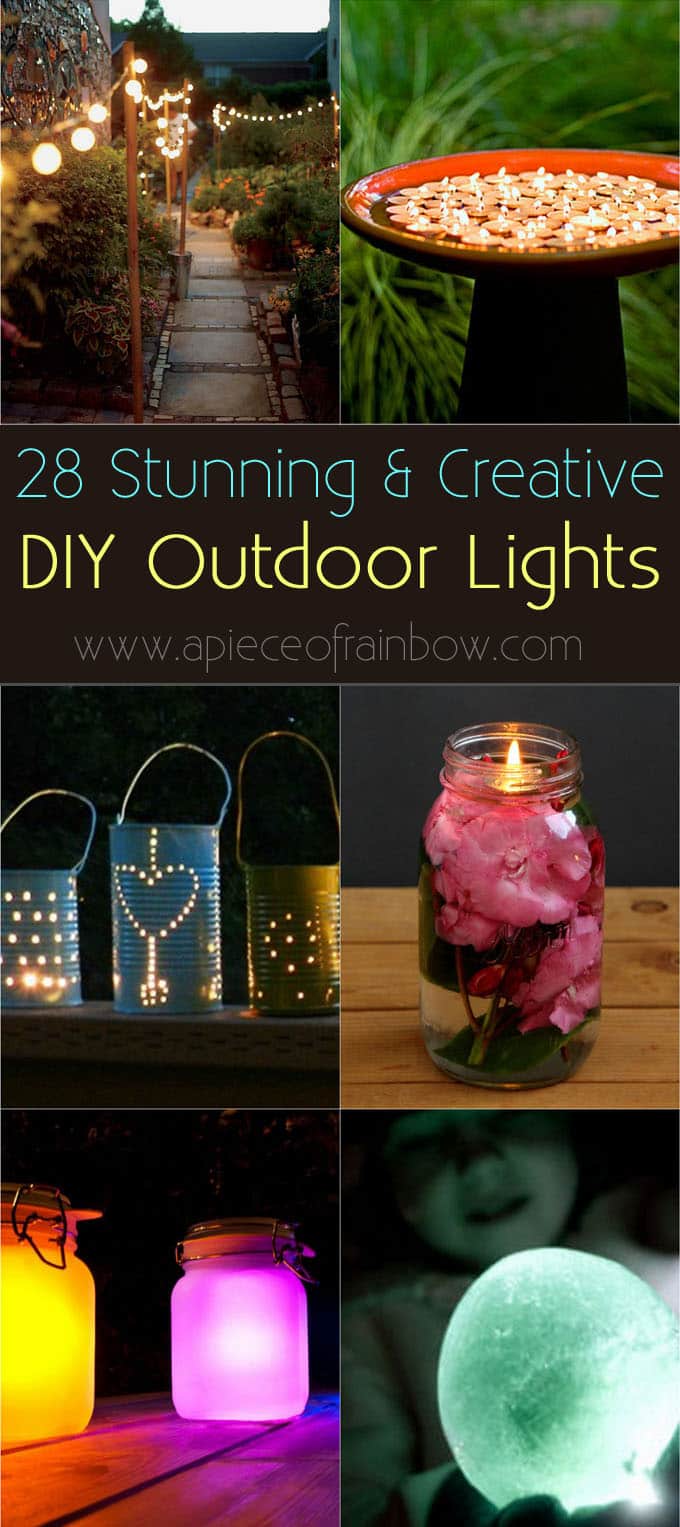
Credit: www.apieceofrainbow.com
Materials Needed
Learn how to create your own homemade oil lamp with just a few simple materials. Illuminate your space with this DIY project that is easy to make and provides a cozy ambiance.
Glass Container
One of the essential materials needed to make a homemade oil lamp is a glass container. This serves as the main structure that will hold the oil and wick, providing a safe and convenient way to light up your surroundings.
When choosing a glass container, opt for something sturdy and heat-resistant, such as a mason jar or a small glass bottle. The transparent nature of the container allows you to observe the amount of oil remaining and enjoy the warm glow of the flame.
Wick
The wick is another crucial component required for creating a functional oil lamp. It acts as a conduit for the oil, drawing it upward to be burned by the flame. When selecting a wick, cotton-based options are highly recommended as they tend to absorb the oil efficiently.
You can either purchase pre-made wicks, which are readily available at craft stores and online, or make your own by tightly rolling a strip of cotton cloth. Remember to cut the wick to a proper length that will allow it to dip into the oil, ensuring a continuous and reliable source of fuel to sustain the flame.
Vegetable Oil
The primary fuel for your homemade oil lamp is vegetable oil. This common household item is not only readily available but also relatively safe to use. When using vegetable oil, opt for options with a high smoke point, such as canola or olive oil, as they will burn more efficiently. Fill your glass container with enough oil to submerge the wick, but be cautious not to overfill it, as excessive oil can lead to spills or uncontrollable flames.
Essential Oil (optional)
Lastly, consider adding a few drops of your favorite essential oil to the vegetable oil for a pleasant fragrance. This step is entirely optional but can enhance your overall experience. Choose scents that you find appealing and calming, such as lavender, citrus, or vanilla.
Remember that essential oils are highly concentrated, so a little goes a long way. Experiment with different combinations to find your preferred blend, and enjoy the soothing aroma while you bask in the gentle glow of your homemade oil lamp.
Preparing The Glass Container
In order to create a homemade oil lamp, you first need to prepare a suitable glass container. This is an important step, as the choice of container can impact the effectiveness and safety of your oil lamp. Whether you want to repurpose an old jar or get creative with a unique glass vessel, here are the essential steps to follow:
Choose A Suitable Glass Container
When selecting a glass container for your homemade oil lamp, there are a few key factors to consider. First and foremost, the container should be heat-resistant to withstand the flames. Look for materials such as borosilicate glass or tempered glass, which are less likely to crack or shatter when exposed to high temperatures.
You’ll also want to choose a container with a wide enough opening to allow easy access for refilling the oil. This will make maintenance a breeze and allow your oil lamp to burn for longer periods without interruption. Keep in mind that a narrow neck might make it difficult to insert a wick or adjust the flame.
Lastly, consider the size of the container. The larger the vessel, the more oil it can hold, and the longer your lamp will burn. However, keep practicality in mind—smaller containers are easier to handle and store, especially if you plan on using your homemade oil lamp indoors.
Clean The Container
Once you have chosen the perfect glass container, it’s important to ensure that it is thoroughly cleaned before use. Any dirt, dust, or residue left behind could affect the performance of your oil lamp or even cause a fire hazard.
To clean the container, start by washing it with warm, soapy water. Use a non-abrasive sponge or cloth to gently scrub away any grime or sticky residue. Rinse the container thoroughly to remove any traces of soap. Next, wipe it dry with a clean cloth or let it air dry completely.
If you notice any stubborn stains or lingering odors, you can try using a mixture of baking soda and water to scrub the container. Simply make a paste with the two ingredients, apply it to the stains, and gently scrub until they disappear.
Decorate The Container (optional)
Once the container is clean and ready, you have the option to add a personal touch with some creative decoration. Whether you prefer a minimalist design or a more elaborate pattern, decorating your glass container can make your homemade oil lamp a unique and visually appealing addition to any space.
You can use various materials to decorate your container, such as glass paints, adhesive decals, or even etching cream for a more permanent design. With a steady hand and a dash of creativity, you can create intricate patterns or simply write inspiring words on the glass surface.
Remember, though, that when decorating the container, it is essential to keep the area where the flame will be located clear. Ensure that any decorative elements are placed away from the opening of the container and above the oil level to avoid potential hazards.
Setting Up The Wick
Discover how to create your own homemade oil lamp by learning the step-by-step process of setting up the wick. Illuminate your space with this eco-friendly and cost-effective lighting solution.
Setting up the wick is a crucial step in making a homemade oil lamp. It ensures that the lamp will function properly and provide a steady source of light. In this section, we will discuss how to insert the wick into the glass container, secure it with a wick holder, and trim it to the correct length.
Insert The Wick Into The Glass Container
To start, you will need a glass container that is suitable for holding the oil and wick. The container should be clean and free of any cracks or damage. Once you have chosen your container, it’s time to insert the wick.
1. Gather your materials:
- Glass container
- Cotton wick
- Scissors
2. Measure and cut the wick:
Take the cotton wick and measure it so that it is long enough to reach the bottom of the container and extend above the rim by a few inches. Use a pair of scissors to cut the wick to the desired length.
3. Insert the wick:
Place one end of the wick into the container, ensuring that it touches the bottom. Carefully lower the rest of the wick into the container, making sure it is centered and straight.
Secure The Wick With A Wick Holder
Securing the wick with a wick holder is essential to prevent it from falling into the oil and causing a safety hazard. Here’s how you can do it:
Choose a wick holder:
There are various options available for wick holders, such as metal or ceramic holders. Select one that fits the size of your container and the thickness of your wick.
Thread the wick through the holder:
Take the wick and carefully thread it through the hole or loop of the wick holder. Make sure it is held securely and cannot easily slip out.
Position the wick holder:
Place the wick holder on top of the container, ensuring that the wick hangs down into the oil. Adjust the position of the wick holder if necessary to achieve the desired height of the flame.
Trim The Wick
Trimming the wick is essential to maintain the quality of the flame and prevent excessive smoke. Follow these steps to trim the wick:
Allow the wick to soak in the oil:
Before trimming the wick, allow it to soak in the oil for a few minutes to ensure it is fully saturated.
Trim the wick to the correct length:
Using a pair of scissors or sharp knife, trim the wick so that it is around ¼ inch above the wick holder. This length will provide a steady flame without causing excessive smoke or soot.
Dispose of the trimmed wick:
After trimming the wick, carefully remove the excess and dispose of it properly.
By following these steps to set up the wick in your homemade oil lamp, you will ensure a safe and efficient source of light.
Adding Oil And Optional Scent
To make a homemade oil lamp, simply add oil and an optional scent to a suitable container. This will create a homemade lighting solution that is easy to make and customizable to your preferences. Whether for emergencies or creating a cozy atmosphere, a homemade oil lamp is a practical and versatile option.
Fill The Container With Vegetable Oil
Once you have your homemade oil lamp assembled, the next step is to fill it with the necessary fuel. Start by choosing a container that is suitable for holding the oil. It should be heat-resistant and have a wide opening for easy access.
To begin, carefully pour vegetable oil into the container, leaving about an inch of space at the top. Vegetable oil is an excellent choice for homemade oil lamps as it is readily available and has a long burning time.
Be cautious not to overfill the container, as this can lead to spills and accidents. Remember, safety is paramount when working with open flames, so take your time and pour the oil slowly to avoid any mishaps.
Add A Few Drops Of Essential Oil (optional), Ensuring
Adding a few drops of essential oil to your homemade oil lamp can enhance the ambiance and create a pleasant scent in your space. Essential oils come in a variety of scents, allowing you to customize the fragrance to your preference.
To include a scent, wait until the vegetable oil has been poured into the container. Then, using a dropper or a small funnel, add a few drops of your chosen essential oil directly into the oil-filled container.
Ensure each drop of essential oil disperses well in the vegetable oil by gently swirling the container. This will help the fragrance to distribute evenly throughout the oil, enhancing the overall scent experience.
It’s important to note that adding essential oil is optional, and you can still create a functional homemade oil lamp without it. However, if you wish to infuse your space with a delightful fragrance, this step is for you.
Remember to check the level of the oil regularly and refill as needed. Enjoy the warm glow and soothing aroma of your homemade oil lamp!
Lighting And Safety Precautions
When it comes to lighting your homemade oil lamp, it’s important to take proper precautions to ensure both the safety of yourself and your surroundings. By following these simple steps and guidelines, you can enjoy the cozy ambiance of an oil lamp without any worries.
Light The Wick
To light the wick of your oil lamp, simply follow these easy steps:
- Carefully remove the glass chimney or protective cover from the lamp.
- Using a long-reach lighter or a match, ignite the tip of the wick.
- Allow the flame to burn for a few seconds until it stabilizes.
- Slowly replace the glass chimney or cover, ensuring it is securely in place.
Place The Lamp In A Safe Location
Choosing the right location for your oil lamp is crucial to prevent accidents and ensure maximum safety. Here are some tips to follow:
- Keep the lamp away from any flammable materials, such as curtains or paper.
- Place the lamp on a stable and flat surface to prevent tipping over.
- Ensure there is enough clearance around the lamp to avoid any potential hazards.
- Avoid placing the lamp near drafts or areas with high foot traffic.
Monitor The Lamp While In Use
Keeping a close eye on your oil lamp while it is in use is essential. Here’s what you need to know:
- Never leave the lamp unattended, especially if there are children or pets nearby.
- Frequently check the flame height and adjust it if necessary to prevent excessive smoke or flickering.
- Ensure there is enough oil in the lamp to keep the wick fully submerged. A low oil level can lead to an unstable flame.
- If you notice any unusual behavior or strong odors, extinguish the flame immediately and address the issue before relighting the lamp.
By following these lighting and safety precautions, you can confidently enjoy the warm glow of your homemade oil lamp. Remember, proper care and attention are key to a safe and delightful lighting experience.

Credit: www.amazon.com
Frequently Asked Questions On How To Make A Homemade Oil Lamp
How To Safely Use A Homemade Oil Lamp?
To safely use a homemade oil lamp, ensure it is stable, keep flammable items away, and never leave it unattended.
What Are Some Common Fuels For Homemade Oil Lamps?
Common fuels for homemade oil lamps include lamp oil, olive oil, vegetable oil, and kerosene.
How Long Can A Homemade Oil Lamp Burn?
The burn time of a homemade oil lamp depends on the size of the wick and the amount of fuel, but it can typically burn for several hours.
How Can I Make My Homemade Oil Lamp Burn Brighter?
To make your homemade oil lamp burn brighter, trim the wick regularly, use a high-quality fuel, and make sure the wick is properly saturated.
Conclusion
Creating your own homemade oil lamp is a simple and cost-effective way to bring a warm and rustic ambiance to any space. By following the step-by-step instructions provided in this blog post, you can make your own oil lamp using readily available materials.
Not only will you save money, but you’ll also have the satisfaction of knowing you’ve created something unique. So go ahead and try your hand at making a homemade oil lamp – you won’t be disappointed with the delightful glow it brings to your home.

I’m Emily Johnson, an affiliate marketer and blogger focused on lamps and lighting. I share honest reviews, simple buying guides, and practical tips. My goal is to help readers choose the right lamp for their space, style, and budget with confidence.