To put out an oil lamp, carefully remove the chimney or shade, then use a snuffer or a damp cloth to cover the flame until it extinguishes. Oil lamps have been used for centuries to provide illumination, adding a comforting glow to homes and events.
However, knowing how to properly extinguish an oil lamp is crucial for safety and preservation. Whether you are preparing for bedtime or concluding a gathering, understanding the correct method will ensure the flame is promptly and safely extinguished.
We will explore the step-by-step process of putting out an oil lamp, highlighting the importance of caution and providing handy tips to make the task effortless.
By following these guidelines, you can confidently control and maintain the ambience of your oil lamp, ensuring a pleasant and risk-free experience.
Understanding The Dangers
Understand the dangers of dealing with an oil lamp by learning how to safely put it out. Follow these steps to ensure your safety and prevent accidents.
Identifying The Risks Of An Unattended Oil Lamp
Understanding the dangers associated with handling and extinguishing an oil lamp is crucial in maintaining a safe environment. When an oil lamp is left unattended, it poses a significant risk of causing fires and other accidents. Whether you’re a seasoned oil lamp user or a beginner, it’s important to identify the potential risks involved.
Here, we will discuss the risks of leaving an oil lamp unattended and highlight the hazards that can arise from mishandling the lamp. By being aware of these dangers, you can take the necessary precautions to ensure your safety and prevent any unfortunate incidents.
Recognizing The Hazards Of Mishandling
Handling an oil lamp without proper care and attention can lead to various hazards. Here are some hazards to be aware of:
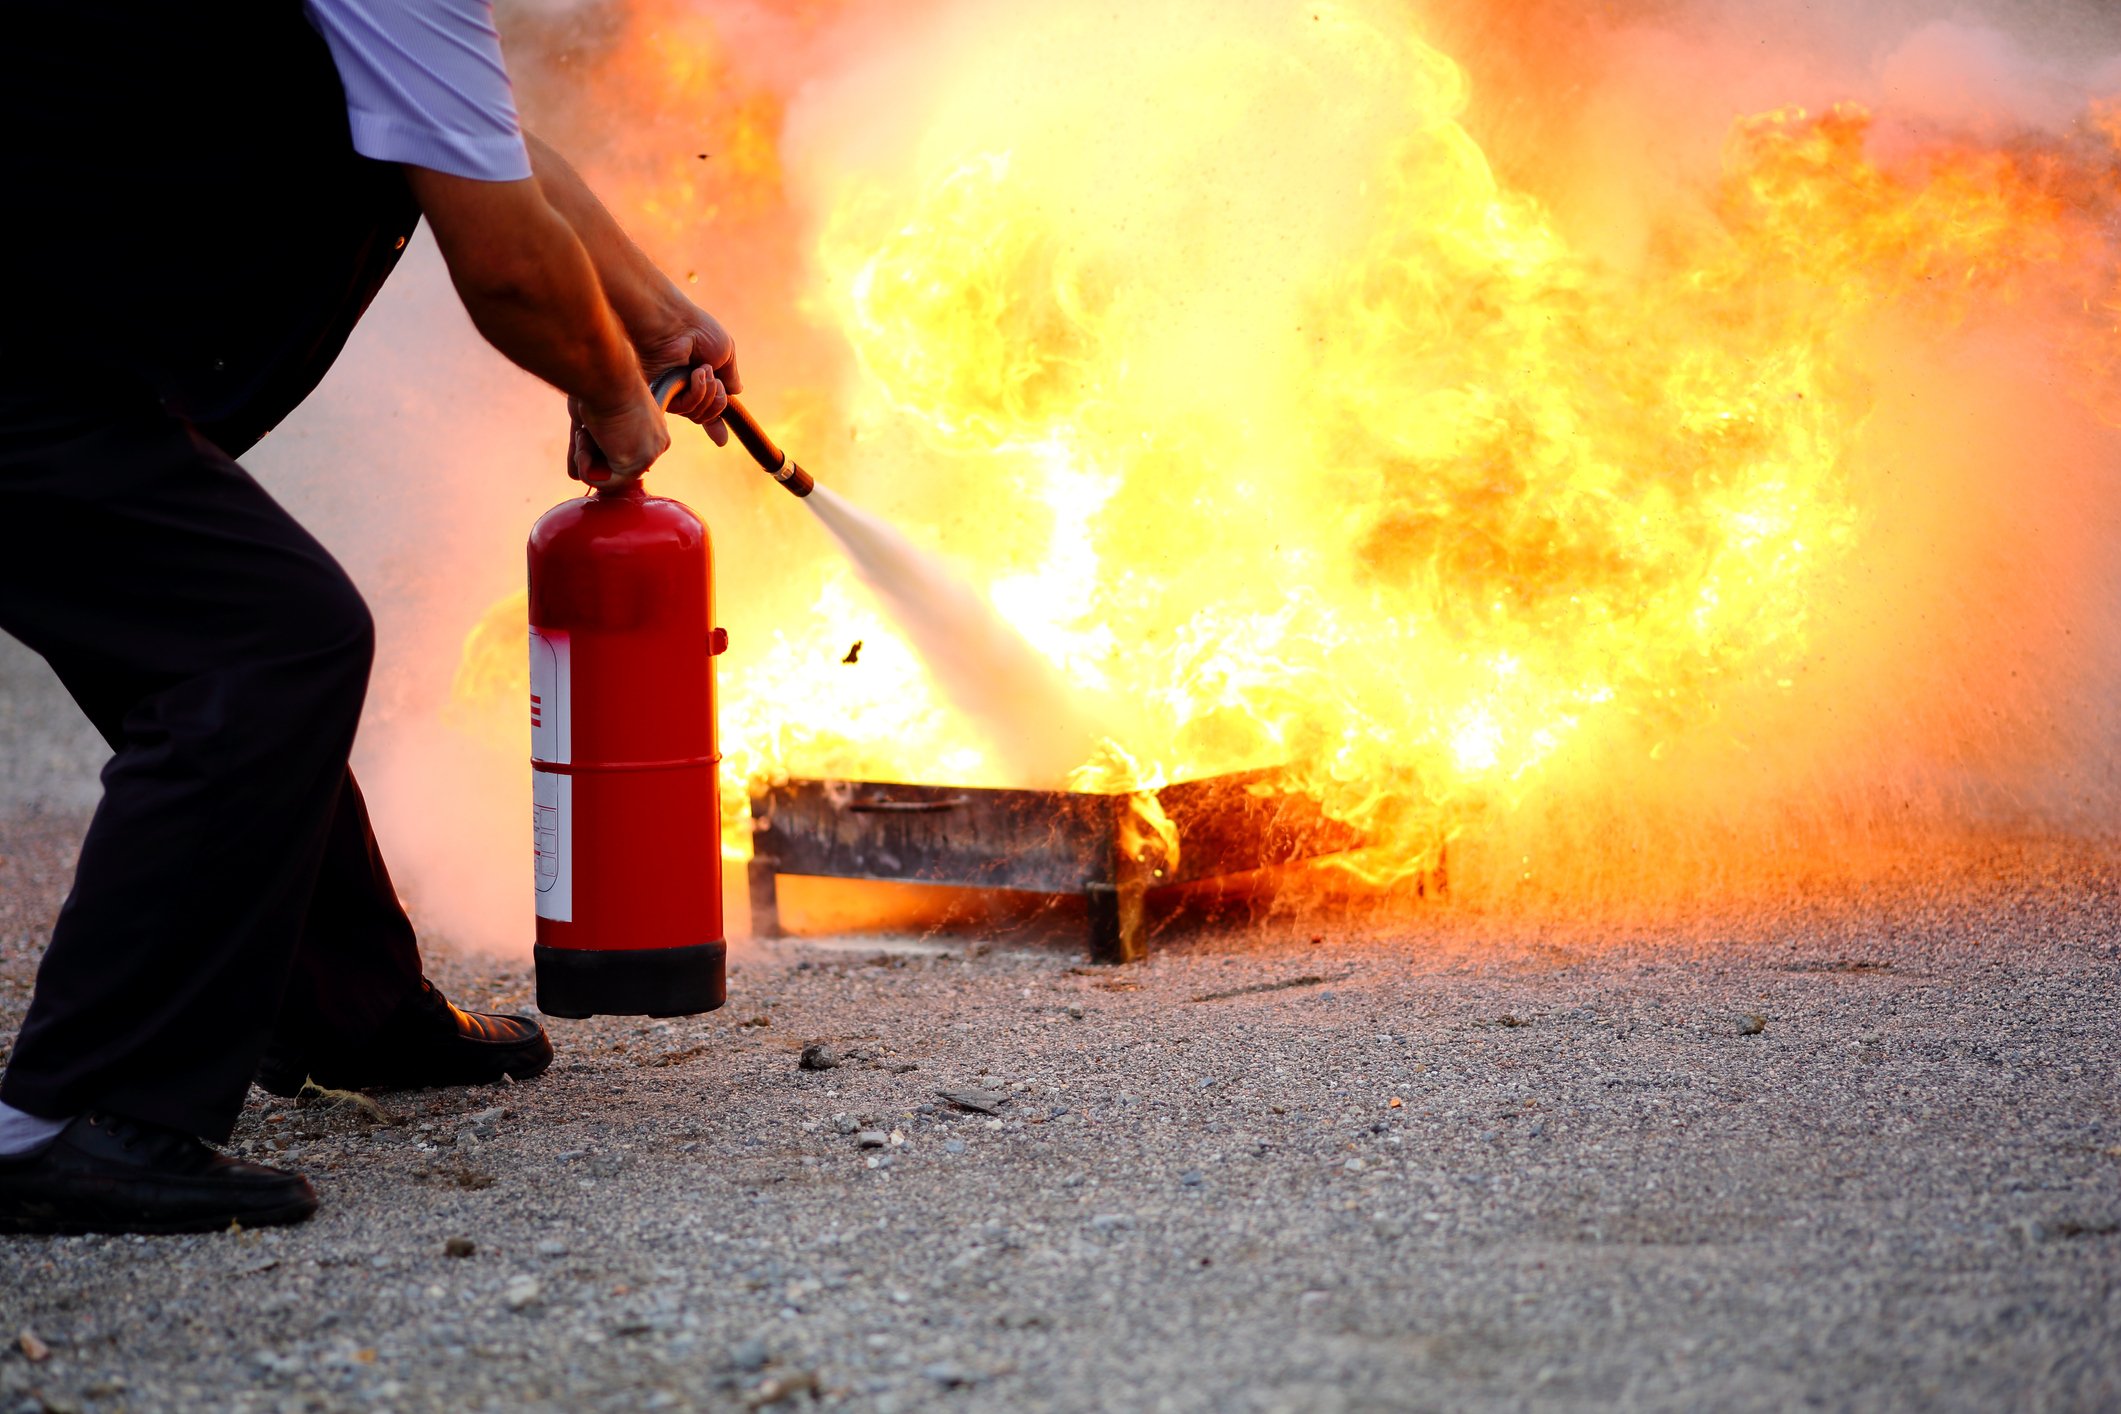
- Fire Hazard: One of the greatest risks of mishandling an oil lamp is the potential for a fire. When left unattended, the flame can ignite surrounding objects, such as curtains or furniture, resulting in a dangerous situation. It’s crucial to always keep a close eye on the lit lamp and never leave it burning without supervision.
- Burns: Oil lamps produce heat, and it’s essential to exercise caution while handling them. Accidental contact with the hot glass or metal parts of the lamp can cause severe burns. Always use protective gloves or wait for the lamp to cool down before attempting to move or touch it.
- Spills and Leaks: Mishandling an oil lamp can lead to spills and leaks, which can be hazardous. It’s important to familiarize yourself with the lamp’s structure and ensure all parts are tightly secured. Properly filling the lamp with oil and avoiding overfilling can also minimize the risk of spills and leaks.
- Poisoning from Ingestion: The oil used in oil lamps is toxic and should never be ingested. Accidental ingestion can lead to serious health complications. Always store the lamp oil in a secure location, out of reach from children or pets, and avoid using it for any other purposes.
By recognizing the hazards of mishandling, you can take the necessary precautions to prevent accidents, keep yourself and your surroundings safe, and enjoy the pleasant ambiance an oil lamp provides.
Credit: www.quora.com
Preparation For Extinguishing
Preparing to extinguish an oil lamp safely requires a few essential steps. By gathering the necessary tools and creating a secure extinguishing area, you can minimize the risk of accidents and ensure a smooth and safe process. Let’s explore each step in detail:
Gathering The Necessary Tools
Before attempting to put out an oil lamp, it’s crucial to have the right tools handy. These tools will enable you to extinguish the flame effectively and avoid any potential mishaps. Here are the essential tools you should gather:
- A snuffer: A snuffer is a specialized tool designed specifically for extinguishing oil lamps. It typically consists of a long, slender rod with a concave or spoon-shaped end. This end is used to snuff out the flame gently.
- Heat-resistant gloves: Since oil lamps can generate heat, it’s advisable to wear a pair of heat-resistant gloves to protect your hands during the extinguishing process. Ensure that the gloves are well-insulated and can withstand high temperatures.
Creating A Safe Extinguishing Area
Once you have gathered the necessary tools, the next step is to create a safe area for extinguishing the oil lamp. This ensures that the surrounding environment is protected from any potential sparks or accidents. Consider the following guidelines:
- Select a stable surface: Place the oil lamp on a stable and fire-resistant surface, such as a metal tray or ceramic tile. This helps prevent the lamp from tipping over, reducing the risk of fires or burns.
- Clear the surroundings: Remove any flammable objects or materials from the vicinity of the oil lamp. This includes papers, curtains, or decorative items that could catch fire if exposed to sparks or flames.
- Maintain proper ventilation: Make sure the area where the lamp is located has good airflow. Adequate ventilation helps dissipate the smoke emitted when extinguishing the lamp and prevents the accumulation of flammable gases.
By following these simple steps of gathering the necessary tools and creating a safe extinguishing area, you are well-prepared to put out an oil lamp safely and avoid any potential hazards. Let’s explore the actual process of extinguishing an oil lamp in the next section.
Proper Extinguishing Techniques
Learn the proper techniques to safely put out an oil lamp without any risk of accidents. Follow these guidelines to ensure a successful extinguishing process.
Proper Extinguishing Techniques When it comes to putting out an oil lamp, it is essential to follow proper extinguishing techniques to ensure safety and prevent any accidents or damage. In this section, we will explore two effective methods: using a snuffer and applying water as a last resort.
Using a Snuffer One of the simplest and most common ways to extinguish an oil lamp is by using a snuffer. A snuffer is a specialized tool designed to cover the flame and cut off the oxygen supply, thus putting out the flame efficiently. Here’s how you can use a snuffer to extinguish an oil lamp:
1. Position the snuffer:
Place the snuffer directly over the flame of the lamp, ensuring that it completely covers the flame. This will prevent any sparks or hot embers from escaping.
2. Press down gently:
Apply slight pressure on the snuffer to smother the flame. Make sure to hold the snuffer in place for a few seconds to ensure the flame is completely extinguished.
3. Remove the snuffer carefully:
Once the flame is out, lift the snuffer slowly and cautiously to avoid any residual smoke or fumes escaping. Applying Water as a Last Resort In some situations, such as an emergency or if a snuffer is not available, you may need to resort to using water to extinguish an oil lamp.
However, this should only be done as a last resort, as water can cause a significant risk of damage or injury if not handled properly. Here’s how you can apply water to put out an oil lamp safely:
- Prepare a heat-resistant container: Before applying water, ensure you have a heat-resistant container nearby. This will help prevent any accidents or spills.
- Remove the chimney: Carefully remove the chimney from the oil lamp to expose the flame.
- Pour water slowly: Pour a small amount of water into the container, and then slowly pour it over the flame. Be cautious not to pour too much water at once, as it can cause the oil to splatter or spread the fire.
- Monitor the lamp: After extinguishing the flame, keep a close eye on the lamp to ensure that there are no signs of re-ignition.
Remember, applying water should only be used as a last resort, and it is crucial to handle water and the oil lamp with extreme caution.
By following these proper extinguishing techniques, using a snuffer or applying water as a last resort, you can safely put out an oil lamp and enjoy the warm and ambient glow it provides without any safety concerns.
Credit: www.servicemastersanfrancisco.com
Post-extinguishing Steps
Putting out an oil lamp is a crucial step in ensuring the safety of your home and preserving the longevity of your lamp. However, the process does not end there. After extinguishing the flame, it is important to follow a few post-extinguishing steps to properly care for your lamp and prevent any potential hazards. In this article, we will explore the importance of allowing the lamp to cool down and provide guidelines on how to clean and maintain your lamp.
Allowing The Lamp To Cool Down
Once you have extinguished the flame, it is crucial to allow the lamp to cool down before handling it or attempting any further maintenance tasks. The residual heat from the flame can linger, and handling a hot lamp can lead to burns or accidents. It is important to exercise caution and patience during this step.
Cleaning And Maintaining The Lamp
After the lamp has cooled down, it is time to clean and maintain it to ensure it continues to function properly. Regular cleaning not only keeps the lamp looking its best but also removes any build-up or residue that may affect its performance. Here are some guidelines to follow for cleaning and maintaining your oil lamp:
- Remove the chimney: Start by carefully removing the chimney from the lamp. The chimney is the glass or metal enclosure that surrounds the flame.
- Dispose of excess oil: If there is excess oil in the lamp, carefully dispose of it in a designated container. Avoid pouring it down the drain or disposing of it inappropriately.
- Clean the chimney: Using a damp cloth or sponge, gently wipe the chimney to remove any soot or residue. For stubborn stains, a mild detergent can be used.
- Clean the base: Next, clean the base of the lamp. Wipe away any oil or debris using a soft cloth or sponge. Avoid using abrasive materials that may scratch or damage the surface.
- Inspect the wick: Take a moment to inspect the wick for any signs of wear or damage. If the wick appears frayed or burnt, replace it with a new one to ensure optimal performance.
- Refill with oil: If necessary, refill the lamp with oil. Be sure to use the appropriate type of oil recommended for your specific lamp model.
- Replace the chimney: Once the lamp is cleaned and refilled, carefully place the chimney back onto the lamp, ensuring it is securely in place.
By following these post-extinguishing steps, you can maintain the functionality and appearance of your oil lamp. Regular cleaning and maintenance ensure that you can continue to enjoy the warm, flickering glow of your lamp for years to come.
Credit: www.thezebra.com
Frequently Asked Questions For How To Put Out An Oil Lamp
How Do You Put Out An Oil Lamp Safely?
To put out an oil lamp safely, carefully remove the chimney or shade, then gently blow out the flame.
What Is The Best Method For Extinguishing An Oil Lamp?
The best method for extinguishing an oil lamp is to use a snuffer. Place the snuffer over the flame to suffocate it and avoid any potential accidents.
Can You Use Water To Extinguish An Oil Lamp?
No, you should never use water to extinguish an oil lamp as it can cause a dangerous reaction. Stick to the recommended methods of snuffing or blowing out the flame.
Are There Any Safety Precautions To Follow When Putting Out An Oil Lamp?
Yes, it is important to handle the oil lamp with care. Avoid touching the hot parts, never leave it unattended while lit, and make sure to keep flammable objects away from the lamp.
Conclusion
Safely extinguishing an oil lamp is a simple yet crucial process. By following the steps outlined in this guide, you can prevent accidents and ensure the longevity of your lamp. Remember to handle the lamp with care, use a snuffer or a damp cloth to smother the flame, and always allow the lamp to cool before changing or refilling the fuel.
By practicing these techniques, you can enjoy the warm glow of your oil lamp while maintaining safety and peace of mind.

I’m Emily Johnson, an affiliate marketer and blogger focused on lamps and lighting. I share honest reviews, simple buying guides, and practical tips. My goal is to help readers choose the right lamp for their space, style, and budget with confidence.