
To burn an oil lamp, first, fill the lamp with oil and trim the wick to a suitable length. Then, light the wick with a match or a lighter.
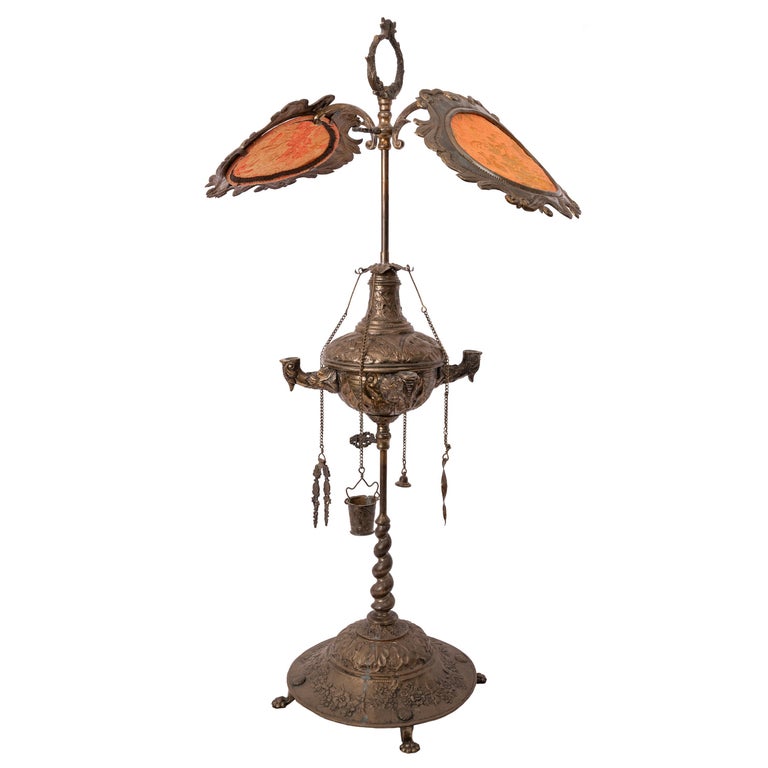
Credit: www.1stdibs.com
How to Burn an Oil Lamp? Your Comprehensive Guide to Lighting
Choosing The Right Oil Lamp
Choosing the right oil lamp involves understanding how to properly burn it for optimal performance and safety. Get the most out of your oil lamp by following these essential tips.
Understanding Different Types Of Oil Lamps
Before you can choose the right oil lamp for your needs, it’s important to understand the different types available in the market. Each type of oil lamp has its own unique design and functionality, allowing you to select one that best suits your preferences and requirements.
Table lamps, wall-mounted lamps, and hanging lamps are the three common types of oil lamps. Table lamps are perfect for providing ambient lighting in a small space as they can easily be placed on a table or a shelf. Wall-mounted lamps are designed to be fixed on walls and provide a permanent source of light in a room. On the other hand, hanging lamps offer a charming and decorative lighting solution by suspending from the ceiling.
Moreover, double-wick lamps and single-wick lamps are the two main types of wick designs you will come across. Double-wick lamps produce a brighter light and are ideal for larger rooms, while single-wick lamps are more economical and suited for smaller spaces.
Factors To Consider When Choosing An Oil Lamp
When selecting an oil lamp, there are several factors to consider to ensure you make the right choice. These factors will help you determine the lamp’s performance, safety, and compatibility with your intended use.
- Size and Capacity: Consider the size and capacity of the oil lamp depending on the space you want to illuminate. Smaller lamps are suitable for individual lighting needs while larger lamps can provide ample light for a bigger area.
- Lamp Material: The material of the lamp can impact its durability and aesthetic appeal. Brass, glass, and ceramic are popular choices that offer both beauty and longevity. Depending on your preferences, you can select a material that complements your interior decor.
- Burn Time: Assess the burn time of the oil lamp, which refers to how long it can provide illumination before requiring a refill. Opt for lamps with longer burn times if you need extended periods of light without interruption.
- Availability of Fuel: Ensure that the type of fuel required for the lamp is easily accessible and not overly expensive. This will help you avoid any inconvenience or additional costs when it comes to refilling.
- Safety Features: Look for safety features such as a stable base, a glass chimney to protect the flame, and a secure fuel reservoir. These features will help minimize the risk of accidents and ensure the lamp operates safely.
- Aesthetics: Lastly, consider the overall design and aesthetics of the lamp. Choose a style that aligns with your personal taste and blends seamlessly with the surrounding decor. This way, your oil lamp will not only be functional but also an attractive addition to your space.
By taking these factors into account, you can confidently choose an oil lamp that suits your needs, enhances the ambiance of your space, and provides a reliable source of lighting.

Credit: www.masteroilpainting.com
Preparing The Oil Lamp
Burning an oil lamp can create a cozy and nostalgic ambiance in your home or outdoor setting. However, it’s important to properly prepare the oil lamp for optimal performance and safety. In this section, we will explore the necessary steps to select the appropriate oil, clean and maintain the lamp, and fill it with fuel.
Selecting The Appropriate Oil For The Lamp
Choosing the right oil for your lamp is crucial for a smooth and efficient burn. Not all oils are suitable for oil lamps, so it’s essential to select one specifically designed for this purpose. Opt for a high-quality lamp oil that is clear and odorless to ensure a clean and smoke-free burn. Avoid using vegetable oils or flammable substances that could pose a risk.
Cleaning And Maintaining The Oil Lamp
To maintain the longevity of your oil lamp and ensure its optimal performance, regular cleaning and maintenance are necessary. Here are a few simple steps to keep your lamp in top shape:
- Carefully remove the burner and wick assembly from the lamp.
- Wipe off any dust or debris from the exterior of the lamp using a soft cloth.
- Gently scrub the burner and wick assembly with warm soapy water to remove any built-up residue. Rinse thoroughly and allow them to dry completely.
- Inspect the wick for any signs of damage or fraying. If necessary, replace it with a new wick of the appropriate size.
- Reassemble the lamp, ensuring all components are securely attached.
Regular cleaning of your oil lamp will not only enhance its appearance but also promote a cleaner burn, minimizing the risk of smoke and soot.
Filling The Oil Lamp With Fuel
Filling your oil lamp with fuel can be a straightforward process if done correctly. Follow these steps to ensure a safe and successful fill:
- Place the oil lamp on a stable surface to avoid spills or accidents.
- Remove the burner and wick assembly from the lamp.
- Using a funnel, slowly pour the lamp oil into the font, taking care not to overfill.
- Leave a small gap at the top to allow for expansion and prevent overflow.
- Reattach the burner and wick assembly, ensuring it is securely fastened.
- Allow the wick to soak in the oil for a few minutes before lighting.
Always exercise caution when handling flammable substances and never leave a burning oil lamp unattended.
Lighting The Oil Lamp
One of the most timeless and charming ways to illuminate a space is by using an oil lamp. Whether you want to create a cozy ambiance or prepare for a power outage, knowing how to properly light and maintain an oil lamp is a valuable skill. In this section, we will guide you through the process of lighting the oil lamp step by step, ensuring a steady and safe flame.
Properly Adjusting The Wick
Before lighting the oil lamp, it’s crucial to properly adjust the wick. The wick is the element responsible for drawing oil up from the reservoir and allowing it to burn. Here’s how to ensure your wick is adjusted correctly:
- Start by gently lifting the glass chimney or shade and carefully removing it from the lamp.
- Locate the wick adjustment knob or mechanism. It can usually be found at the base of the lamp, near the reservoir.
- If the wick is too short, use the adjustment knob to raise it slightly. On the other hand, if the wick is too long, turn the knob counterclockwise to lower it. The ideal length is approximately 1/4 inch.
- Once you’ve made the necessary adjustments, gently press the wick down to ensure it is levelled.
Remember, a well-adjusted wick is essential for producing a steady and optimal flame.
Lighting The Wick
Now that your wick is properly adjusted, it’s time to light the oil lamp. Follow these simple steps to ensure a successful ignition:
- Gather your materials: the oil lamp, matches or a lighter, and a steady hand.
- If the glass chimney or shade was removed earlier, place it back onto the lamp, ensuring a secure fit.
- Take your matches or lighter and carefully approach the wick. Position the flame just above the wick, without touching it.
- Light the wick by holding the flame close to it until it catches fire. Be cautious to avoid burning delicate materials or your fingers.
- Once the wick is lit, observe the flame for a few moments to ensure it is burning steadily and evenly.
Remember, safety should always be your top priority when lighting the oil lamp. Keep flammable objects away and never leave the lamp unattended while it’s burning.
Ensuring A Steady And Safe Flame
After lighting the oil lamp, it’s important to ensure a steady and safe flame to prevent accidents and promote efficient burning. Here are a few tips to ensure the flame remains consistent and secure:
- Keep an eye on the flame: Regularly monitor the flame’s height and appearance. Adjust the wick if necessary to maintain a steady and balanced burn.
- Trim the wick: Over time, the wick can become blackened or develop a charred tip. Use a wick trimmer or sharp scissors to trim the charred portion, allowing for a cleaner and healthier flame.
- Maintain proper ventilation: If you’re using an oil lamp indoors, ensure there’s adequate airflow to prevent the accumulation of soot. Open a window or use a fan if needed.
- Use high-quality oil: Opt for high-quality lamp oil specifically designed for oil lamps. Using alternatives such as vegetable oil or kerosene can lead to inconsistent burning and emit unpleasant odors.
By following these guidelines, you’ll be able to enjoy the warm glow of your oil lamp while ensuring a safe and long-lasting flame.
Maintaining And Extending The Life Of An Oil Lamp
An oil lamp not only adds a warm and cozy ambiance to any room, but it can also be a valuable light source during power outages. To ensure that your oil lamp continues to shine brilliantly and last for years to come, it is important to know how to properly maintain and extend its lifespan. In this section, we will discuss some essential tips and techniques for keeping your oil lamp in top shape.
Regular Cleaning And Maintenance
To keep your oil lamp functioning optimally, regular cleaning and maintenance are crucial. Here are some steps you can follow:
- Before cleaning the lamp, always ensure the flame is fully extinguished and the lamp has cooled down.
- Remove the chimney, burner, and any remaining oil from the lamp.
- Using a soft cloth or sponge, gently clean the exterior of the lamp with a mixture of mild soap and warm water.
- Rinse the lamp thoroughly and allow it to air dry completely before reassembling it.
- Clean the chimney and burner separately by soaking them in warm, soapy water. Use a bristle brush to remove any built-up residue or debris.
- Once all the components are dry, reassemble the lamp and refill it with clean lamp oil.
Replacing The Wick
The wick of an oil lamp plays a vital role in the quality of light it produces. Over time, the wick may become burnt or clogged with residue, affecting the lamp’s efficiency. Follow these steps to easily replace the wick:
- Make sure the lamp is fully extinguished and cool before attempting to replace the wick.
- Remove the chimney and burner to access the wick.
- Gently loosen the wick holder or lift the wick adjustment knob, depending on the lamp design.
- Remove the old wick from the holder and discard it.
- Measure and cut a new wick, making sure it is the same length as the original wick.
- Insert the new wick into the wick holder, ensuring it is centered and properly positioned.
- Trim any excess wick that extends beyond the holder.
- Reassemble the lamp, fill it with fresh lamp oil, and allow the wick to soak for about 30 minutes before lighting it.
Tips For Prolonging The Lifespan Of An Oil Lamp
By implementing these helpful tips, you can extend the life of your oil lamp:
- Avoid using low-quality or contaminated lamp oils, as they can cause clogs and negatively affect the performance of the lamp.
- Regularly trim the wick to prevent excessive carbon build-up and ensure a clean and efficient burn.
- Store your oil lamp in a cool and dry place when not in use to prevent damage from humidity or extreme temperatures.
- Consider using a lampshade or glass globe to protect the flame from drafts and prolong the lifespan of the wick.
- If you anticipate long periods without using the lamp, empty the oil reservoir to prevent degradation of the oil and clogging of the wick.
With proper care and maintenance, your oil lamp can continue to provide a gentle and soothing light for many memorable evenings. By following these guidelines for cleaning, wick replacement, and general care, you can enjoy the beauty and functionality of your oil lamp for years to come.

Credit: www.newyorker.com
Frequently Asked Questions For How To Burn An Oil Lamp
How Do You Light An Oil Lamp?
To light an oil lamp, you simply need to fill the lamp with oil, insert a wick, and then use a lighter or match to ignite the wick.
What Oil Should I Use For An Oil Lamp?
For an oil lamp, it is best to use a clear, odorless, and highly refined fuel oil like kerosene or lamp oil.
How Do You Extinguish An Oil Lamp?
To extinguish an oil lamp, you can either gently blow out the flame or use a snuffer to cover the flame until it goes out.
Can I Use Vegetable Oil In An Oil Lamp?
While vegetable oil can be used in an oil lamp in emergency situations, it tends to produce more soot and smoke compared to refined lamp oil.
Conclusion
To sum up, mastering the art of burning an oil lamp is an essential skill for those seeking a backup lighting source or a touch of ambiance. With careful attention to safety, you can create a warm, flickering glow that adds charm to any space.
By following the step-by-step process outlined in this blog post, you can confidently fuel and maintain your oil lamp, ensuring its optimal performance. Embrace the timeless beauty and practicality of this ancient lighting technique, and enjoy the glow of tranquility it brings to your surroundings.

I’m Emily Johnson, an affiliate marketer and blogger focused on lamps and lighting. I share honest reviews, simple buying guides, and practical tips. My goal is to help readers choose the right lamp for their space, style, and budget with confidence.