To make an oil lamp, you will need a container, wick, oil, and a lighter or matches. Begin by filling the container with oil, leaving a small space at the top for the wick.
Place the wick in the oil, allowing it to soak for several minutes. Light the wick using a lighter or matches, and adjust the flame height as desired. Now you have a functioning oil lamp ready to use for lighting or decoration purposes.
Oil lamps have been used for centuries as a reliable source of light. With the right materials and simple steps, you can create your own oil lamp in no time. Whether you are preparing for a power outage or creating a cozy ambiance, knowing how to make an oil lamp is a valuable skill.
We will guide you through the process, ensuring that you have a functional and aesthetically pleasing lamp to illuminate your space. Forget about relying solely on electricity or candles, and discover the charm and utility of an oil lamp. Read on to learn the exact steps in detail.

Credit: lovelygreens.com
How to Make an Oil Lamp: A Step-by-Step Guide
Creating your own oil lamp is a fulfilling and practical DIY Creating your own oil lamp is a fulfilling and practical DIY project that not only adds a touch of charm to your surroundings but also serves as a reliable and atmospheric light source.
In this brief guide, we’ll walk you through the basic steps to craft a homemade oil lamp using readily available materials. From selecting the right container to choosing the appropriate oil, this DIY venture is an easy and enjoyable way to illuminate your space with a warm, rustic glow.
Let’s dive in and discover how to make an oil lamp that combines functionality with a dash of creativity.
Step 1: Prepare The Base
When it comes to making your own oil lamp, the first step is to prepare the base. This is an important step as it sets the foundation for your lamp and ensures it is sturdy and safe to use. In this guide, we will walk you through the process of choosing a suitable base and drilling a hole for the wick. Let’s get started!
Choose A Suitable Base
Choosing the right base for your oil lamp is crucial for its stability and aesthetic appeal. You can use various materials for the base, such as glass, ceramic, metal, or even a sturdy wooden block. Consider the following factors when selecting a suitable base:
- Stability: Ensure the base is wide and stable enough to prevent the lamp from tipping over easily.
- Aesthetic: Choose a base that complements the style and decor of your space.
- Heat resistance: Since oil lamps produce heat, opt for a base that can withstand high temperatures to avoid any safety hazards.
- Durability: Select a base material that is durable and long-lasting.
If you’re feeling creative, you can even repurpose an old container or object to give your oil lamp a unique touch. Once you’ve chosen your base, it’s time to move on to the next step.
Drill A Hole For The Wick
Once you have your base, it’s time to drill a hole for the wick. Remember to adhere to safety precautions when working with power tools. Follow these steps:
- Mark the spot: Use a pencil or marker to mark the exact spot on the base where you want to drill the hole. Ensure it is centrally located and allows for ventilation and easy access to the wick.
- Choose the right drill bit: Select a drill bit that is suitable for the material of your base. For example, if you’re working with glass, use a diamond-tipped drill bit.
- Position the base: Place the base on a stable surface, such as a workbench or a sturdy table.
- Drill the hole: With steady hands, carefully drill a hole at the marked spot. Apply gentle pressure and let the drill bit work its way through the base material.
- Clean up: Once you’ve successfully drilled the hole, remove any excess debris or shards from the base. You can use a soft cloth or a vacuum cleaner to ensure the area is clean.
And there you have it! You’ve prepared the base for your oil lamp. In the next steps, we will guide you through selecting a wick, choosing the right oil, and assembling your lamp. Stay tuned!
Step 2: Prepare The Wick
To make an oil lamp, the second step is to prepare the wick. This crucial task involves cutting the wick to the appropriate length, removing any frayed edges, and soaking it in oil before placing it in the lamp.
Select The Right Wick Material
Choosing the right wick material is crucial for the effectiveness and safety of your oil lamp. It determines how efficiently the oil is drawn up and burned. When it comes to selecting a wick material, there are a few options to consider:
- Cotton: Cotton wicks are widely used and readily available. They are affordable, easy to work with, and provide a reliable burn. Make sure to use clean, natural cotton wicks without any additives or synthetic fibers.
- Linen: Linen wicks are more durable and offer a slower burn rate compared to cotton. They are known for their high-temperature resistance, making them suitable for lamps with higher heat output. Linen wicks create a steady flame with minimal smoke.
- Fiberglass: Fiberglass wicks are known for their longevity and resistance to burning out. They are suitable for outdoor oil lamps or those that require frequent use. Fiberglass wicks also work well with oils that contain additives or fragrances.
Consider your specific needs and preferences when selecting the right wick material. Now that you have chosen your desired material, let’s move on to the next step.
Cut The Wick To Size
To ensure an optimal burn and a steady flame, it’s essential to cut the wick to the right size. Follow these steps:
- Measure: Measure the height of your oil lamp or container and add a few extra inches for the wick to absorb the oil.
- Trim: Using sharp scissors or a utility knife, carefully trim the wick to the desired length. Make sure to cut it straight across to achieve a clean burn.
- Soak: Before inserting the wick into the oil lamp, soak it in lamp oil for a few minutes. This ensures that the wick is thoroughly saturated and ready to draw up the oil efficiently.
By cutting the wick to the appropriate size, you ensure that it fits perfectly within your oil lamp and delivers an optimal flame. With your wick prepared, you’re now ready to proceed to the next step and assemble your oil lamp. Stay tuned for Step 3!
Step 3: Create The Oil Reservoir
To make an oil lamp, the third step is to create the oil reservoir. This involves preparing a container to hold the oil and constructing a wick holder to allow for proper fuel absorption.
Now that you have prepared the wick and constructed the burner assembly, it’s time to move on to the next step: creating the oil reservoir. This step involves choosing an appropriate container and filling it with lamp oil. Let’s walk through the process.
Choose An Appropriate Container
When selecting a container for your oil lamp, it’s important to choose one that is suitable for holding flammable liquids. It should be non-porous, heat-resistant, and have a well-fitting lid or cap to prevent spillage. Glass containers, like mason jars or empty wine bottles, are commonly used for their transparency and ability to withstand high temperatures.
If you prefer a more rustic look, you can also consider using metal or ceramic containers. Just ensure that they are free from any cracks or damage that could cause leaks. Keep in mind that the size of the container will determine the duration of light provided by the lamp, so choose accordingly.
Fill The Container With Lamp Oil
Once you have chosen a suitable container, it’s time to fill it with lamp oil. This can be found at most hardware stores or specialty shops. Lamp oil is specifically designed for oil lamps, providing a clean and smokeless burn. Avoid using gasoline or kerosene, as they can produce strong odors and are not safe for indoor use.
To fill the container, remove the lid or cap and carefully pour the lamp oil into it. Use a funnel if necessary to avoid any spills. Fill the container about three-quarters full, leaving some space at the top to allow for expansion when the oil heats up. It’s important not to overfill the container, as this can increase the risk of spills and accidents.
Once the container is filled with lamp oil, securely replace the lid or cap to minimize evaporation. Ensure that it is tightly sealed to prevent any leakage.
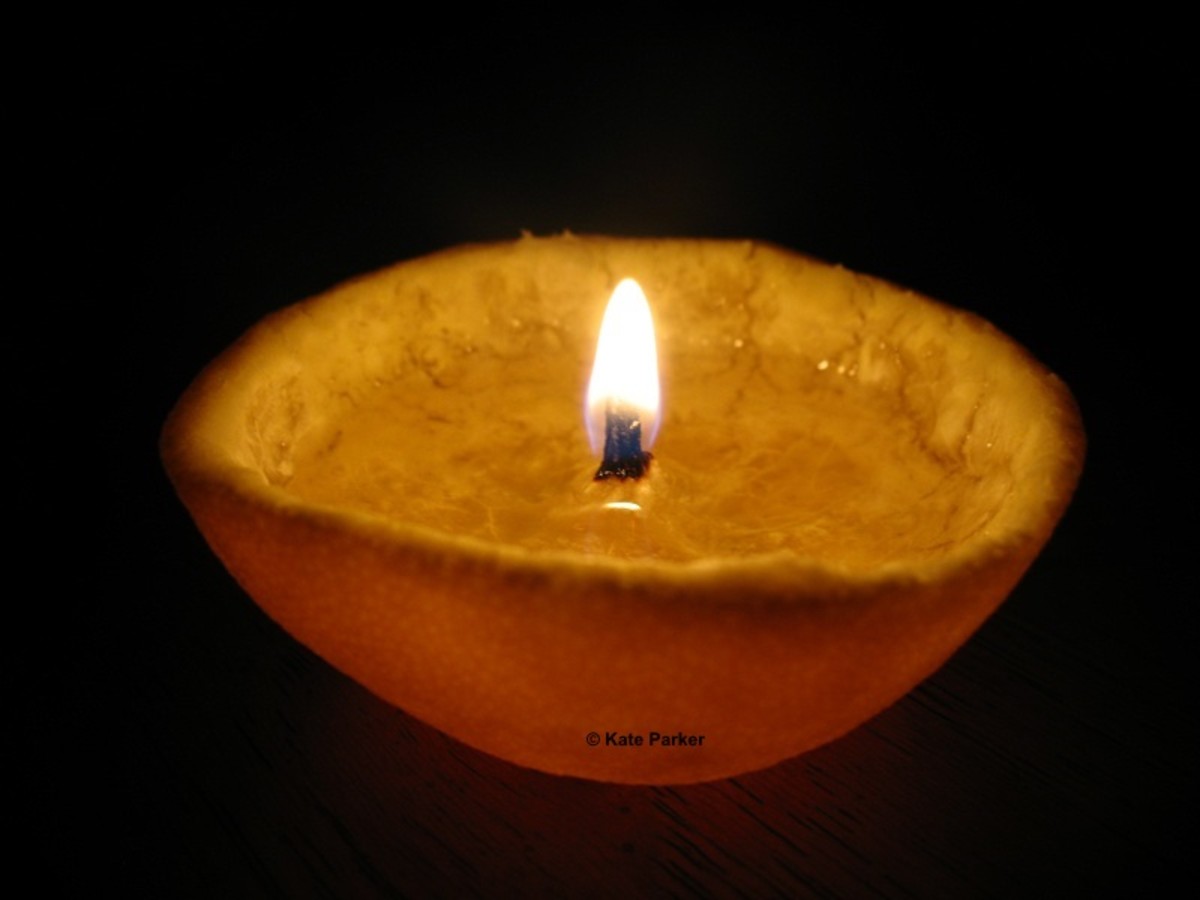
Remember to position the wick assembly into the container, with the exposed wick sticking out above the oil level. That’s it! You have successfully created the oil reservoir for your oil lamp. With the wick and oil in place, you’re now ready to light up your oil lamp and enjoy its warm, flickering glow.
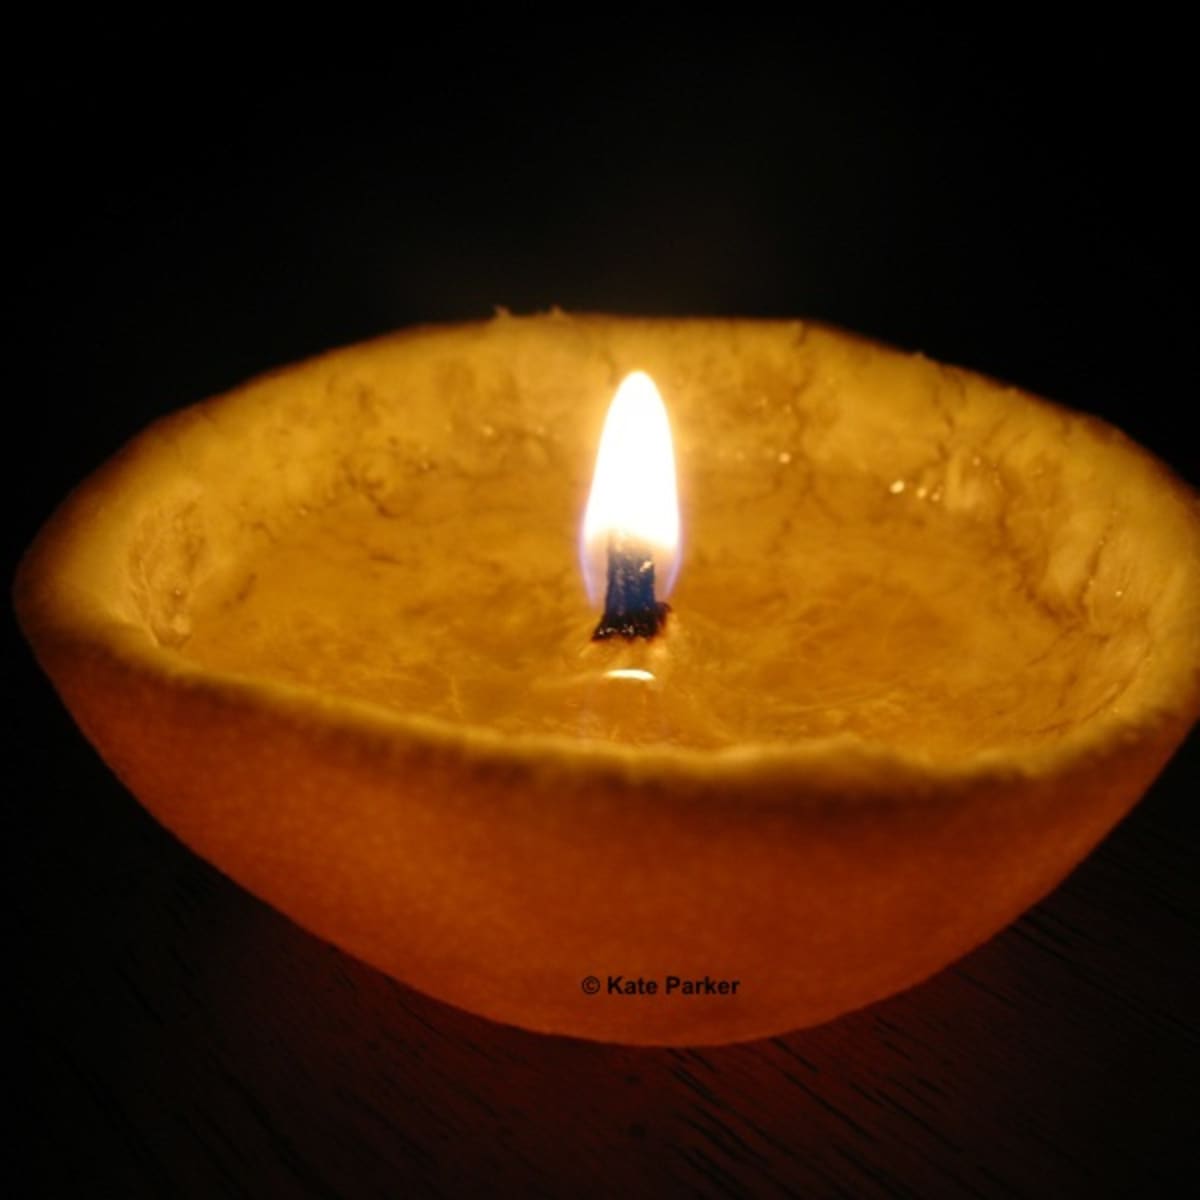
Credit: feltmagnet.com
Step 4: Assemble The Oil Lamp
To assemble the oil lamp, follow step 4 of the guide on how to make an oil lamp. This crucial step ensures the proper construction of the lamp for efficient use.
Insert The Wick Into The Base
Once you have prepared the base and chosen the right type of wick for your oil lamp, it’s time to assemble the lamp itself. Follow these simple steps to insert the wick into the base:
- Take the wick and thread it through the hole in the base. Make sure the wick is long enough to extend below the base into the oil reservoir.
- Gently pull the wick until it is in the center of the hole, ensuring it’s straight and not bunched up.
- Slide the wick adjuster or burner collar over the wick, securing it in place. This piece will help control the height and intensity of the flame.
By following these steps, you have successfully inserted the wick into the base of your oil lamp, setting the stage for the next step.
Trim The Wick And Light The Lamp
Now that you have assembled the oil lamp with the wick inserted, it’s time to trim the wick and light the lamp. Follow these steps to complete the process:
- Using a pair of sharp scissors, trim the top of the wick to a length of about 1/4 inch above the burner collar. This will ensure a clean and steady flame.
- Fill the oil reservoir with your desired lamp oil, leaving enough space for the wick to absorb the oil.
- Allow the wick to fully absorb the oil for a few minutes before lighting the lamp. This will ensure a consistent flame and longer burning time.
- Using a match or a lighter, carefully ignite the top of the wick. Take care to keep your fingers away from the flame.
- Adjust the height of the flame by moving the wick adjuster or burner collar up or down. This will control the brightness and intensity of the light.
Following these steps will ensure that your oil lamp is properly assembled, the wick is trimmed for optimal performance, and the lamp is lit safely. Remember to exercise caution when working with fire and never leave a burning oil lamp unattended.
Frequently Asked Questions On How To Make An Oil Lamp
How To Make An Oil Lamp At Home?
To make an oil lamp at home, you’ll need a container, wick, and lamp oil. Fill the container with the oil, insert the wick, and light it up!
What Are The Best Materials For Making An Oil Lamp?
The best materials for making an oil lamp are glass or metal containers, cotton wicks, and pure lamp oil. These materials ensure safety and durability.
How Long Does The Oil In An Oil Lamp Last?
The duration of the oil in an oil lamp depends on the container size and wick thickness. On average, a small oil lamp can burn for 6-8 hours.
Can I Use Alternative Oils In An Oil Lamp?
While traditionally lamp oil is used, you can also use alternative oils like olive oil or vegetable oil. However, they may produce more soot and give off a different scent.
Conclusion
Crafting an oil lamp is a simple and rewarding DIY project that anyone can try.
By following the step-by-step instructions provided in this blog post, you can easily create a functional and aesthetically pleasing lighting source.
Whether you’re looking to add a rustic touch to your decor or prepare for emergencies, making an oil lamp is a valuable skill to have.

I’m Emily Johnson, an affiliate marketer and blogger focused on lamps and lighting. I share honest reviews, simple buying guides, and practical tips. My goal is to help readers choose the right lamp for their space, style, and budget with confidence.