Lamps are not only functional sources of light, but also add charm and character to any room. However, like any other household item, they are prone to wear and tear, and one of the most common issues with lamps is a faulty socket. A broken or malfunctioning lamp socket can render your lamp unusable and diminish its overall appeal.
Credit: www.walmart.com
Why Repairing A Lamp Socket Is Important
Repairing a lamp socket is essential to ensure the proper functioning of your lamp. Ignoring a faulty socket can lead to various issues, including:
- Dim or flickering light
- Intermittent or complete loss of power
- Potential electrical hazards
By addressing these issues promptly, you can enjoy a well-lit and safe environment in your home.
Common Issues With Lamp Sockets
Lamp sockets can experience several common issues that may require repair. These issues include:
- Loose wiring connections
- Corroded contacts
- Broken or bent socket tab
- Worn-out or damaged socket interior
Identifying the specific issue with your lamp socket is crucial for effective repair.
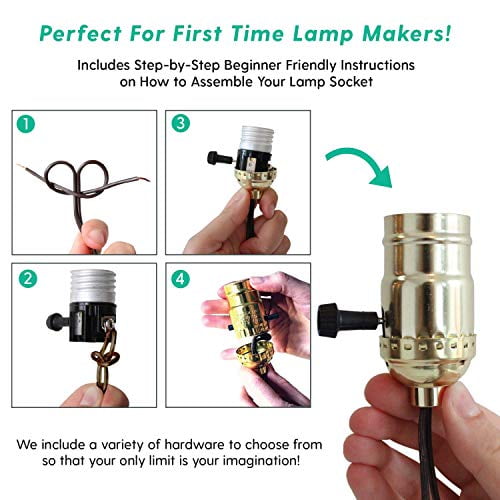
Tools And Materials Needed For Lamp Socket Repair
Before you begin repairing your lamp socket, gather the following tools and materials:
| Tools | Materials |
|---|---|
| Small pair of needle-nose pliers | Replacement socket |
| Screwdriver | Wire stripper |
| Electrical tape |
Note: The specific tools and materials required may vary depending on the type and model of your lamp socket.
By having these tools and materials ready, you’ll be fully prepared to repair your lamp socket efficiently.
How to Fix a Lamp Socket? Your Complete Repair Guide
If you have a lamp that’s not turning on or a light socket that’s broken, don’t worry! Fixing a lamp socket is easier than you might think. In this step-by-step guide, we’ll walk you through the process of fixing a lamp socket on your own. With a few simple tools and some patience, you’ll have your lamp shining bright again in no time.
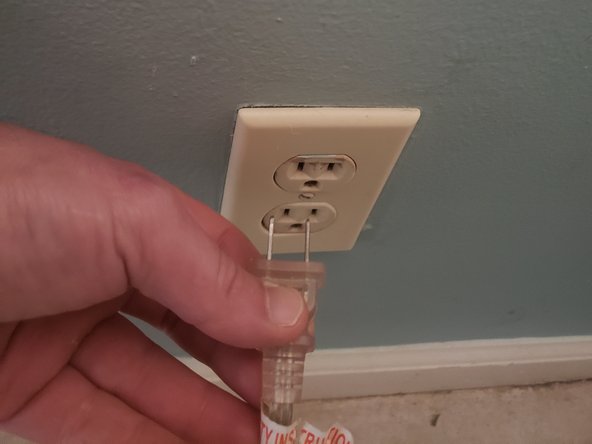
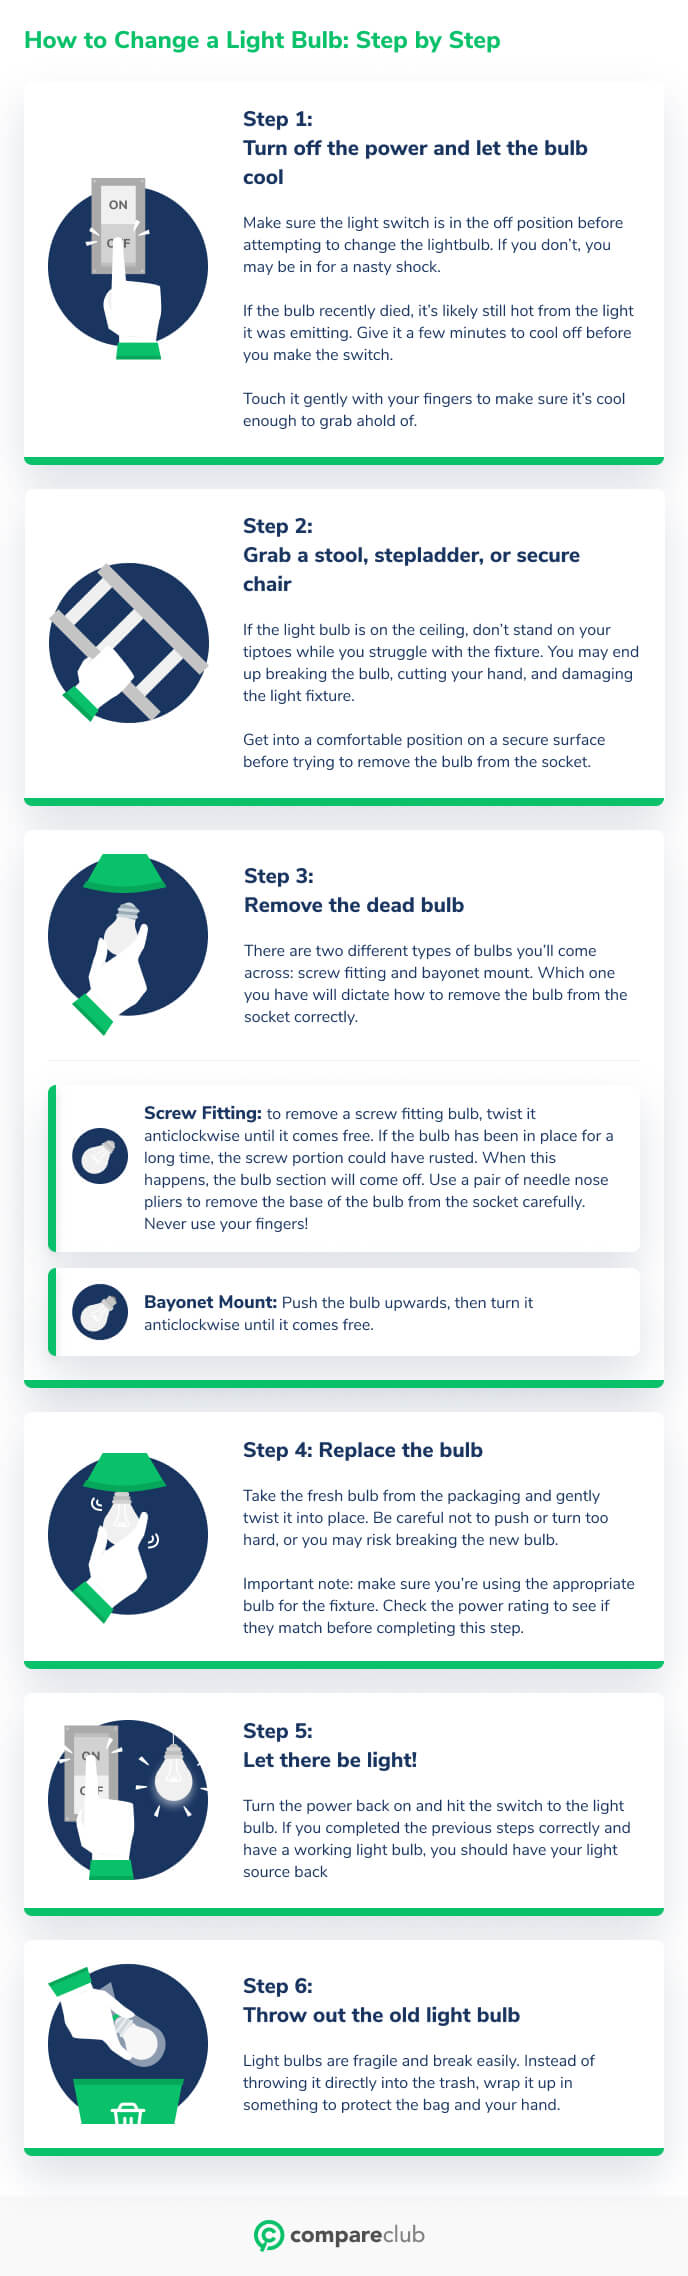
Step 1: Disconnect Power And Gather Necessary Tools
The first step in fixing a lamp socket is to disconnect the power. This ensures your safety throughout the process. Make sure to unplug the lamp from the electrical outlet or turn off the circuit breaker that powers the lamp. Once the power is disconnected, gather the necessary tools for the job:
| Tools |
|---|
| Small pair of needle-nose pliers |
| Screwdriver (if applicable) |
| New lamp socket |
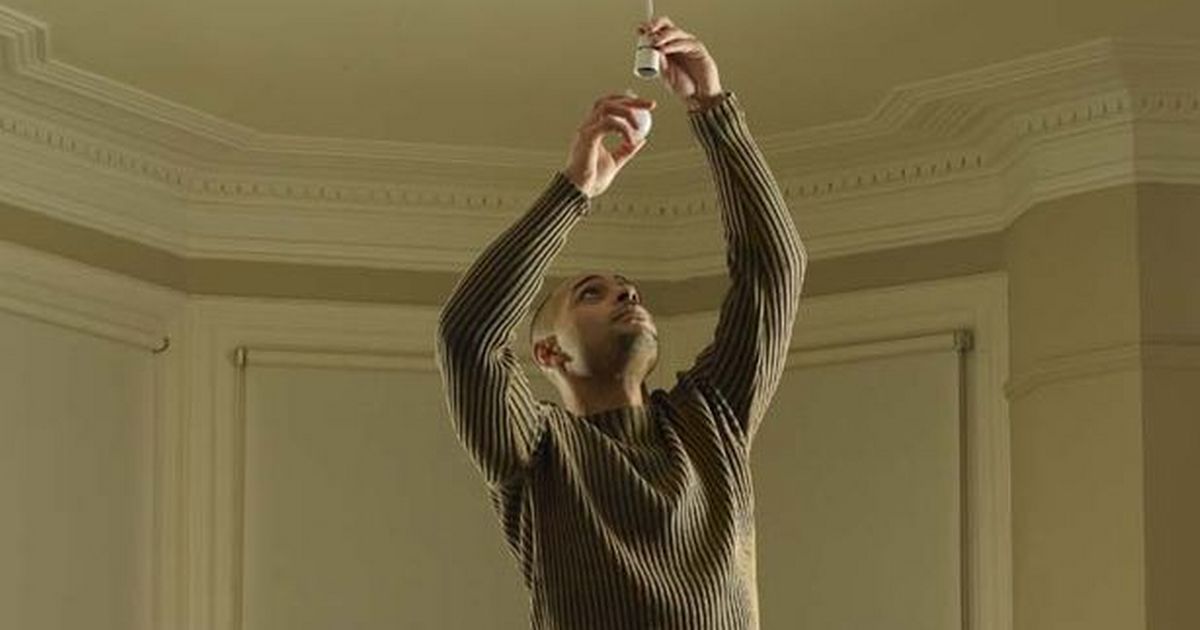
Step 2: Remove The Bulb And Shade
To access the lamp socket, you’ll need to remove the bulb and shade. Start by unscrewing the bulb counterclockwise and set it aside. Then, carefully remove the lampshade, taking care not to damage it. Set the lampshade aside in a safe place.
Step 3: Disassemble The Lamp Socket
Now that you have access to the lamp socket, it’s time to disassemble it. Depending on the type of lamp socket you have, there may be screws or other fasteners holding it in place. Use the appropriate tools to remove any screws or fasteners and carefully detach the socket from the lamp base.
Step 4: Replace The Broken Socket
With the old socket removed, it’s time to replace it with a new one. Take the new lamp socket and align it with the threaded socket opening in the lamp base. Secure the new socket in place using the screws or fasteners provided. Make sure it is tightly attached to ensure a proper connection.
Step 5: Reassemble And Test The Lamp
Once the new socket is securely in place, it’s time to reassemble the lamp. Carefully reattach any parts or components that were removed earlier, such as the lampshade. Make sure everything is properly aligned and tightened.
Finally, it’s time to test the lamp to ensure the new socket is functioning correctly. Plug the lamp back into the electrical outlet or turn on the circuit breaker. Once the power is restored, turn on the lamp to see if it lights up. If everything is working as expected, congratulations! You have successfully fixed the lamp socket.
Fixing a lamp socket doesn’t have to be a complicated task. By following this step-by-step guide, you can save time and money by repairing it yourself. With just a few tools and some basic know-how, you’ll have your lamp glowing again in no time.
Remember to always prioritize safety and consult a professional electrician if you’re unsure about any aspect of the repair process.
Additional Tips And Troubleshooting
Learn how to fix a lamp socket with these additional tips and troubleshooting techniques. From replacing a broken socket to fixing a wobbly lamp holder, these step-by-step instructions will help you repair your lamp and get it working again in no time.
How to Fix a Wobbly Lamp Socket
If your lamp socket is wobbly and causing the bulb to flicker or not work properly, there are a few simple steps you can take to fix it.
- Turn off the power: Before you begin any repairs, make sure to turn off the power to avoid any accidents. Unplug the lamp from the outlet or switch off the circuit breaker.
- Remove the bulb and shade: Gently unscrew the bulb from the socket and remove the lamp shade if there is one.
- Tighten the socket screws: Examine the socket and locate the screws that hold it in place. Use a screwdriver to tighten these screws, ensuring that the socket is securely held in position.
- Replace the socket insulation liner: If the socket is still wobbly after tightening the screws, check for a worn or missing insulation liner. This liner provides stability and prevents the socket from moving. If necessary, replace the insulation liner with a new one.
- Reassemble the lamp: Once the socket is stable, reattach the lamp shade and screw in the bulb. Make sure everything is securely in place and then restore the power to the lamp.
Dealing With Bad Sockets
Sometimes, the issue with a lamp socket goes beyond just being wobbly. If you have a bad socket that is causing the light to flicker or not work at all, you may need to replace it.
- Turn off the power: As always, start by turning off the power to the lamp to ensure your safety.
- Remove the bulb and shade: Unscrew the bulb from the socket and remove the lamp shade.
- Disconnect the wires: Carefully detach the wires connected to the old socket. Take note of which wire goes where to ease the installation of the new socket.
- Install the new socket: Take your new socket and connect the wires according to the previous configuration. Make sure they are securely fastened and insulated.
- Reassemble the lamp: Once the new socket is installed, reattach the lamp shade and screw in the bulb. Ensure everything is in place and functioning properly before restoring power to the lamp.
Credit: www.pacificlamp.com
Replacing A Lamp Light Socket
If you have tried fixing a wobbly or bad socket without success, it may be time to replace the entire lamp light socket. Follow these steps:
- Turn off the power: Always prioritize your safety by turning off the power to the lamp.
- Remove the bulb and shade: Unscrew the bulb and remove the lamp shade.
- Remove the old socket: Disconnect the wires connected to the old socket and unscrew it from the lamp base or fixture.
- Install the new socket: Take your new socket and connect the wires according to the previous configuration. Screw the new socket into the lamp base or fixture securely.
- Reassemble the lamp: Once the new socket is in place, reattach the lamp shade and screw in the bulb. Ensure everything is functioning properly before restoring power to the lamp.
Common Mistakes To Avoid
When attempting to fix a lamp socket, there are a few common mistakes to avoid to ensure a successful repair:
- Forgetting to turn off the power: Always switch off the power or unplug the lamp before making any repairs to avoid electrical accidents.
- Not using the correct tools: Make sure to use the appropriate tools for the job, such as a screwdriver or needle-nose pliers, to ensure a proper and secure repair.
- Incorrectly connecting the wires: Take note of the wire configuration before disconnecting them from the old socket. Incorrectly connecting the wires during installation can result in a faulty socket.
- Not checking for stability: After repairing or replacing a socket, always ensure that it is stable and secure before reassembling the lamp.
By following these additional tips and troubleshooting steps, you can easily fix a wobbly lamp socket or replace a faulty one, ensuring proper functionality and safety for your lighting fixtures.
Credit: compareclub.com.au
Frequently Asked Questions For How To Fix A Lamp Socket
Can You Fix A Broken Light Socket?
Yes, you can fix a broken light socket by replacing it or straightening the tab with needle-nose pliers. Make sure the power is off before attempting any repairs.
How Do You Fix A Loose Lamp Socket?
To fix a loose lamp socket, follow these steps:
- Make sure the power is off.
- Use needle-nose pliers to pinch and straighten any flattened tabs.
- If the socket is broken or missing a tab, replace the socket.
- Reattach the wires securely.
- Turn on the power and test the lamp.
How Do You Replace A Lamp Light Socket?
To replace a lamp light socket, start by loosening the screws on the socket’s terminal to separate the wire. Make sure the wire is knotted to prevent it from being tugged out. Detach the socket from the lamp base and remove the old socket.
Install the new socket and tighten the screws. Finally, reassemble the lamp.
Conclusion
Fixing a lamp socket doesn’t have to be complicated. Whether it’s a loose socket, a broken tab, or a malfunctioning connection, you can easily resolve these issues with a few simple steps.
By following the proper instructions and using the right tools, you can replace or repair the lamp socket yourself, saving time and money.
Remember to prioritize safety by turning off the power before working on the socket. With a little bit of patience and effort, you’ll have your lamp shining brightly again in no time.

I’m Emily Johnson, an affiliate marketer and blogger focused on lamps and lighting. I share honest reviews, simple buying guides, and practical tips. My goal is to help readers choose the right lamp for their space, style, and budget with confidence.