To make cotton wicks for oil lamps, collect cotton string or yarn and soak it in oil for a few minutes, then let it dry completely. Cotton wicks for oil lamps can be easily made at home using basic materials.
Oil lamps have long been treasured for their timeless beauty and warm, flickering glow. A key element in the functionality of an oil lamp is the cotton wick, which absorbs the fuel and provides a steady flame. If you’re eager to learn how to create cotton wicks for oil lamps, you’ve come to the right place.
Crafting your own cotton wicks allows you to tailor their size and quality, ensuring optimal performance for your oil lamp. To embark on this creative endeavor, you will need some basic materials such as cotton string or cord, scissors, and a vessel for soaking the wicks in your chosen lamp oil.
By following a few simple steps, you can produce wicks that are efficient, long-lasting, and capable of producing a clean, consistent flame. Whether you’re a seasoned enthusiast of oil lamps or simply drawn to the nostalgic charm they exude, discovering how to create cotton wicks for oil lamps offers a rewarding opportunity to illuminate your space with a touch of vintage elegance.

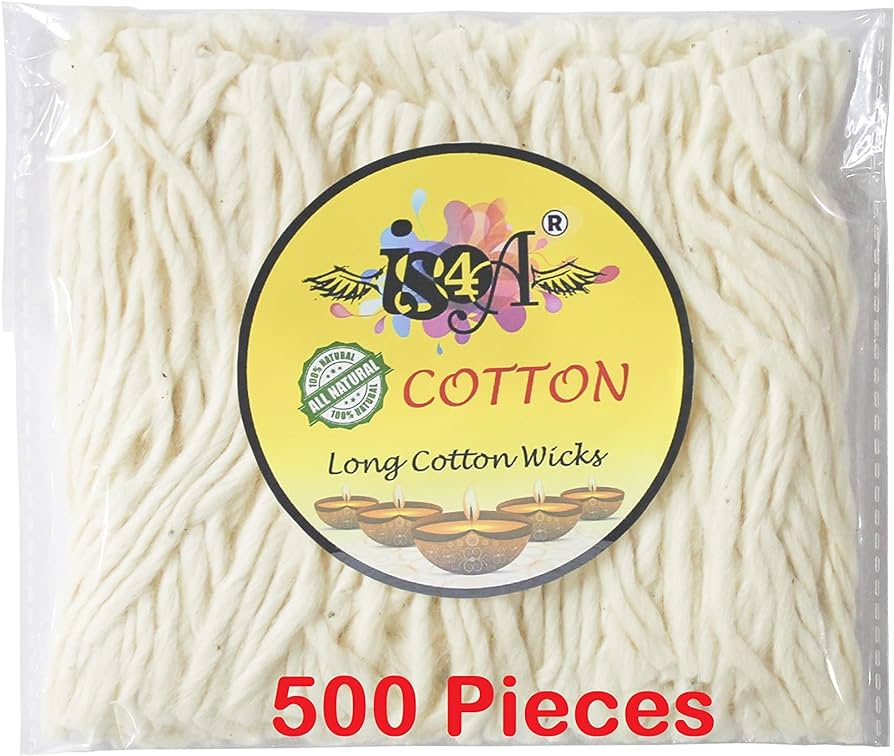
Credit: www.amazon.com
Choosing the Right Material
When it comes to making cotton wicks for oil lamps, choosing the right material is essential for a successful and efficient lighting experience. The material you select will greatly impact the burn time, flame quality, and overall performance of your oil lamp. In this section, we will explore the importance of material selection and discuss the various options available.
Understanding The Importance Of Material
The choice of material for your cotton wicks plays a crucial role in determining the functionality and longevity of your oil lamps. The material directly affects the capillary action, which is responsible for drawing the oil up into the wick and facilitating the combustion process. Opting for the right material ensures that the wick absorbs and transports the oil efficiently, resulting in a steady, clean-burning flame.
Types of Cotton for Wicks
When it comes to cotton wicks, there are several options to consider. Choosing the right type of cotton contributes to the overall performance and effectiveness of your oil lamp. Here are some common types of cotton used for wicks:
- Cotton String: Ideal for general-purpose oil lamps, cotton string wicks are easy to find and versatile. They provide a consistent and reliable burning experience.
- Flat Cotton Wick: These wicks have a wide, flat surface area, offering a larger flame size and longer burn time. They are commonly used in larger oil lamps or lanterns.
- Braided Cotton Wick: Braided cotton wicks are known for their enhanced capillary action and excellent absorbency. They provide a consistent and long-lasting flame, making them suitable for intensive use.
Evaluating Other Wicking Material Options
While cotton is the most commonly used material for oil lamp wicks, there are alternatives worth considering. Depending on your specific requirements, you may explore other materials to achieve desired results. Here are a few options to evaluate:
- Linen Wicks: Linen wicks offer a similar performance to cotton wicks, delivering a reliable flame and efficient oil absorption. They are a suitable alternative for those looking for a more natural and eco-friendly option.
- Fiberglass Wicks: Fiberglass wicks are known for their durability and long lifespan. They do not burn, making them a popular choice for frequent oil lamp users. However, fiberglass wicks may require an initial priming process before use.
- Composite Wicks: Composite wicks are constructed using a combination of materials. They are designed to deliver specific characteristics, such as enhanced flame brightness or reduced smoke production. Consider composite wicks if you have unique or specific lighting preferences.
Preparing Cotton Wicks
Making your own cotton wicks for oil lamps not only adds a personal touch to your lighting solutions but also ensures a more efficient and long-lasting burn. Preparing the cotton wicks correctly is a crucial step in this process. In this section, we will guide you through the essential steps involved in preparing cotton wicks for oil lamps. From selecting the proper thickness to rolling the wicks, we’ve got you covered.
Selecting the Proper Thickness
The thickness of the cotton wick determines how fast the oil is drawn up to the flame. For oil lamps, it is best to select a wick that is not too thin or too thick, striking the perfect balance for optimal performance. Here are a few key points to consider when selecting the proper thickness:
- Opt for a cotton wick that is around 1/4 inch thick for small to medium-sized oil lamps.
- If you have a larger oil lamp, you can go for a slightly thicker wick, around 1/2 inch thick.
- Ensure that the wick is made of 100% natural cotton for the best results.
Cutting and Trimming the Cotton Strips
Once you have selected the appropriate thickness for your cotton wick, it’s time to cut and trim the cotton strips to the desired length. Follow these steps to ensure you have well-prepared cotton wicks for your oil lamps:
- Take a pair of sharp scissors and cut the cotton strip into lengths that are slightly longer than the height of your oil lamp.
- Ensure that the strips are cut straight and free from any frayed edges.
- Trim the ends of each cotton strip to remove any loose threads or uneven portions.
Rolling Wicks
Now that you have the properly trimmed cotton strips, it’s time to roll them into wicks that will provide a steady and consistent flame. Follow these steps to roll the cotton wicks:
- Place a cotton strip on a clean and flat surface.
- Start rolling the cotton strip tightly from one end to the other, maintaining a consistent pressure.
- Ensure that the rolling is done evenly, without any gaps or loose parts.
- Once you reach the end of the strip, secure the rolled wick by tucking in the loose end or using a small piece of adhesive tape.
By following these steps, you can successfully prepare your own cotton wicks for oil lamps. Not only will you have control over the quality and performance of your wicks, but you will also experience a more enjoyable and efficient lighting experience.
Treating Cotton Wicks
When it comes to using oil lamps, having properly treated cotton wicks is essential for a steady and long-lasting flame. Treating the cotton wicks involves dipping them in wax, soaking them in oil, and burning off any excess. In this guide, we will walk you through each step of treating the cotton wicks to ensure that you have high-quality wicks for your oil lamps.
Dipping Wicks In Wax
To begin the treatment process, you will need to dip the cotton wicks in wax. This helps to coat the fibers and make them more resistant to burning too quickly. Follow these steps to dip your wicks in wax:
- Cut your cotton wicks to the desired length.
- Melt a block of wax in a double boiler or wax melting pot.
- Once the wax has melted, carefully dip the cotton wicks into the wax.
- Hold the wick in the wax for a few seconds to ensure it is fully coated.
- Remove the wick from the wax and allow any excess to drip off.
- Place the wax-coated wicks on a sheet of wax paper to dry and harden.
By dipping your cotton wicks in wax, you create a protective barrier that helps them burn more evenly and for longer periods of time.
Soaking Wicks In Oil
Once the wax coating has dried, the next step in treating the cotton wicks is to soak them in oil. This impregnates the fibers with oil, ensuring a consistent fuel source for the flame. Follow these steps to soak your wicks in oil:
- Prepare a container with the oil of your choice. Olive oil or vegetable oil are commonly used options.
- Submerge the wax-coated wicks in the oil, ensuring they are fully covered.
- Leave the wicks in the oil for at least 24 hours.
- Gently lift the wicks out of the oil and allow any excess oil to drip off.
- Place the oil-soaked wicks on a clean surface to air dry.
Soaking the cotton wicks in oil ensures a steady and consistent fuel supply, allowing for a longer duration of flame when used in oil lamps.
Burning Off Any Excess
Once the oil-soaked wicks have dried, it is important to burn off any excess oil before using them in your oil lamps. This step helps to remove any residual oil that may cause smoking or odor when the wicks are lit. Here’s how to burn off the excess oil:
- Light the end of the wick with a match or a lighter.
- Allow the flame to burn for a few seconds until the excess oil has burned off.
- Blow out the flame and let the wick cool before use.
Burning off any excess oil ensures a cleaner and more efficient burn when you light your oil lamps.
Using and Maintaining Cotton Wicks
Learn how to create and maintain cotton wicks for your oil lamps. Discover essential tips and techniques to ensure optimal performance and longevity for an enjoyable and efficient lighting experience.
Installed Wicks
When it comes to using cotton wicks for oil lamps, proper installation is crucial for optimal performance. To install the wicks, follow these simple steps:
1. Start by removing the old wick from the lamp. Gently pull it out or unwind it, depending on the design of your lamp.
2. Take your new cotton wick and unravel it completely. Ensure that it is long enough to reach the bottom of the oil reservoir, allowing for a steady and continuous flame.
3. Thread the wick through the wick holder or holder plate, ensuring that it is centered and straight.
4. Place the wick holder back into the lamp, making sure it fits securely. It should sit just above the oil level, ensuring proper combustion of the oil.
5. Trim any excess wicks protruding from the holder, leaving about ¼ inch for easy lighting.
Proper Care and Maintenance
To ensure the longevity and efficiency of your cotton wicks, it’s essential to provide regular care and maintenance. Follow these guidelines to keep your wicks in tip-top condition:
1. Trim the wick regularly:
Over time, the wick may become charred or too long, affecting the quality of the flame. Trim the wick before each use to maintain a clean and steady burn. Use a sharp pair of scissors or wick trimmers to cut the wick to the desired length.
2. Remove any debris:
Occasionally, debris or soot may accumulate around the wick, hampering its performance. Use a small brush or a piece of cotton cloth to gently clean the area around the wick. Be careful when doing this, as some lamps may still contain hot oil.
3. Avoid using low-quality oils:
The quality of the oil you use in your lamp can directly impact the lifespan of your wick. Opt for high-quality, purified lamp oil, as lower-grade oils may contain impurities that can clog the wick and affect its performance.
4. Store the lamp properly:
When not in use, store your oil lamp in a cool, dry place. This will help prevent the wick from accumulating moisture or mold. Additionally, make sure the oil reservoir is clean and dry before storing the lamp.
Replacing Old Wicks
Over time, cotton wicks can become worn out or clogged, leading to a diminished flame. It’s important to replace old wicks promptly to maintain a consistent light source. Here’s how to replace your cotton wick:
1. Start by extinguishing the flame and allowing the lamp to cool completely.
2. Remove the wick holder from the lamp, carefully pulling the old wick out.
3. Clean any residue or debris from the wick holder and discard the old wick.
4. Following the installation steps mentioned earlier, insert a new cotton wick into the holder and trim it to the desired length.
5. Place the wick holder back into the lamp, ensuring it fits securely before adding fresh lamp oil.
By following these guidelines and properly using and maintaining your cotton wicks, you can enjoy a consistent and long-lasting flame in your oil lamps. Remember to always exercise caution when handling lit lamps and to keep flammable materials away from the flame.
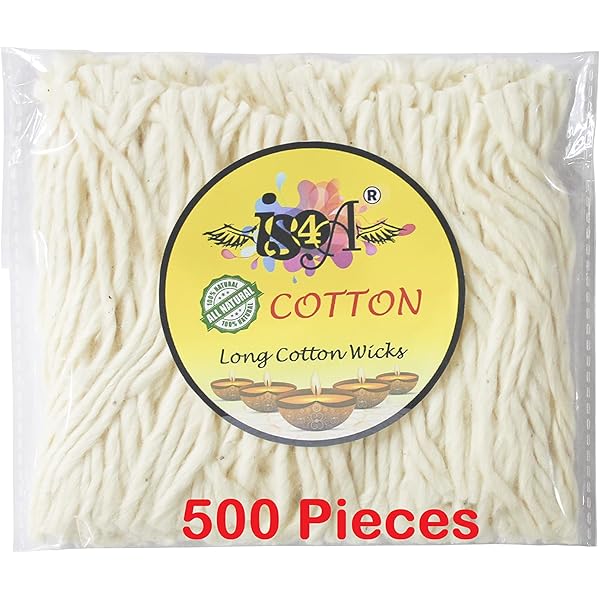
Credit: www.amazon.com
Frequently Asked Questions For How To Make Cotton Wicks For Oil Lamps
How Do You Make Cotton Wicks For Oil Lamps?
To make cotton wicks for oil lamps, simply cut a piece of cotton string to the desired length, dip it in oil, and let it soak.
What Is The Best Type Of Cotton For Oil Lamp Wicks?
The best type of cotton for oil lamp wicks is 100% natural, unbleached cotton, as it burns cleaner and longer.
How Long Do Cotton Wicks Last In Oil Lamps?
Cotton wicks can last for hours in oil lamps, depending on the type of oil used and the width of the wick.
Can I Reuse Cotton Wicks For Oil Lamps?
Yes, you can reuse cotton wicks for oil lamps. Simply trim the charred portion and soak the wick in fresh oil before using again.
Conclusion
Now you have all the knowledge and skills necessary to make your own cotton wicks for oil lamps. By following the step-by-step process detailed in this blog post, you can create inexpensive and efficient wicks that will produce a steady and long-lasting flame.
So, go ahead and start experimenting with different cotton threads and oils to find the perfect combination for your oil lamps. Enjoy the warm and cozy ambiance created by your homemade cotton wicks!

I’m Emily Johnson, an affiliate marketer and blogger focused on lamps and lighting. I share honest reviews, simple buying guides, and practical tips. My goal is to help readers choose the right lamp for their space, style, and budget with confidence.