Installing a wall lamp can transform a room, much like a carefully chosen piece of art. Whether it’s casting a warm glow in your living room or adding a touch of elegance to your hallway, the process of hanging one comes with its own set of intricacies. Knowing the right steps can make all the difference between a haphazard job and a professionally mounted piece.
Wall lamps have evolved from simple candle holders mounted to the wall to elaborate fixtures that blend style with functionality. The key to a successful installation lies in securing the mounting plate firmly and ensuring the electrical connections are both safe and compliant with code. It’s interesting to note that 76% of decorators consider wall lighting as a primary design element, emphasizing its importance in modern interior design.
- Select the ideal spot, ensuring both aesthetic and functional considerations.
- Mark the location and drill holes using appropriate tools for your wall type.
- Install the mounting bracket securely to the wall.
- Connect the electrical wires: black to black, white to white, ground to ground.
- Secure the lamp onto the bracket and double-check stability before restoring power.
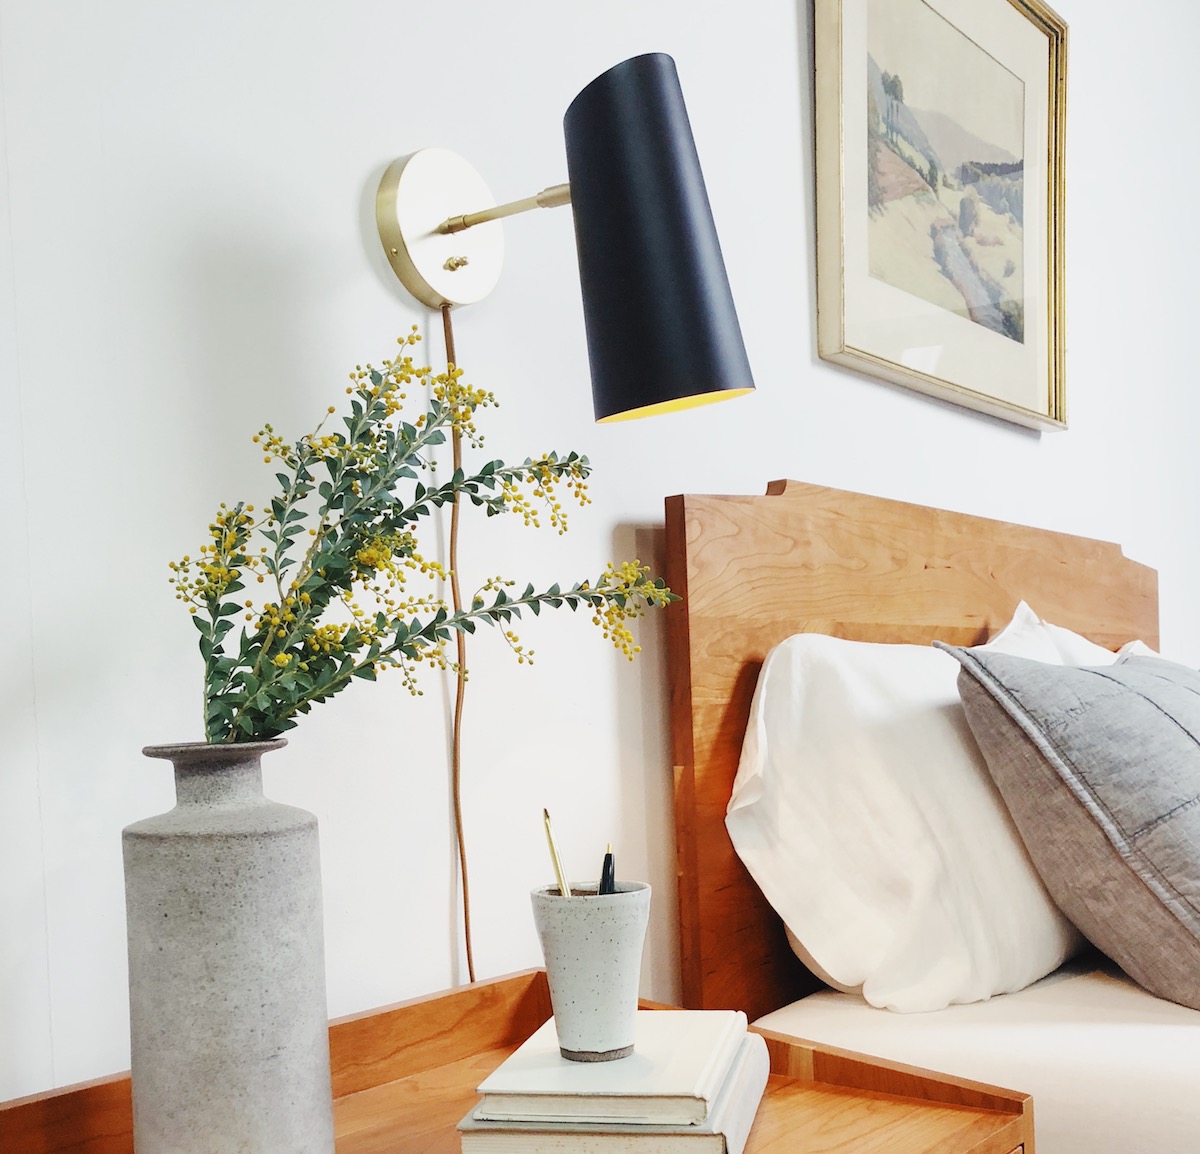
How to Hang a Wall Lamp
First, decide where you want to hang your wall lamp. The location should be convenient for both aesthetics and functionality. A good rule is to place it at eye level, around 60-66 inches from the floor. Use a pencil to mark the spot. This will help guide you as you move forward.
Next, you’ll need to drill holes for the mounting bracket. Use a level to ensure your marks are straight. This is crucial for a professional look. Depending on your wall type, you may need different drills, such as a masonry bit for concrete walls. Then, secure the bracket using screws and wall anchors if necessary.
After installing the bracket, it’s time to work on electrical connections. Make sure the power is off at the circuit breaker. Match the wires from the lamp to those from the wall: usually black to black, white to white, and ground to ground. Use wire nuts to connect them, ensuring they are tight and secure. Finally, tuck the wires neatly into the electrical box.
Finally, attach the lamp to the bracket securely. Gently slide the lamp onto the bracket and tighten any screws to hold it in place. Double-check that everything is stable. Turn the power back on at the breaker, and switch on your new wall lamp. For more tips on securing different types of lamps, check this post.
Step 1: Choosing the Right Location
Picking the right spot for your wall lamp is crucial for getting the best light and design impact. Think about where you need the most illumination, like near a reading chair or above a workspace. Also, consider how the lamp will look in the room overall. Will it complement other design elements or stick out awkwardly? Assessing these factors early makes the installation process smoother.
Make sure the location is accessible for wiring if it’s a hardwired lamp. Follow the proximity to existing electrical outlets, as this might dictate where the lamp can go. A good practice is to keep the lamp at least 20 inches away from any other wall socket. This helps avoid interference and ensures a neater appearance. Don’t forget to measure twice before you drill.
Additionally, think about the user experience. For example, a lamp placed too high may not be easy to switch on and off. A height of about 60 inches from the floor is generally recommended. This makes it easily reachable while also providing ample light coverage. Make sure to test different spots before settling on the final location.
If putting holes in the wall is an issue, there are alternative methods to consider. According to this post, adhesive hooks or mounting strips can be effective solutions. These methods are less permanent and offer flexibility if you decide to move the lamp later. They can also be a great way to test out different locations without committing immediately.
Step 2: Marking and Drilling the Required Holes
Once you’ve picked the perfect spot for your wall lamp, marking the exact location for drilling is next. Use a pencil to make small, visible marks at the mounting points. Ensure these marks are level for a professional finish. A laser level or traditional bubble level can help you achieve the right alignment. Proper alignment ensures the lamp sits straight and securely.
After marking, it’s time to get your drill ready. Use a drill bit that matches the size of your mounting screws. If you’re drilling into drywall, consider using wall anchors for added stability. When drilling into tougher surfaces like brick or concrete, a masonry bit will be necessary. Always drill slowly to avoid cracking or damaging the wall.
Drilling into the wall might seem daunting, but taking precautions can make the process easier and safer. Start by drilling pilot holes at your marked points. This small step makes it easier to insert screws or anchors later. Keep the drill steady and straight to avoid making uneven holes. If you’re unsure, practicing on a scrap piece of wood can help build confidence.
Once the pilot holes are drilled, check for any obstructions behind the wall, such as wiring or pipes. Moving forward cautiously can prevent potential hazards. Once clear, insert your wall anchors if needed. For additional guidance on securing lamps, refer to this post. Then, proceed with attaching your mounting bracket securely to the wall.
Step 3: Installing the Mounting Bracket
Installing the mounting bracket is a crucial step in hanging your wall lamp securely. First, align the bracket with the pre-drilled holes. Make sure it matches up perfectly to avoid any later adjustments. Hold it in place, and then proceed to tighten the screws. Ensuring tight screws guarantees the bracket is firmly attached to the wall.
If you’re working with heavier lamps, additional support is advisable. Use wall anchors if your lamp’s weight surpasses the capacity for standard screws. Anchors distribute the weight more evenly, preventing potential damage. Note the different types of wall anchors available for drywall, plaster, or concrete walls. Choosing the right one can enhance overall stability.
Double-check that the bracket is level before securing it completely. Use a bubble level to confirm it’s perfectly horizontal. This small step avoids the hassle of a lopsided lamp later on. It’s better to adjust now than to fix it after wiring. A level bracket contributes to a professional and neat appearance.
Attach any additional support components specified in the lamp’s instruction manual. Some brackets come with a backplate or additional screws for added security. Follow the manufacturer’s guidelines closely for the best results. Ensuring adherence to these instructions keeps your installation safe and durable. Properly installed brackets also make future maintenance easier.
It’s also a good idea to give the bracket a slight tug once everything is tightened. This test confirms that the installation is robust and can hold the lamp’s weight. Feeling it move might indicate the need to tighten screws further or add more support. Confidence in a sturdy bracket means peace of mind as you finish the installation process.
Step 4: Making Electrical Connections
Once your mounting bracket is secure, the next step is making the electrical connections. Begin by turning off the power to the room at the circuit breaker. Safety is critical here, so double-check that the power is off using a voltage tester. Exposed wires can be hazardous if the power is not completely shut off. Prior preparation ensures a safe and smooth process.
Identify the wires coming from the wall and the lamp. Typically, you’ll see black (live), white (neutral), and green or copper (ground) wires. Connect the black wire from the wall to the black wire from the lamp. Repeat this for the white wires. The final step is connecting the ground wires.
| Wire Color | Function |
|---|---|
| Black | Live/Hot |
| White | Neutral |
| Green or Copper | Ground |
Use wire nuts to secure all the connections. Twist the nuts firmly to ensure there are no loose wires. This prevents short circuits and other electrical problems. Make sure all bare wires are covered and there is no exposed copper. Tucking the connected wires neatly into the electrical box helps maintain safety and aesthetics.
Before finalizing, tug gently on each wire to check for secure connections. Loose connections can lead to flickering or even electrical fires. Double-checking your work ensures everything is properly connected. Once you’re satisfied, you can turn the power back on at the circuit breaker. Test the lamp to make sure it’s working perfectly.
Step 5: Securing the Lamp to the Wall
With your electrical connections in place, it’s time to secure the lamp to the wall. First, align the lamp’s base with the mounting bracket. Make sure the holes in the lamp match up with the screws or bolts in the bracket. Gently slide the lamp onto the bracket, ensuring a snug fit. This step sets the foundation for a stable installation.
Once aligned, use a screwdriver to tighten the screws that hold the lamp to the bracket. Take your time to ensure they are securely fastened, but avoid over-tightening, which could damage the lamp or wall. A well-secured lamp is essential for both functionality and safety. After securing, give the lamp a gentle shake to ensure it’s firmly in place. Any wobbling indicates further tightening is needed.
Check for any additional attachments or decorative elements included with your lamp. Some lamps may have covers or shades that need to be attached separately. Follow the manufacturer’s instructions for adding these final touches. Completing these steps gives the lamp its finished look and ensures it’s ready for use. Double-check all fixtures to maintain a polished appearance.
After everything is secured, step back and review your work. Verify that the lamp is level and positioned correctly. This is your chance to make any minor adjustments before declaring the job complete. Turn on the lamp to test the light and adjust as needed. A final inspection guarantees a job well done and a beautifully lit room.
Safety Measures When Installing a Wall Lamp
Prioritizing safety when installing a wall lamp is essential to avoid accidents and ensure proper functioning. The first step is to turn off the power at the circuit breaker before starting any electrical work. This prevents any risk of electric shock while working with exposed wires. Using a voltage tester, double-check that the power is indeed off. This precautionary measure can’t be overstated.
Choosing the right tools and equipment for the job also enhances safety. Use insulated tools designed for electrical work to minimize the risk of shock. Make sure your ladder or step stool is sturdy and stable if you need to reach higher areas. Wearing rubber-soled shoes can provide extra grip and an added layer of protection from potential shocks. Collecting all necessary tools beforehand streamlines the process.