Picture the unmistakable charm and rustic elegance that a deer antler table lamp brings to any setting. This unique piece of decor not only illuminates a room but also adds an element of nature’s beauty to your home. Creating such a piece can be a rewarding project, blending creativity and craftsmanship.
The process begins with sourcing authentic antlers, typically from reputable suppliers or through sustainable collection after the deer has naturally shed them. Carefully drilling holes for the wiring and securing the antlers to a sturdy base is crucial. It’s essential to ensure proper electrical safety standards are followed to blend functionality with aesthetics successfully.
- Sourcing antlers ethically from reputable suppliers or through sustainable collection.
- Cleaning and inspecting the antlers for cracks or weak spots.
- Assembling a sturdy base using wood or metal, and securing the antlers.
- Threading and connecting the wiring, attaching the socket, and testing electrical components.
- Finishing touches with varnish or polish, adding a complementary lampshade.

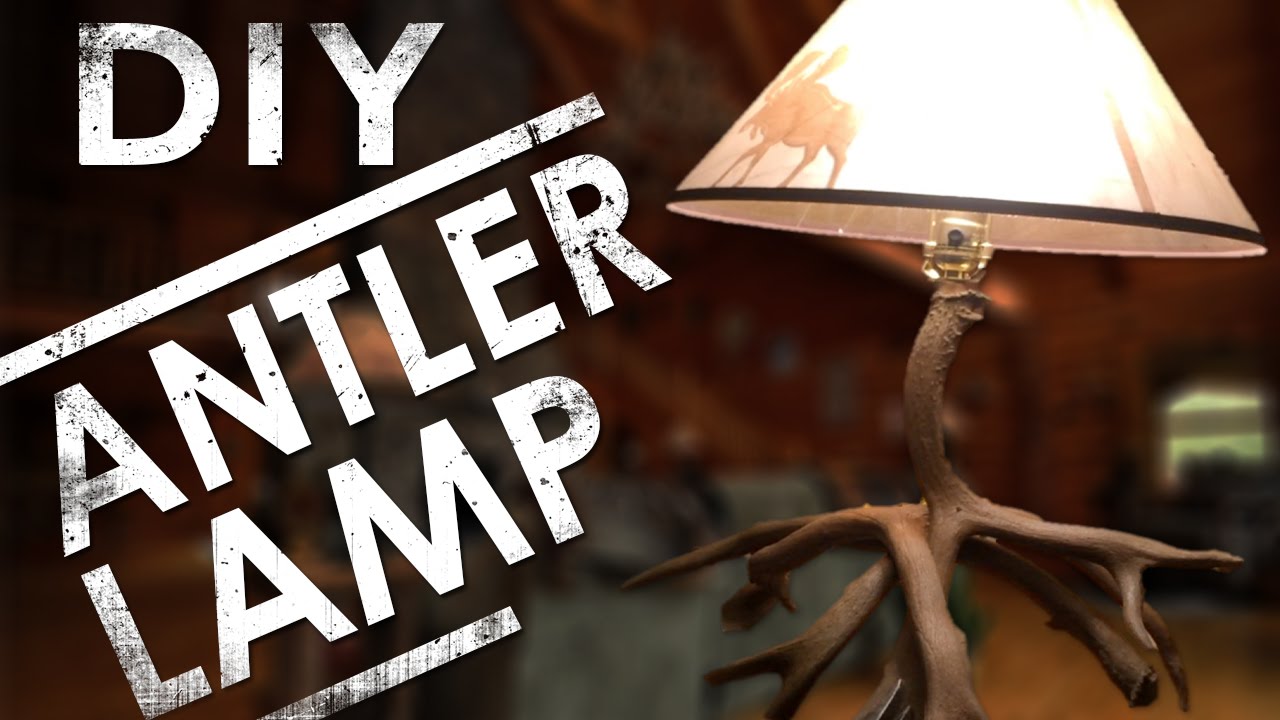
How to Make a Deer Antler Table Lamp
Creating a deer antler table lamp starts with sourcing authentic antlers. These can be found from suppliers or collected sustainably. Next, you need to prepare the antlers by cleaning them. Use a mild soap solution to remove any dirt. Make sure the antlers are completely dry before proceeding.
The next step involves assembling the lamp base. You might use a wooden or metal base. Secure the antlers to the base using screws or strong adhesive. Be sure to drill holes for wiring. The base should be stable and well-balanced.
For wiring, start by threading the cord through the drilled holes in the antlers. Attach the socket at the top, making sure it’s secure. Connect the wiring according to safety standards. You may need to consult a guide or professional for this step. Test the wiring before final assembly.
Finish your lamp by adding a lampshade that complements the antlers. Secure all parts tightly. Polish the antlers to give them a glossy finish if desired. Plug in your lamp and enjoy its unique glow. This project not only creates a functional piece but also adds a touch of nature to your decor.
Step 1: Sourcing the Antlers
To begin, you need to source authentic deer antlers. These can be obtained from various places such as online suppliers or local hunting shops. Another sustainable way is to gather antlers naturally shed by deer in the wild. This ensures the antlers are ethically sourced. Remember to check local regulations regarding antler collection.
When purchasing online, check reviews and ratings to ensure you’re getting quality antlers. It’s essential to choose antlers that are in good condition. Consider the size and shape based on your design preferences. Some suppliers offer matched pairs for a balanced look. Researching different sellers can help you find the best options.
In local hunting shops, you can inspect the antlers firsthand. Look for any cracks or damages. Feel the antler’s texture to ensure it’s smooth enough for your project. Prices may vary, so compare different shops. Sometimes you can find unique pieces that aren’t available online.
For those who prefer collecting in the wild, plan your search during the deer shedding season. Bring tools like gloves and a small saw for collection. Be respectful of nature and avoid disturbing wildlife habitats. It’s a great way to ensure your lamp has a personal touch. Plus, it’s an adventurous experience.
Step 2: Preparing the Antlers
Once you have sourced your antlers, the next step is preparing them. Start by thoroughly cleaning the antlers to remove any dirt or debris. Use a mild soap solution and a soft brush to scrub gently. Rinse them well and allow them to dry completely. This ensures a clean surface for the lamp construction.
After cleaning, inspect the antlers for any cracks or weak spots. If you notice any, use a wood filler or epoxy to repair them. Sand the repaired areas gently to make them smooth. This makes the antlers sturdy and ready for the next steps. Check all the antlers to ensure they are in good condition.
Drilling holes in the antlers is the next crucial step. Carefully mark the spots where the wiring will go through. Use a drill with a bit that matches the size of your wiring. Make sure to drill straight and steady to avoid damaging the antlers. This step requires precision and patience.
Finally, consider applying a finish to the antlers to enhance their natural beauty. You can use a clear varnish or a wood polish. This not only protects the antlers but also gives them a glossy sheen. Allow the finish to dry completely. Now, your antlers are prepped and ready for assembly.
Step 3: Assembling the Base
To start assembling the base, choose a material that complements the rustic look of the deer antlers. Popular choices include wood or metal bases. Ensure that the base you select is heavy enough to support the antlers. This provides stability and prevents the lamp from tipping over. You can find various base options at home improvement stores.
Once you have your base, position the antlers to determine the best placement. This can be done by arranging them in different configurations. Use a pencil to mark the spots where the antlers will be attached. It’s important to get this right to balance the overall look. Take your time to experiment with different arrangements.
Next, drill the necessary holes into the base where the antlers will be mounted. This step requires careful measurement to ensure accuracy. Use a drill bit that matches the size of your screws. Insert the screws through the holes in the antlers and securely fasten them to the base. This ensures the antlers are firmly attached.
If you prefer not to use screws, a strong adhesive like epoxy can also be used. Apply the adhesive to the contact points and press the antlers firmly onto the base. Allow it to dry for the recommended time. Make sure the bond is strong before moving on. This method offers a cleaner look.
Once the antlers are securely attached, check for stability. Ensure that the base is level and that the lamp stands upright. Adjust if necessary. Now, your base is assembled and ready for wiring. This completes the structural foundation of your deer antler table lamp.
Step 4: Installing the Wiring
Installing the wiring is a crucial step in making your deer antler table lamp functional. Begin by threading the electrical wire through the holes you previously drilled in the antlers. This can be tricky, so take your time to ensure the wire doesn’t get tangled. Use a wire fish tape to guide the wire if needed. Make sure the wire is long enough to reach from the bottom of the base to the top where the light bulb will be.
The next task is to attach the socket at the top of the lamp. Follow the manufacturer’s instructions for attaching the wires to the socket. Typically, this involves connecting the live (black) and neutral (white) wires. Ensure the connections are tight and secure to prevent any electrical issues. Use electrical tape to cover the exposed wires for added safety.
After connecting the socket, assemble the other wiring elements like the switch and the plug. If your lamp has an inline switch, cut the live wire and connect it to the switch terminals. Secure all connections with electrical tape. Attach the plug at the end of the wire, following the same principles for safe electrical connections. Double-check your work to ensure everything is properly connected.
Once all wiring is in place, test the lamp to make sure it works. Plug it in and flip the switch to see if the bulb lights up. If it doesn’t, double-check your connections and make any necessary adjustments. Safety is key, so handle everything carefully. Consult an electrician if you have any doubts.
Finally, securely fasten the socket to the top of the antler. Use a strong adhesive or small screws, depending on the socket design. Make sure the socket is stable and aligned correctly. Now, your wiring is complete, and the lamp is almost ready for use. This step transforms your project from a simple structure to a functional piece of art.
Step 5: Finishing the Lamp
As you near the end of your project, it’s time to focus on finishing touches. Start by polishing the antlers to enhance their natural beauty. You can use a clear varnish to give them a glossy finish. This not only makes the antlers look stunning but also protects them from dust and wear. Allow the varnish to dry completely before handling the lamp further.
Next, you’ll want to select and attach a lampshade. Choose one that complements the rustic feel of the antlers. Neutral colors or natural fabrics work well. Secure the lampshade to the socket, making sure it’s stable. The right lampshade can balance the overall look and provide the perfect amount of light.
Don’t forget to check the stability of the entire lamp. Ensure that the base is sturdy and the antlers are firmly attached. If you notice any wobbling, tighten the screws or add more adhesive where needed. A stable lamp not only looks better but is also safer to use. This final check is crucial for ensuring durability.
Now, give your lamp a trial run in its intended space. Plug it in and turn it on to see how it illuminates the room. Make any last adjustments to the placement of the antlers or lampshade. This ensures the light spreads evenly. Seeing your project come to life is incredibly rewarding.
Finally, consider adding a few decorative elements to personalize your lamp. You could wrap a leather strap around the base or add small beads to the antlers. These little touches can make your lamp unique. Enjoy the process and let your creativity shine. Your deer antler table lamp is now complete and ready to be admired.
Key Considerations when Making a Deer Antler Table Lamp
One of the most important factors is sourcing your antlers ethically and sustainably. Always check local laws and guidelines regarding antler collection. Many states have specific rules about collecting naturally shed antlers. Opt for purchasing from reputable suppliers if you cannot find them naturally. This ensures that you’re using ethical materials for your project.
The size and shape of the antlers play a crucial role in the final look of your lamp. Larger antlers make for a more dramatic effect, while smaller ones offer a subtler appearance. Consider the room where you’ll place the lamp. The antlers should complement rather than overwhelm the space. Choosing appropriately sized antlers helps achieve balance.
Safety is another major consideration, especially when it comes to wiring. Ensure that all electrical components meet safety standards. If you’re not confident in handling electrical work, seek professional help. Faulty wiring can be hazardous, so it’s better to be cautious. Double-check all connections before use.
Your choice of base can significantly affect both aesthetics and stability. Heavy bases like wood or metal provide necessary support, preventing your lamp from tipping over easily. They also add an element of style to your design. Make sure the base is level and sturdy for safe use.
Finally, consider maintenance and upkeep for your deer antler table lamp. Regular dusting keeps it looking fresh and attractive. Use appropriate cleaning products on both the base and the antlers to maintain their appearance over time. Proper care will keep your unique lamp in excellent condition for years to come.
Benefits of Making your own Deer Antler Table Lamp
One major benefit of making your own deer antler table lamp is the personal touch it adds to your home decor. Unlike mass-produced items, a handmade lamp is one-of-a-kind. You can tailor it to suit your style and preferences perfectly. This makes your space feel more unique and personalized. The satisfaction of creating something beautiful with your own hands is also immensely rewarding.
Crafting your lamp can also be cost-effective. Buying a pre-made deer antler lamp can be expensive. When you create your own, you can control the budget by selecting affordable materials. Additionally, you might already have some tools and supplies at home. This can significantly reduce the overall cost.
The process of making a deer antler lamp can also be a great learning experience. You’ll gain skills in woodworking, wiring, and design. These skills can be useful for future DIY projects. It’s an excellent way to develop a hands-on hobby. Learning through doing is both educational and enjoyable.
Another benefit is sustainability. By using naturally shed antlers or sourcing them ethically, you’re making an eco-friendly choice. This helps reduce waste and promotes responsible consumption. Your lamp will not only be beautiful but also environmentally responsible. It’s a win-win for your home and the planet.
Additionally, a homemade deer antler lamp can be a wonderful conversation piece. Guests are likely to admire your craftsmanship and ask about the process. It opens up opportunities to share your creative journey. This adds a social element to your project. Making such a unique piece can inspire others to try their own DIY projects.
Challenges in Making a Deer Antler Table Lamp
One of the primary challenges in making a deer antler table lamp is sourcing quality antlers. Finding antlers that are in good condition and ethically sourced can be difficult. You might have to search extensively online or visit multiple local shops. Additionally, genuine antlers can be expensive. This part of the project requires patience and careful selection.
Another challenge is working with the antlers’ unique shapes. Each antler is different, making it tricky to create a balanced and aesthetically pleasing lamp. You need to experiment with different arrangements. This step often involves trial and error. It can be time-consuming to find the perfect configuration.
Handling the wiring process also presents its own set of difficulties. Ensuring the electrical components are safely and correctly assembled is crucial. If you’re not experienced with electrical work, this can be intimidating. Incorrect wiring can lead to potential hazards like short circuits or fire risks. Consulting a professional may be necessary.
Drilling into antlers without cracking them is another point of concern. Antlers are strong, but they can fracture if not handled properly. Using the right tools and techniques is essential. Even with the proper tools, there is still a risk of damaging the antlers. Precision and caution are key during this step.
Maintaining stability in the final product can be challenging as well. The base needs to support the antlers securely to prevent the lamp from tipping over. Achieving this stability requires accurate measurements and a sturdy base. Any imbalance can affect both the aesthetic and functional aspects of your lamp. This requires meticulous planning and execution.
Maintainance and Care for a Deer Antler Table Lamp
Proper maintenance and care for your deer antler table lamp ensure it stays beautiful and functional for years. Begin by regularly dusting the antlers and the base. A soft, dry cloth works best to remove dust without scratching the surface. Avoid using water or harsh cleaning chemicals. Dusting weekly will keep your lamp looking fresh.
For deeper cleaning, use a mild soap solution. Dampen a cloth and gently wipe the antlers and the base. Make sure to dry them thoroughly afterward. This helps prevent any potential damage from moisture. Always test any cleaning solution on a small, inconspicuous area first to ensure it doesn’t harm the finish.
Pay attention to the wiring and electrical components as well. Check the cord and plug for any signs of wear or damage. If you notice frayed wires or loose connections, it’s crucial to address these issues immediately. Unplug the lamp before doing any inspections or repairs. If needed, consult a professional electrician for repairs.
Periodically check the stability of the lamp. Ensure that the screws and adhesive holding the antlers in place remain secure. Over time, these might loosen and affect the lamp’s balance. Tighten any loose screws and reapply adhesive if necessary. This will keep the lamp sturdy and safe to use.
To maintain the finish on the antlers, consider applying a coat of clear varnish every couple of years. This helps protect the antlers from dust and wear. It also restores their shine, making them look as good as new. Always follow the manufacturer’s instructions for application and drying times.

Frequently Asked Questions
Making a deer antler table lamp is a unique and rewarding project. Here are some commonly asked questions to help you along the way.
1. Where can I ethically source deer antlers for my lamp?
You can ethically source deer antlers from specialized online suppliers who offer naturally shed antlers. Some local hunting shops also sell deer antlers collected sustainably, ensuring no harm to the animals.
Additionally, during shedding season, you can gather antlers in wooded areas where deer live. Always check local regulations before collecting to ensure compliance with wildlife laws.
2. What tools are needed to drill holes into deer antlers?
To drill holes into deer antlers, you will need a power drill with a range of bit sizes matching your wiring diameter. Ensure that the bits are sharp and in good condition for clean drilling without cracking the antlers.
A vice or clamping tool is also useful for holding the antler securely while drilling. This setup helps maintain precision and safety during the process.
3. How do I ensure electrical safety when wiring the lamp?
Ensure electrical safety by using components that meet standard safety regulations and double-checking all wire connections. Cover exposed wires with electrical tape and securely connect them according to manufacturer instructions.
If you’re not experienced in wiring, consider consulting an electrician. Faulty wiring can be hazardous, so professional guidance ensures both functionality and safety.
4. What type of lampshade works best with a deer antler lamp?
The best lampshades for deer antler lamps are typically neutral-colored or made from natural fabrics like linen or burlap. These materials complement the rustic look of the antlers without overshadowing their natural beauty.
Select a size proportional to your lamp’s height and width to maintain balance and aesthetics. The right choice will enhance the overall design and light distribution effectively.
5. Are there any special finishes recommended for preserving deer antlers?
A clear varnish is highly recommended for preserving deer antlers as it provides a glossy finish while protecting against dust and wear. Apply thin coats evenly across the surface after cleaning thoroughly for best results.
Easily available at hardware stores, clear varnish not only beautifies but also extends the lifespan of your handcrafted piece, keeping it looking new longer.
Conclusion
Creating a deer antler table lamp is not just a fascinating project but also a rewarding journey. It combines creativity, sustainability, and practicality. With the right steps and considerations, you can craft a unique piece that stands out in your home.
From sourcing and preparing the antlers to assembling and wiring, each step requires attention to detail. The result is a beautiful and functional lamp that reflects your craftsmanship. Dive into this project with confidence and enjoy the process of making something truly special.

I’m Emily Johnson, an affiliate marketer and blogger focused on lamps and lighting. I share honest reviews, simple buying guides, and practical tips. My goal is to help readers choose the right lamp for their space, style, and budget with confidence.