
The evolution of nail care has come a long way, with UV and LED lamps transforming the industry. Many professionals swear by the efficiency and reliability of the SUNUV nail lamp in achieving perfect gel nail polish. Have you ever wondered what makes this tool indispensable in salons around the world?
Using the SUNUV nail lamp is straightforward yet incredibly efficient. Simply plug in the lamp and select the appropriate timer setting based on the type of gel polish you’re using. Make sure to position your nails correctly under the light to ensure even curing. Within seconds, you’ll notice a significant difference in the durability and finish of your nails, all thanks to advanced LED technology.
- Place the SUNUV nail lamp on a stable surface and plug it in.
- Select the desired timer setting (30, 60, or 90 seconds) based on your gel polish type.
- Position your hand inside the lamp, ensuring all nails are evenly spaced under the light.
- Wait for the timer to complete and remove your hand.
- For best results, clean the lamp regularly with a soft, dry cloth.
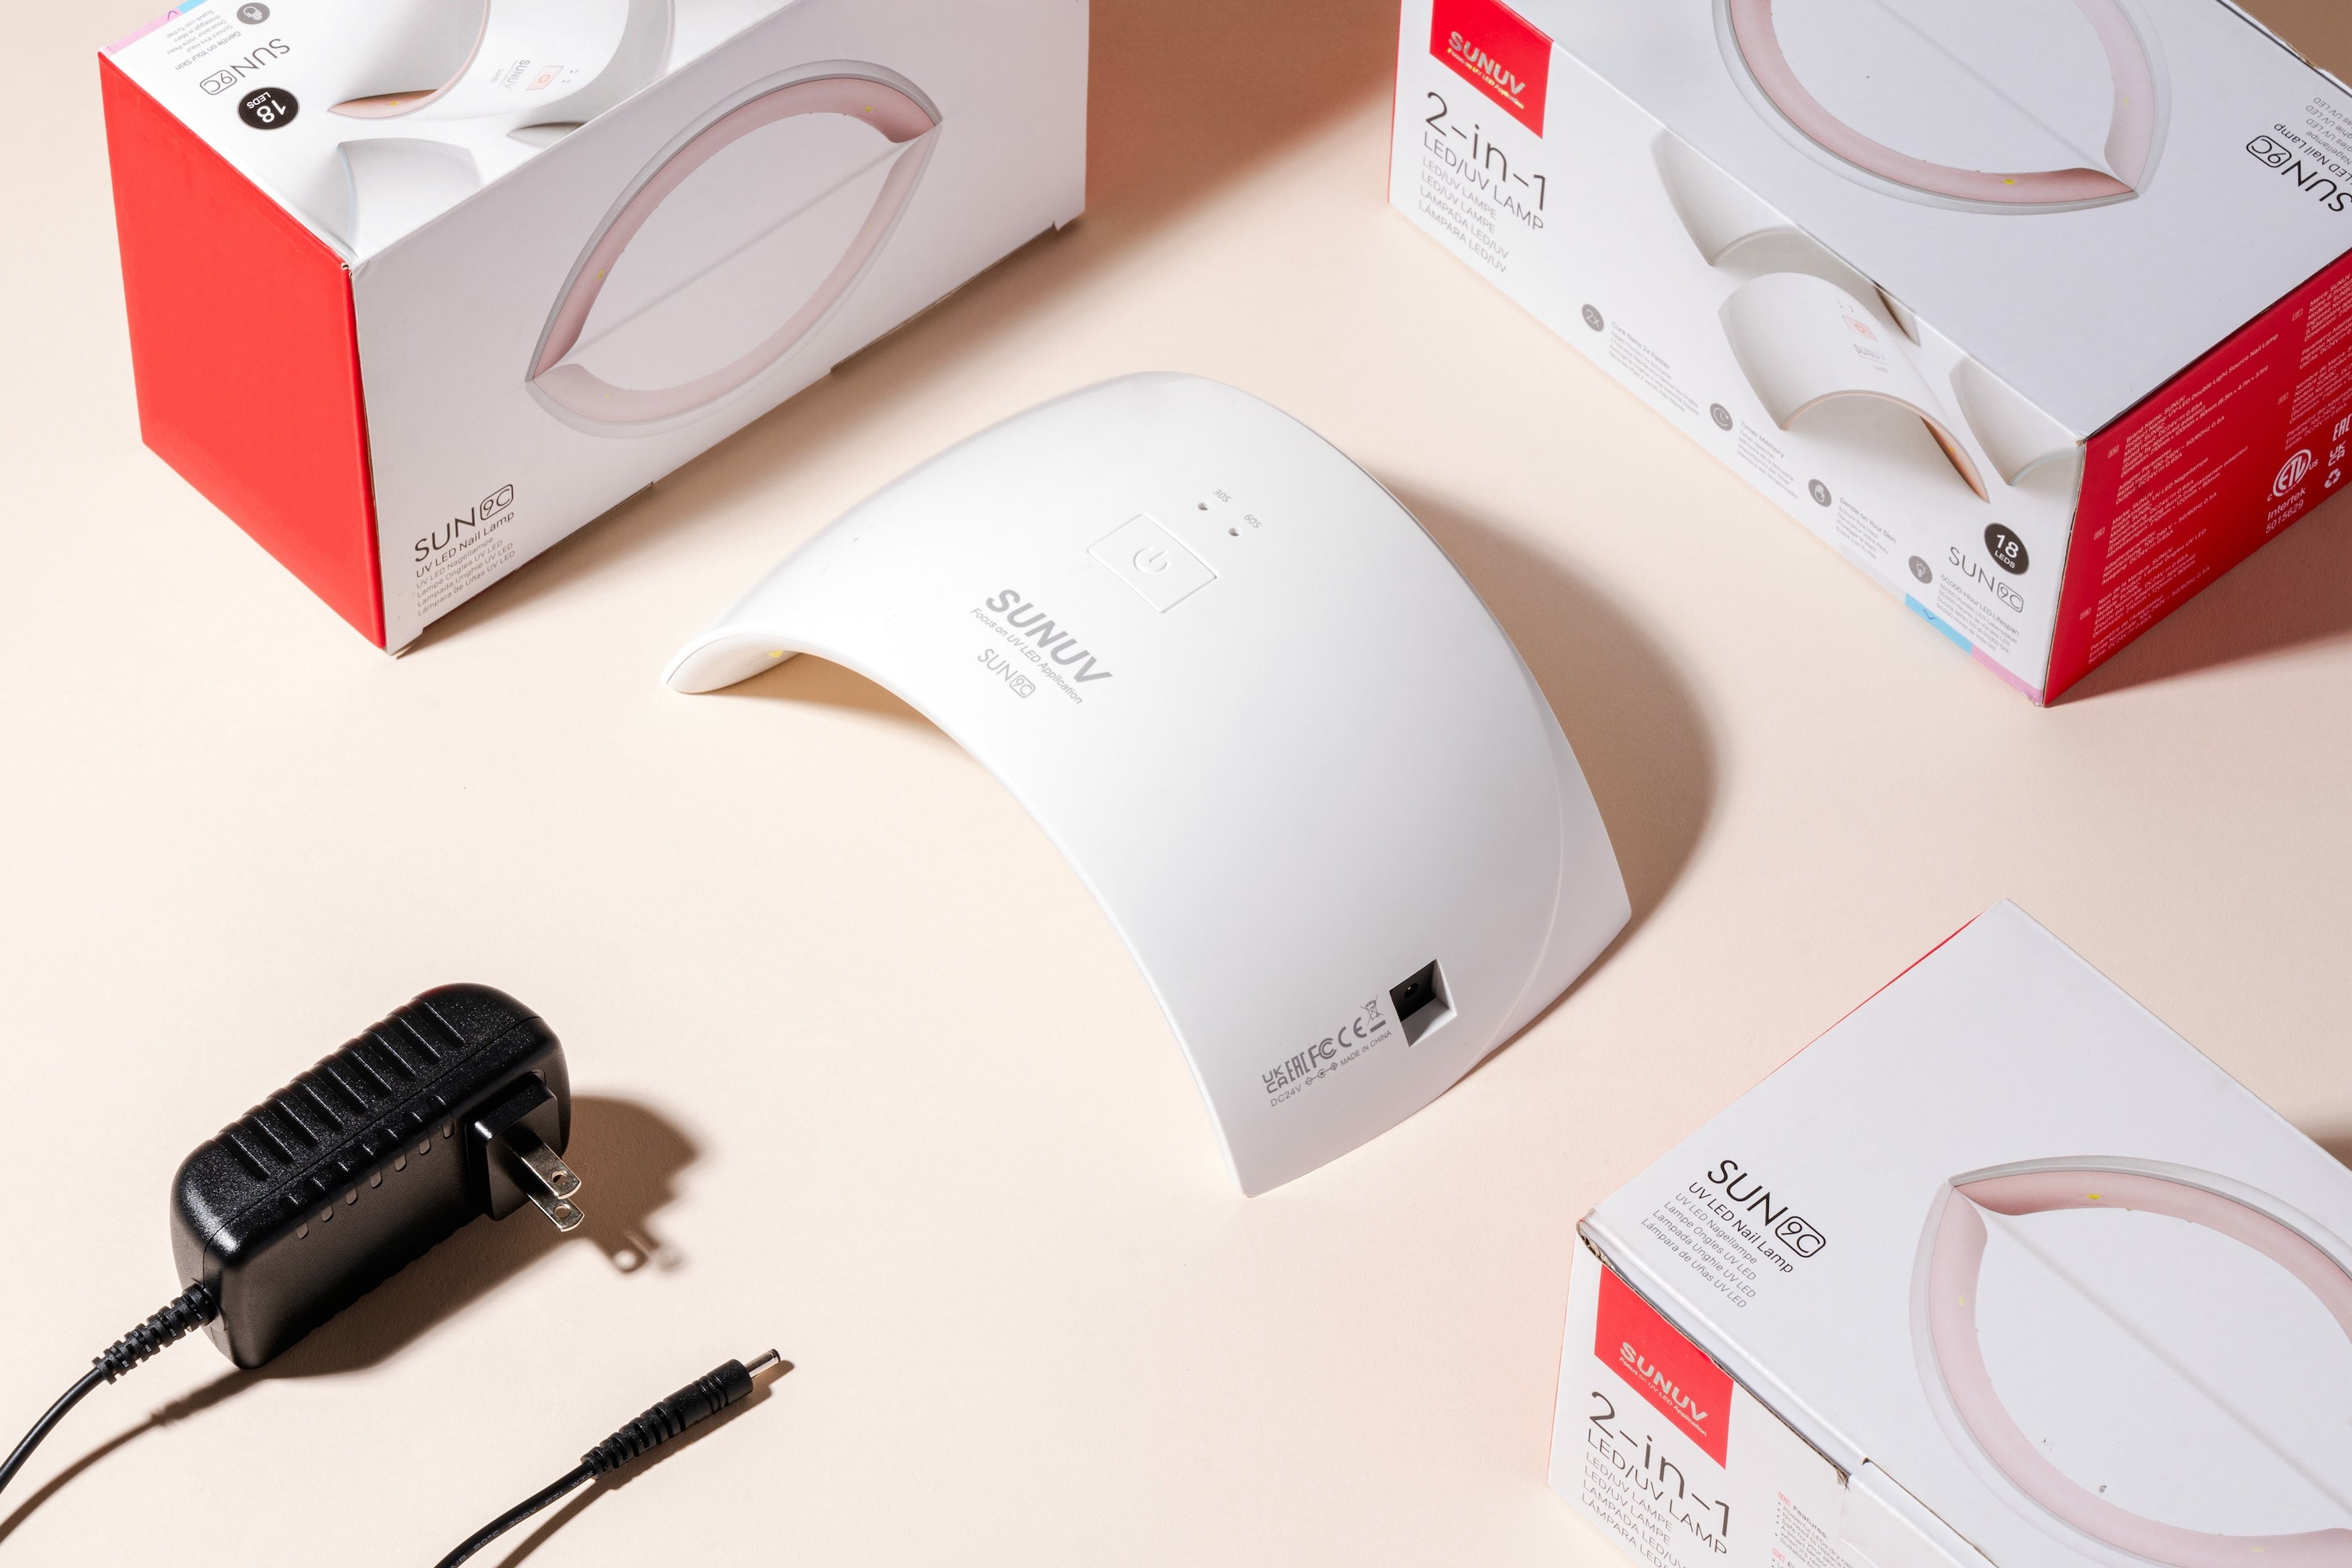
How to Use SUNUV Nail Lamp
Using the SUNUV nail lamp begins with proper setup. First, find a stable surface to place the lamp. Plug the lamp into a power source. Next, read the instruction manual to familiarize yourself with the settings. Ensure the lamp’s surface is clean before use.
Positioning your hand correctly is crucial for an even cure. Slide your hand into the lamp, ensuring your nails are centered under the light. If your lamp has a detachable base, it might be useful for pedicures. Keep your fingers spread out slightly. This step ensures that every nail receives equal exposure to the light.
Select the right timer setting for your specific gel polish. Many SUNUV nail lamps have multiple timer options ranging from 30 to 90 seconds. If unsure, start with a shorter time. Adjust the setting based on the polish’s requirements and your personal experience. This ensures a thorough cure without over-drying.
According to this post, a significant feature of the SUNUV nail lamp is its energy efficiency. It uses LED technology which is more environmentally friendly. Furthermore, LED lights have a longer lifespan compared to traditional UV bulbs. To maximize the lamp’s effectiveness, regularly clean it and avoid covering the light source. Following these simple steps can help you achieve professional-looking nails at home.
Step 1: Preparing the Nail Lamp
Before starting, place the SUNUV nail lamp on a stable, flat surface to prevent it from tipping over. Plug the lamp into a nearby power outlet. Ensure that the power cord is not tangled or stretched out, which could be a tripping hazard. A clear, clutter-free workspace is always best for efficiency. Double-check that the power button is functioning properly.
Cleaning the lamp is an important aspect of preparation. Use a soft, dry cloth to wipe down the exterior and the interior of the lamp. Avoid using harsh chemicals that could damage the surface. Regular cleaning ensures the lamp functions at its best and prevents dust from interfering with the light. A clean lamp also looks more professional and inviting.
Familiarize yourself with the different timer settings on the lamp. Most SUNUV nail lamps come with multiple settings such as 30 seconds, 60 seconds, and 90 seconds. According to this expert opinion, different types of gel polish may require different curing times. Understanding these settings can help you choose the right one for your needs. This ensures your nails cure perfectly each time.
Some SUNUV nail lamps have additional features like low heat mode or sensors that automatically turn on the lamp when you place your hand inside. Review the instruction manual to understand these features fully. Knowing how to use these can enhance your nail curing process. Prepare any additional accessories or tools you may need. Being fully prepared can save time and lead to better results.
Step 2: Placing Your Hand Properly
To achieve a perfect cure, it’s crucial to place your hand correctly inside the SUNUV nail lamp. Position your fingers so that each nail is directly under a light source. Make sure there is enough space between your fingers to allow the light to reach the sides of your nails. This is key to preventing any uncured edges. If your lamp has a reflective interior, it will help evenly distribute the light.
For some lamps with sensor-activated lights, it’s important to insert your hand slowly to activate the sensor correctly. If the lamp doesn’t turn on, adjust your hand placement slightly. Often, a small movement is enough to trigger the light. Be patient and ensure each finger is receiving adequate light. Consistency in hand placement can make a big difference in the final result.
If you are curing toes, detach the lamp’s base if it is removable. This makes it easier to position your foot properly under the light. Ensure that all toes are evenly spaced and fully under the light source. For people with larger feet, it may require a slight adjustment. Always double-check that each nail is receiving direct light.
Using a nail stand can also help maintain a steady hand position. It’s particularly useful during longer curing sessions. Here’s a quick list of tips to remember:
- Keep fingers spread out.
- Adjust hand placement as needed.
- Move slowly for sensor activation.
- Double-check nail positions.
Following these tips ensures a flawless finish every time you use the lamp.
Step 3: Choosing the Right Setting
Choosing the correct setting on the SUNUV nail lamp can greatly affect the final outcome of your nails. Most lamps come with multiple timer settings such as 30, 60, and 90 seconds. The setting you choose should depend on the type of gel polish you are using. For base coats and top coats, 30 seconds might be sufficient. However, thicker layers may require more time.
Different types of gel polish have varying curing times. Standard gels usually need around 60 seconds to cure properly. Some builders or hard gels, which are thicker, often require 90 seconds or more. Always check the instructions on the gel polish bottle. This ensures you select the best setting for a long-lasting finish.
The low heat mode can be beneficial for those with sensitive nails. This setting gradually increases the intensity of the light to minimize heat spikes. It provides a more comfortable experience during curing. This mode is especially recommended for thicker gels. You can switch to standard settings for less sensitive nails.
Depending on your SUNUV model, there may be additional settings like auto-sensors. These sensors turn on the light when your hand is detected inside the lamp. This feature can make the process more efficient. Here’s a quick list of common settings to consider:
- 30 seconds for base and top coats.
- 60 seconds for standard gel polish.
- 90 seconds for thicker or builder gels.
- Low heat mode for sensitive nails.
Using these settings appropriately can save time and enhance the durability of your manicure.
Some SUNUV lamps also come with a memory function. This feature remembers your last used setting, which is convenient for frequent users. You won’t need to reset the timer every time. According to experts, consistent settings help ensure a uniform curing process. This leads to professional-looking results every time.
Tips for Proper Use of SUNUV Nail Lamp
Proper maintenance of your SUNUV nail lamp ensures optimal performance. Regularly clean the interior and exterior of the lamp with a soft, dry cloth. Avoid harsh chemicals that could damage the surface or the LED bulbs. A clean lamp provides better light distribution, leading to a more even curing process. Keeping your lamp clean also makes it last longer.
Position your hand correctly under the light for the best results. Make sure all nails are equally spaced and directly under the light source. This simple step prevents any parts of the nail from being left uncured. Consistent hand placement leads to more professional manicures. Remember to keep your fingers steady while curing.
Always choose the right timer setting based on the type of gel polish you’re using. Using the appropriate setting ensures the polish cures properly without over-drying. Here are a few general guidelines to consider:
- 30 seconds for base and top coats.
- 60 seconds for standard gel polish.
- 90 seconds for builder gels.
These times can vary depending on the specific product, so always check the instructions on your gel polish.
Utilizing the low heat mode can reduce discomfort for people with sensitive nails. This setting gradually increases the light’s intensity, avoiding heat spikes. It’s especially helpful when using thicker gel polishes. Transitioning back to the normal setting can also be done for regular use. Comfort during curing should not be overlooked.
Finally, make use of any additional features your SUNUV nail lamp may offer. Auto-sensors, memory functions, and low heat modes can simplify the curing process. According to experts, these features enhance efficiency and convenience. Take full advantage of your lamp’s capabilities. This allows you to achieve flawless, long-lasting results with ease.
Benefits of Using SUNUV Nail Lamp
The SUNUV nail lamp offers efficient curing times, making your manicure process quicker. With various timer settings available, you can choose the one that best fits your needs. This ensures that every layer of polish dries perfectly. Reduced curing time means you can complete a full manicure in under 10 minutes. This efficiency is ideal for busy schedules.
Another key benefit is the longevity of the LED bulbs used in these lamps. Unlike traditional UV bulbs that need frequent replacement, LED bulbs have a much longer lifespan. This makes the SUNUV nail lamp a cost-effective option. Longer-lasting bulbs also mean less hassle and less waste. Environmentally, it’s a more sustainable choice.
Safety is also a strong point for SUNUV nail lamps. These lamps are designed to protect your skin from harmful UV radiation. The LED technology used is gentler and more effective. You won’t have to worry about skin damage or premature aging. This adds peace of mind for frequent users.
User-friendly features such as automatic sensors and memory functions enhance the overall experience. Automatic sensors activate the lamp as soon as you place your hand inside. Memory functions remember your last setting, saving you time. These features make the curing process smooth and enjoyable. Convenience is a big plus.
According to experts, using a SUNUV nail lamp can improve the durability of your manicure. The thorough curing process ensures the polish bonds better with your nails. This results in a manicure that lasts longer without chipping. You get a salon-quality finish right at home. More durable nails mean fewer touch-ups are needed.
Frequently Asked Questions
Below are some common questions and answers about using the SUNUV nail lamp. These queries cover various aspects to help you better understand this tool.
1. How long does it take for gel polish to cure under a SUNUV nail lamp?
Curing time can differ depending on the type of gel polish used. Typically, base and top coats take around 30 seconds, while standard gel polish needs about 60 seconds. Builder gels or thicker layers might require up to 90 seconds for a thorough cure. Always check the product instructions for the most accurate timing.
Using the correct timer setting ensures each layer is properly cured, reducing chipping and peeling. This allows for a more durable manicure, giving you professional-looking nails from the comfort of your home.
2. Can I use SUNUV nail lamp for pedicures?
Yes, many SUNUV nail lamps are suitable for both manicures and pedicures. Some lamps have a detachable base that makes it easier to position your feet correctly under the light source. Ensure all your toes are well-spaced to receive equal light exposure for even curing.
The versatility of these lamps allows you to achieve salon-quality results on both hands and feet. It’s convenient and saves time compared to visiting a salon.
3. How do I clean my SUNUV nail lamp?
Regular cleaning will extend the life of your lamp and keep it functioning efficiently. Use a soft, dry cloth to wipe down both the interior and exterior surfaces of the lamp. Avoid using harsh chemicals that could damage its components or reduce its effectiveness.
A clean lamp provides better light distribution, ensuring each nail cures evenly without any interference from dust or debris. Maintenance is simple yet crucial for optimal performance.
4. Is LED technology in SUNUV lamps safe for the skin?
SUNUV nail lamps utilize LED technology designed to minimize harmful UV radiation exposure on your skin. Unlike traditional UV bulbs, LEDs emit lower levels of UV rays while effectively curing the polish.
This makes them safer options for frequent users concerned about potential skin damage or aging effects caused by higher UV exposure from conventional sources.
5. What features make SUNUV nail lamps user-friendly?
SUNUV nail lamps come with various features like automatic sensors, memory functions, and multiple timer settings that enhance usability. Automatic sensors switch on when your hand enters and turn off when removed, adding convenience.
The memory function keeps track of your last used setting, saving time during repeated use sessions—making these lamps efficient tools for achieving high-quality manicures with ease at home.
Conclusion
The SUNUV nail lamp offers an efficient and reliable solution for achieving salon-quality manicures at home. Its user-friendly features and safety benefits make it a valuable tool for both professionals and enthusiasts. By following proper steps and maintenance practices, you can enjoy durable and beautiful nails with ease.
Understanding how to use and care for your SUNUV nail lamp enhances its effectiveness and longevity. Whether you’re curing gel polish on your hands or feet, the right techniques ensure optimal results. Investing in this high-quality nail lamp is a smart choice for anyone committed to nail care excellence.

I’m Emily Johnson, an affiliate marketer and blogger focused on lamps and lighting. I share honest reviews, simple buying guides, and practical tips. My goal is to help readers choose the right lamp for their space, style, and budget with confidence.