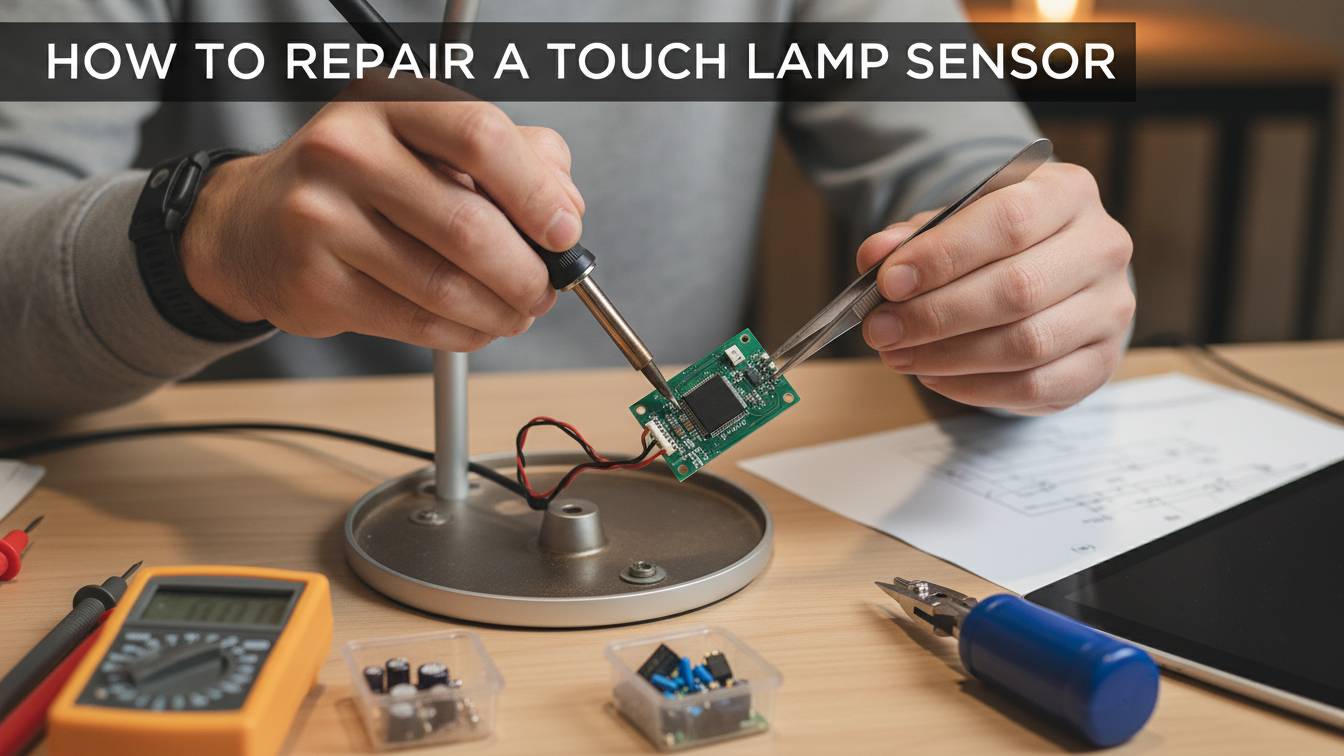
To repair a touch lamp sensor, purchase a new control located under the base and replace it. This will likely restore the lamp’s functionality.
Troubleshooting the touch lamp will involve checking the bulb, mains flex, and fuse for any issues as well. Touch lamps work by utilizing capacitors to detect changes in capacitance when contact is made, which then switches the lamp on or off accordingly.
If the touch lamp stays on continuously, it may be due to a shorted thyristor. Flickering can occur due to low power or incompatible dimmers. Making a touch sensor lamp involves obtaining a touch lamp control box and following installation instructions.

Credit: www.ledsupply.com
Identifying Common Sensor Problems
When it comes to touch lamps, sensor problems can be frustrating. However, by understanding the common issues that arise with touch sensors, you can easily identify and address them. In this section, we will discuss the signs that your touch sensor may be failing, why touch lamps have flickering issues, and common causes for a touch lamp staying on.
Signs Your Touch Sensor May Be Failing
If you notice any of the following signs, it may indicate that your touch sensor is failing:
- The lamp does not respond to touch as it used to.
- The lamp flickers or dims randomly.
- The touch control becomes unresponsive or inconsistent.
Why Touch Lamps Have Flickering Issues
Touch lamps are prone to flickering issues due to various reasons. One common cause is insufficient power supply. LED lights, which are commonly used in touch lamps, require a stable power source to function properly. If the power supply is too low, the LED lights may flash or flicker. Another factor that can contribute to flickering is using incompatible or non-dimmable bulbs with your touch lamp. It’s important to ensure that your LED bulbs are dimmable and compatible with your touch lamp’s circuit.
Common Causes For A Touch Lamp Staying On
There are several common causes for a touch lamp staying on even when it is not touched:
| Faulty control module | If the control module of your touch lamp is defective, it may cause the lamp to stay on. In this case, replacing the control module can often solve the issue. |
| Shorted thyristor | If the thyristor, a component responsible for regulating the lamp’s on/off function, is shorted, the lamp may stay stuck in the on position. Replacing the thyristor can resolve this problem. |
| Power surge damage | Touch lamps can be susceptible to damage from voltage surges. A sudden surge in power can cause the lamp’s circuitry to malfunction, resulting in the lamp staying on. In such cases, seeking professional repair or replacing the lamp may be necessary. |
Understanding these common sensor problems can help you troubleshoot and repair your touch lamp effectively. By identifying the signs of a failing touch sensor, addressing flickering issues, and investigating the causes of a touch lamp staying on, you can restore your lamp’s functionality without unnecessary hassle.
Gathering Necessary Tools And Parts
To repair a touch lamp sensor, start by purchasing a new control located under the lamp’s base. Separate the touch sensor from the wires and use pliers if necessary. If the lamp still doesn’t work, replace the touch control inside the lamp base.
Keep in mind that touch lamps operate based on capacitance and can be susceptible to voltage surges or failures.
Gathering Necessary Tools and Parts When it comes to repairing a touch lamp sensor, it is essential to gather the necessary tools and parts before starting the repair process. This ensures a smooth and successful repair without any interruptions.
In this section, we will discuss the list of tools required for fixing a touch lamp, where to source a replacement touch sensor, and the safety precautions you need to take before getting started.
List of Tools Required for Fixing a Touch Lamp
Before diving into the repair process, it is important to have the following tools on hand:
1. Screwdriver set:
You will need a screwdriver set with various sizes and types of screwdrivers to remove the screws holding the lamp components together.
2. Pliers:
Having a pair of pliers handy will help you twist and detach wire connectors if needed.
3. Wire strippers:
Wire strippers will come in handy when working with the lamp’s electrical connections. They allow you to remove the insulation from the wires without damaging them.
4. Multimeter:
A multimeter is an essential tool for troubleshooting electrical issues. It helps you measure voltage, current, and resistance, allowing you to identify any faults in the touch lamp circuitry.
Where to Source a Replacement Touch Sensor
If your touch lamp sensor is beyond repair or you need a replacement for any reason, you can source a new touch sensor from various places. Here are a few options:
1. Online retailers:
Websites like Amazon, eBay, and specialized lamp parts stores offer a wide range of touch sensors suitable for different lamp models. Make sure to check the compatibility of the sensor with your specific lamp before purchasing.
2. Local hardware stores:
Visit your nearest hardware store to see if they carry touch lamp sensors. The advantage of buying from a physical store is that you can get immediate assistance from the staff and ensure the sensor matches your requirements.
3. Manufacturer or authorized dealers:
Reach out to the lamp manufacturer or their authorized dealers to inquire about replacement parts. They will guide you towards the right touch sensor that is compatible with your lamp model.
Safety Precautions Before Starting the Repair
Before starting the repair process, it is crucial to take the following safety precautions:
1. Disconnect the lamp:
Ensure the lamp is unplugged from the power source before attempting any repairs. This minimizes the risk of electric shock and avoids accidental activation of the touch sensor during the repair process.
2. Work in a well-lit area:
Repairing a touch lamp requires good lighting to see the intricate components and connections. Choose a well-lit area or use additional lighting to avoid any mistakes or potential accidents.
3. Wear protective gear:
It is recommended to wear safety goggles and gloves to protect your eyes and hands while handling the lamp components. This prevents any injuries from sharp edges or contact with electrical connections.
4. Follow proper wiring techniques:
When reconnecting wires or replacing the touch sensor, follow the manufacturer’s instructions or consult a professional if unsure. Proper wiring techniques ensure the lamp functions correctly and reduces the risk of electrical hazards.
By gathering the necessary tools, sourcing a replacement touch sensor from a reliable source, and taking the required safety precautions, you are prepared to start repairing your touch lamp sensor. In the next section, we will dive into the step-by-step process of repairing and replacing the touch sensor.
Detaching The Faulty Sensor
To repair a touch lamp sensor, start by detaching the faulty sensor located under the lamp’s base. Twist the wire connectors to separate the touch sensor from the wires, and replace it with a new control. This simple fix can get your touch lamp working again.
Steps To Safely Remove The Lamp’s Base
- Unplug the lamp: Before starting any repair work, ensure that the touch lamp is unplugged from the power source. This will eliminate any risk of electric shock during the repair process.
- Remove the lampshade: Gently remove the lampshade from the touch lamp to access the base. Take care not to damage the lampshade during this step.
- Locate the screws: Look for the screws securing the base of the touch lamp. These screws are usually located at the bottom of the base. Use a screwdriver that fits the screw head properly to prevent slipping and damaging the screw.
- Remove the screws: Apply gentle pressure and unscrew the screws counterclockwise. Be sure to keep track of the screws, so you can easily reassemble the lamp later.
- Lift off the base: With the screws removed, lift the base of the touch lamp gently. Take care not to pull on any wires or components while removing the base.
Disconnecting The Sensor From Wires
- Identify the sensor: Locate the touch sensor on the base of the lamp. It is usually a small round or rectangular component connected to wires.
- Twist the wire connectors: Use a pair of pliers to twist the wire connectors counterclockwise. This will loosen the connectors and allow you to detach the sensor from the wires.
- Remove the sensor: After loosening the wire connectors, gently pull the sensor away from the wires. Take care not to damage the wires or any other components during this step.
Handling And Disposal Of The Old Sensor
Proper handling and disposal of the old sensor are essential to ensure safety and environmental responsibility. Follow these guidelines for handling and disposing of the old sensor:
- Safe handling: If the old sensor is damaged or broken, avoid direct contact with any exposed wires or components to prevent any risk of electrical shock. Use gloves while handling the sensor and avoid touching any other parts of the lamp.
- Disposal: Check local regulations for the proper disposal method of electronic components. Some areas may have designated recycling facilities or electronic waste collection centers where you can dispose of the old sensor responsibly.
By following these steps, you can safely detach the faulty sensor from your touch lamp, paving the way for further repairs or the installation of a new sensor. Remember, if you’re unsure about any step during the process, it’s always best to consult a professional or seek guidance from a reputable source.
Securing The Replacement Sensor
Once you have purchased a new touch lamp sensor to replace the faulty one, the next step is to secure the replacement sensor. Follow these steps to ensure a secure and proper installation:
Wiring The New Sensor Correctly
To begin, carefully disconnect the wires from the old sensor. You may need to use a pair of pliers to twist off the wire connectors. Take note of the wire colors and their corresponding terminals.
Next, take the new sensor and match the wire colors to the correct terminals. It is crucial to connect the wires correctly to ensure proper functionality. Use the wire connectors to securely attach the wires to the new sensor.
Ensuring The Touch Function Is Restored
After wiring the new sensor correctly, it’s time to test and ensure that the touch function is restored. Replace the lamp’s bulb and plug it back into the power source. Gently touch the base of the lamp and observe if it turns on or off as intended.
If the touch function is not working properly, double-check the wiring connections and ensure they are secure. Make any necessary adjustments before proceeding.
Reassembling The Lamp’s Base After Replacement
Once you have confirmed that the touch function is restored, you can proceed to reassemble the lamp’s base. Follow these steps:
- Place the replacement sensor securely back into its designated spot under the lamp’s base.
- Carefully align the screw holes on the base with those on the sensor.
- Insert and tighten the screws with a screwdriver to secure the base in place.
- If there were any additional components, such as a felt or rubber base, reattach them as well.
Ensure that all screws and attachments are properly tightened, but be cautious not to overtighten, as it may cause damage to the lamp’s base.
Finally, plug the lamp back into the power source and test the touch function once again to ensure it is working correctly. If everything is functioning as expected, you have successfully secured the replacement sensor and reassembled the lamp’s base.
Final Lamp Functionality Check
If your touch lamp sensor is not functioning properly, follow these steps to repair it. Purchase a new control located under the lamp’s base, separate the touch sensor from the wires, and replace it. Troubleshoot by checking if the bulb, mains flex, and fuse are intact.
Touch lamps work by altering capacitance, and flickering may occur due to low power or LED compatibility issues.
How To Test The New Sensor’s Responsiveness
To ensure that the new touch lamp sensor is working properly, you can perform a quick test to check its responsiveness. Follow these steps:
- Make sure the lamp is plugged into a power source.
- Tap or touch the lamp’s base or any designated touch area gently two or three times.
- If the lamp turns on or off immediately with each touch, this indicates that the new sensor is functioning correctly.
- However, if the lamp does not respond to your touch or only works intermittently, you may need to troubleshoot for potential post-installation issues.
Troubleshooting Post-installation Issues
Post-installation issues can sometimes occur even after replacing the touch lamp sensor. Here are some troubleshooting steps you can take:
- Ensure that the sensor’s wires are securely connected and properly attached to their respective terminals.
- Check if there are any loose connections or damaged wires that may be affecting the sensor’s functionality.
- If the lamp is still unresponsive, try cleaning the touch area with a mild cleaning solution to remove any residue or dirt that may be interfering with the sensor’s operation.
- If all else fails, it might be necessary to consider replacing the sensor once again or seeking professional assistance.
Tips For Maintaining The Touch Lamp Sensor
Proper maintenance can help prolong the lifespan and functionality of your touch lamp sensor. Here are some tips to keep in mind:
- Avoid using excessive force when tapping or touching the lamp. Gentle, light touches are usually sufficient to activate the sensor.
- Regularly clean the touch area with a soft cloth to prevent dust or grime buildup, which can hinder the sensor’s responsiveness.
- Keep the lamp away from extreme temperatures or moisture, as these conditions can potentially damage the sensor components.
- If you notice any signs of wear or malfunction, such as inconsistent response or flickering, consider replacing the sensor promptly to avoid further issues.
Frequently Asked Questions Of How To Repair A Touch Lamp Sensor
What Makes A Touch Lamp Work?
A touch lamp works by using capacitors that store charge to detect changes in capacitance when touched. This change in capacitance triggers the lamp to switch on or off. Components like the touch sensor and control box may need to be replaced if the lamp stops working or flickers.
You can find touch lamp repair kits and replacement parts online or at stores like Lowe’s.
Why Does My Touch Lamp Stay On?
A touch lamp can stay on if the control sensor is damaged or malfunctioning. You can try repairing it by replacing the control sensor located under the lamp’s base. If this doesn’t work, you may need to purchase a new control sensor for the lamp.
Make sure to check the bulb and power source as well. Avoid using regular dimmers for LED lights as they can cause flickering issues.
What Causes A Touch Lamp To Flicker?
A touch lamp may flicker due to low power or a problem with the LED lighting. LED lights often flicker when used with ordinary dimmers. To fix the issue, ensure that the light sources are dimmable and replace the dimmer if needed.
How To Make A Touch Sensor Lamp?
To make a touch sensor lamp, you will need a touch lamp control box and touch lamp for the bedroom. If your touch lamp is not working after changing the bulb, you can try resetting it. If the issue persists, you can purchase a touch lamp repair kit or replacement parts from Lowe’s.
Remember, touch lamps work by detecting changes in capacitance when you touch them, causing them to turn on or off.
Conclusion
To repair a touch lamp sensor, start by purchasing a new control for the lamp. This control is typically located under the base, where the felt or rubber base is located. Once you have the new control, you can replace it and see if the lamp starts working again.
If you want to confirm that the touch sensor is the issue, you can separate it from the wires by twisting their connectors. If the lamp still fails to light up, you may need to replace the touch control inside the lamp base.
Remember to unplug the lamp and remove the bottom before attempting any repairs. By following these steps, you can troubleshoot and repair your touch lamp sensor effectively.

I’m Emily Johnson, an affiliate marketer and blogger focused on lamps and lighting. I share honest reviews, simple buying guides, and practical tips. My goal is to help readers choose the right lamp for their space, style, and budget with confidence.