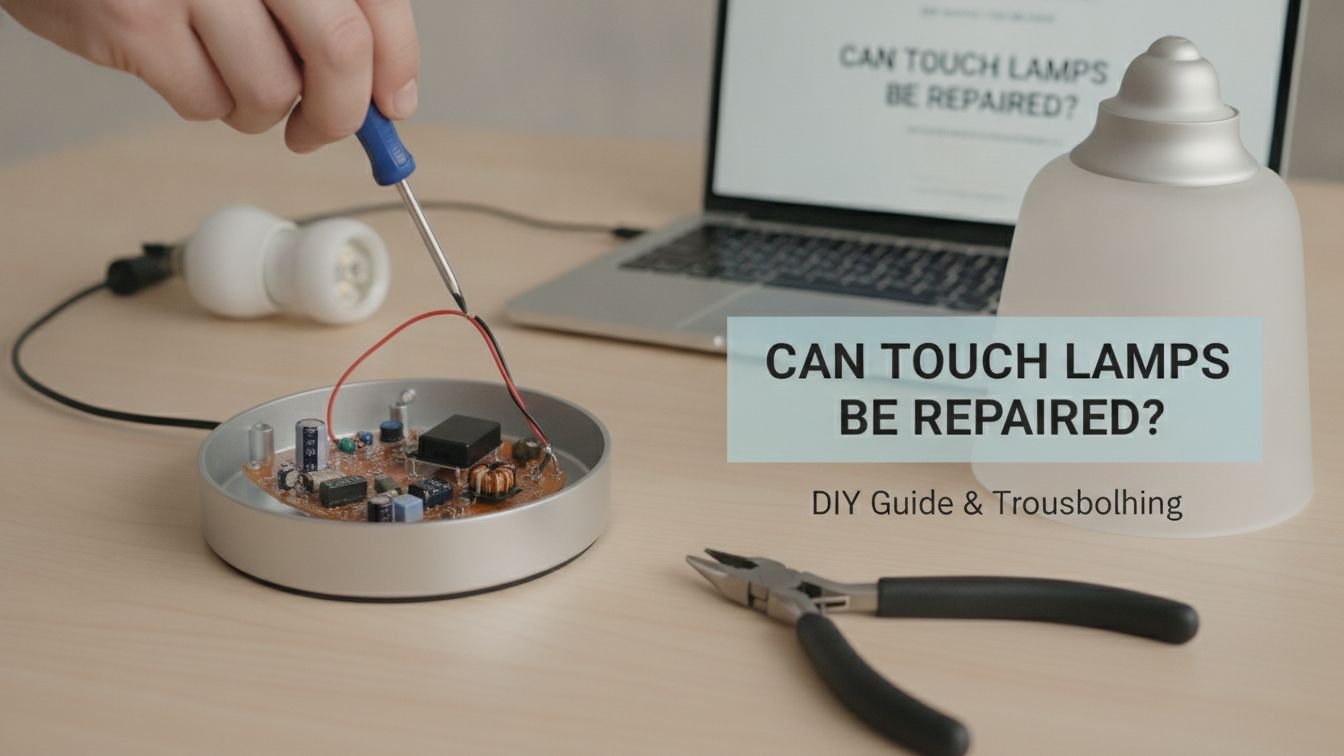
Many people love touch lamps. They are convenient and modern. But what happens when your favorite touch lamp stops working? You might ask, “Can a touch lamp be repaired?” The good news is, often, yes, they can be fixed. This guide will help you understand common problems and how to bring your lamp back to life.
We will explore different issues. We will also look at simple solutions. Do not throw out your lamp just yet!

Understanding How Touch Lamps Work
Touch lamps rely on human capacitance. Your body naturally holds a small electric charge. The lamp base acts as an antenna. When you touch it, you change the electrical capacity. A small electronic module detects this change. It then triggers a switch to turn the light on or off. This module is the brain of your lamp.
Most touch lamps have three levels of brightness. This is controlled by a specialized integrated circuit. If this circuit fails, the lamp becomes a standard, non-responsive metal object. Understanding this basic science helps you diagnose the problem faster.
Common Reasons Why Touch Lamps Stop Working
Many things can go wrong with a touch lamp. Often, the problem is simple. A blown bulb is the most frequent culprit. The surge from a dying bulb often kills the sensor module too. Loose wires are another common issue. Sometimes, the metal base loses its connection to the internal sensor.
Environmental factors also play a role. High humidity can interfere with the sensor. Power surges during storms are also deadly for touch lamps. Even using the wrong type of light bulb can cause a failure.
DATA VISUALIZATION: Common Causes of Touch Lamp Failure
| Label | Value |
|---|---|
| Blown Light Bulb | 45 |
| Sensor Module Failure | 35 |
| Loose Wiring | 15 |
| Socket Damage | 5 |
Can Touch Lamps Be Repaired at Home?
Yes, you can repair them at home. Most repairs involve swapping a single part. You do not need to be an engineer. You only need basic manual skills. If you can use a screwdriver, you can fix a touch lamp. It is a rewarding DIY project.
However, you must respect electricity. Always unplug the lamp before opening it. If you feel uncomfortable with wires, ask a friend. But for most, this is a 30-minute job. It saves money and reduces waste.

Identifying a Faulty Touch Control Module
How do you know the sensor is dead? First, replace the bulb with a known working one. If it still won’t turn on, the sensor is likely gone. Does the lamp stay on all the time? That is another sign of a failed module. Does it flicker randomly without being touched?
These symptoms point directly to the electronic control box. This box is usually black or silver. It sits inside the base of the lamp. It has several colored wires coming out of it. This part is the most common failure point in every touch lamp.
Common Failure Symptoms and Solutions
| Symptom | Probable Cause | Recommended Fix |
|---|---|---|
| Lamp won’t turn on | Blown bulb or dead sensor | Replace bulb, then sensor |
| Lamp stays on permanently | Shorted triac in sensor | Replace touch module |
| Lamp flickers | Loose ground wire | Tighten wire to lamp base |
| Works only on one setting | Damaged logic circuit | Replace touch module |
| Sparks when touched | Frayed internal wiring | Insulate or replace wires |
Step-by-Step Guide to Replacing a Touch Sensor
First, buy a replacement module. Match the wattage of your lamp. Most modules are rated for 150W or 300W. Unplug the lamp from the wall. Remove the bottom cover of the lamp base. You will see the old sensor box.
Take a photo of the original wiring. This is a crucial step. It ensures you connect the new wires correctly. Cut the old wires or unscrew the wire nuts. Strip the ends of the new wires. Connect them following your photo or the diagram on the new box. Use wire nuts to secure the connections.

Safety Precautions Before You Start Repairing
Safety is the top priority. Never work on a plugged-in lamp. You could receive a dangerous shock. Use insulated tools if possible. Check for frayed cords while the lamp is open. Frayed cords are a fire hazard.
Ensure your workspace is dry. Water and electricity are a deadly mix. If you see scorched plastic inside, be careful. This indicates a previous short circuit. Clean the area before installing new parts. Always double-check your connections before plugging the lamp back in.
Tools Needed to Repair Your Touch Lamp
You only need a few basic tools. Most are already in your kitchen drawer. A Phillips head screwdriver is essential. You might also need a flathead version. Wire strippers are very helpful for clean connections.
Electrical tape is good for extra insulation. Wire nuts are used to join the wires together. A multimeter is optional but useful. It helps you test if power is reaching the socket. Having these ready makes the repair go smoothly.
Table 2: Essential Repair Toolkit
| Tool | Purpose | Importance |
|---|---|---|
| Screwdriver Set | Opening the lamp base | Essential |
| Wire Strippers | Removing wire insulation | High |
| Wire Nuts | Connecting new sensor wires | Essential |
| Electrical Tape | Securing loose insulation | Medium |
| Multimeter | Testing for continuity | Optional |

Troubleshooting Bulbs and Sockets
Not all problems are in the sensor. Sometimes the socket is the issue. Look inside the socket for dark marks. This suggests arching or a bad connection. Ensure the metal tab in the center is slightly raised. If it is flat, it won’t touch the bulb.
Use a screwdriver to gently pull the tab up. Do this only while the lamp is unplugged. Check the bulb type as well. Some modern LED bulbs do not work with old touch sensors. They lack the dimming capability required. Always use “dimmable” bulbs for touch lamps.

When to Call a Professional for Repair
Some lamps are complex. If the lamp is a valuable antique, be careful. You might ruin the finish or value. If the wiring looks melted or smells like ozone, stop. This could indicate a deeper electrical problem in your home circuit.
If you have replaced the sensor and it still fails, call a pro. There might be a structural break in the metal base. An electrician can run a continuity test. They have professional equipment to find hidden breaks. Don’t risk a fire if you are confused.

Cost Analysis: Repairing vs. Replacing Your Lamp
Is it worth fixing? A new touch sensor costs between $5 and $15. A basic touch lamp costs about $25 to $40. Fixing it saves you at least $10. For high-end lamps, the savings are much greater. Designer touch lamps can cost hundreds of dollars.
Repairing is also better for the planet. It keeps metal and plastic out of landfills. Most repairs take very little time. Your time is valuable, but 20 minutes is a small price. If the lamp has sentimental value, repair is the only choice.
Cost Comparison (USD)
| Item | DIY Repair Cost | Replacement Cost | Savings |
|---|---|---|---|
| Basic Desk Lamp | $8.00 | $30.00 | $22.00 |
| Decorative Table Lamp | $12.00 | $85.00 | $73.00 |
| High-End Designer Lamp | $15.00 | $250.00+ | $235.00+ |
Repair Difficulty Level by Task
| Label | Value |
|---|---|
| Changing Bulb | 1 |
| Tightening Wires | 3 |
| Replacing Sensor | 5 |
| Replacing Socket | 7 |
Maintaining Your Touch Lamp for Longevity
Want your lamp to last longer? Use the correct bulbs. Never exceed the wattage listed on the socket. If it says 60W, do not use a 100W bulb. Heat is the main enemy of the touch sensor. Heat causes the electronic components to degrade.
Keep the base clean and dry. Dust can sometimes affect the sensitivity. Avoid using the lamp on a power strip with too many other devices. Electrical noise from other gadgets can confuse the sensor. Plug it directly into a wall outlet if possible.

Advanced Troubleshooting: LED Incompatibility
Many people switch to LED bulbs to save energy. However, standard LEDs often flicker in touch lamps. This happens because the sensor uses a “triac” to dim the light. Triacs need a minimum load to function. LEDs use very little power.
If your LED flickers, look for “dimmable LED” bulbs. These are designed to work with electronic switches. If it still fails, you may need a newer sensor. Some modern sensors are designed specifically for LED loads. Swapping to an LED-compatible sensor is a smart upgrade.

Conclusion: Giving Your Lamp a New Life
Can touch lamps be repaired? The answer is a loud yes. You don’t need to be a pro to fix one. Most issues involve a simple sensor swap or a bulb change. By following these steps, you save money. You also keep a perfectly good lamp in your home instead of the trash.
Take a look at your broken lamp today. Order a replacement sensor online. Grab your screwdriver and give it a try. You will feel a great sense of pride when that light turns on with a single touch. Ready to start? Open your lamp base and identify your sensor model now!

Frequently Asked Questions
Why does my touch lamp turn on by itself?
This is usually caused by “dirty” electricity or interference. Large appliances on the same circuit can trigger the sensor. It can also happen if the lamp is near a radio or Wi-Fi router. Try moving the lamp to a different outlet.
Can I use a standard LED bulb in a touch lamp?
Only if the bulb is labeled “dimmable.” Standard LEDs will flicker or fail to turn off completely. The touch sensor needs a bulb that can handle varied voltage levels. Check the packaging carefully before buying.
Is it dangerous to fix a touch lamp myself?
It is safe as long as the lamp is unplugged. Never work on live wires. Use wire nuts to ensure connections are tight and covered. If you see smoke or smell burning after the repair, unplug it immediately.
Where can I buy a replacement touch sensor?
Replacement modules are widely available. You can find them at local hardware stores like Home Depot or Lowe’s. They are also very common on online marketplaces like Amazon or eBay. Search for “3-way touch lamp replacement sensor.”
My lamp has a plastic base, can it still be a touch lamp?
Usually, no. Touch lamps require a conductive metal base to sense your body’s charge. Some lamps have a small metal “touch pad” on a plastic body. If the whole base is plastic, it is likely not a true touch lamp or uses a different technology.

I’m Emily Johnson, an affiliate marketer and blogger focused on lamps and lighting. I share honest reviews, simple buying guides, and practical tips. My goal is to help readers choose the right lamp for their space, style, and budget with confidence.