Ever wondered how to fuse science with art in one enchanting display? Creating a rainbow lava lamp does exactly that, blending the mesmerizing movement of wax bubbles with an array of captivating colors. This DIY project not only adds an aesthetic element to any room but also provides a fun and educational experience for enthusiasts of all ages.
The rainbow lava lamp idea originated from the classic lava lamp, invented in the 1960s by Edward Craven Walker. Unlike traditional versions, this modern take uses food coloring and faster-acting ingredients to create a more vibrant and dynamic display. Next time you seek a visually stimulating and interactive decoration, a rainbow lava lamp might just be the perfect solution.
- Gather materials: clear container, vegetable oil, water, food coloring, and effervescent tablets.
- Fill the container with vegetable oil, leaving some space at the top.
- Add water until you have about two inches below the rim.
- Drop several drops of different food coloring into the mixture.
- Break an effervescent tablet into smaller pieces and drop them in one by one.
- Watch as the colorful bubbles rise and fall through the container.

How to Make a Rainbow Lava Lamp
Creating a rainbow lava lamp is an exciting and educational DIY project. To start, you’ll need a few materials: a clear container, vegetable oil, water, food coloring, and effervescent tablets. First, fill the container mostly with oil, leaving some space at the top. Then, add water until there are about two inches of space left. This setup is crucial for the magical effect to take place.
Next, drop several drops of different food coloring into the mixture. The food coloring will initially stay in the water, creating vibrant spots of color. According to the article, this helps in forming distinct layers of colored bubbles. As you proceed, the visual transformation will be fascinating to observe.
The next step is to add the effervescent tablet. Break it into smaller pieces and drop them in one by one. This reaction will cause the colored water to rise through the oil, mimicking a lava lamp effect. Observing this reaction can be both mesmerizing and educational, showcasing a fun way to explore density and chemical reactions.
Finally, turn down the lights and watch the magic happen. The colors should start swirling and bubbling, creating a beautiful, dynamic display. While this lamp isn’t permanent, it offers a great way to teach kids about science and art according to this post. You might even find yourself wanting to make more and experiment with different colors and combinations.
Step 1: Gather Your Materials
The first step in making a rainbow lava lamp is collecting all the necessary materials. You will need a clear container, such as a glass jar or bottle. Additionally, gather vegetable oil, water, food coloring, and effervescent tablets like Alka-Seltzer. Having all these items ready before you start will make the process smoother. Make sure you also have a measuring cup and spoon for accurate proportions.
It’s crucial to choose a clear container to see the colorful layers form. Clear plastic or glass works best, and you’ll need something with a lid to avoid spills. According to this post, using a tall container can enhance the visual effect. This way, you can observe the bubbles rise and fall more dramatically. Make sure the container is clean and dry before adding any liquids.
For the liquid components, vegetable oil and water are essential. The oil will float on top of the water, creating a base for the colored bubbles. Food coloring is used to add vibrant hues to the water. You can choose any color you like or even mix them to create a rainbow effect. Effervescent tablets are necessary to produce the fizzing reaction that makes the bubbles move.
To summarize, gathering your materials in advance will streamline your project. Ensure you have a clear container, oil, water, food coloring, and effervescent tablets. These items are commonly found in most households or can be easily purchased. As soon as everything is ready, you’ll be set to start creating your rainbow lava lamp. Have fun and enjoy the process!
Step 2: Fill the Container with Oil
Now that you have all your materials ready, it’s time to start by filling the container with oil. Vegetable oil is a great choice because it’s clear and allows the colors to shine through. Carefully pour the oil into the container, filling it almost to the top. Leave about two inches of space for the other ingredients. This space is crucial for allowing the bubbles to move freely.
The oil will serve as the medium where the colored water bubbles move. Its density is such that it floats on water, providing the ideal environment for the lava lamp effect. Make sure to pour slowly to avoid introducing too many air bubbles. These air bubbles can disrupt the smooth flow of the colorful lava. Use a funnel if necessary to keep things neat.
When you pour the oil, notice how it settles into a smooth, clear layer. This clarity will enhance the visual impact of your lava lamp. If you accidentally spill, clean it up right away to avoid a slippery mess. Having a towel nearby can be helpful for any minor spills.
After filling the container with oil, you’re ready to move on to the next step. Make sure the oil reaches just below the rim, leaving enough room for the water and food coloring. This balance is important to achieve the best visual effects. Ensuring that your container is appropriately filled sets the stage for a mesmerizing lava lamp experience.
Step 3: Add Water and Food Coloring
After filling the container with oil, it’s time to add water. Slowly pour water into the container, filling it to just below the oil’s surface. You’ll notice that the water sinks beneath the oil because water is denser. This layering sets the stage for the colorful lava effect. Pour the water carefully to avoid creating air bubbles.
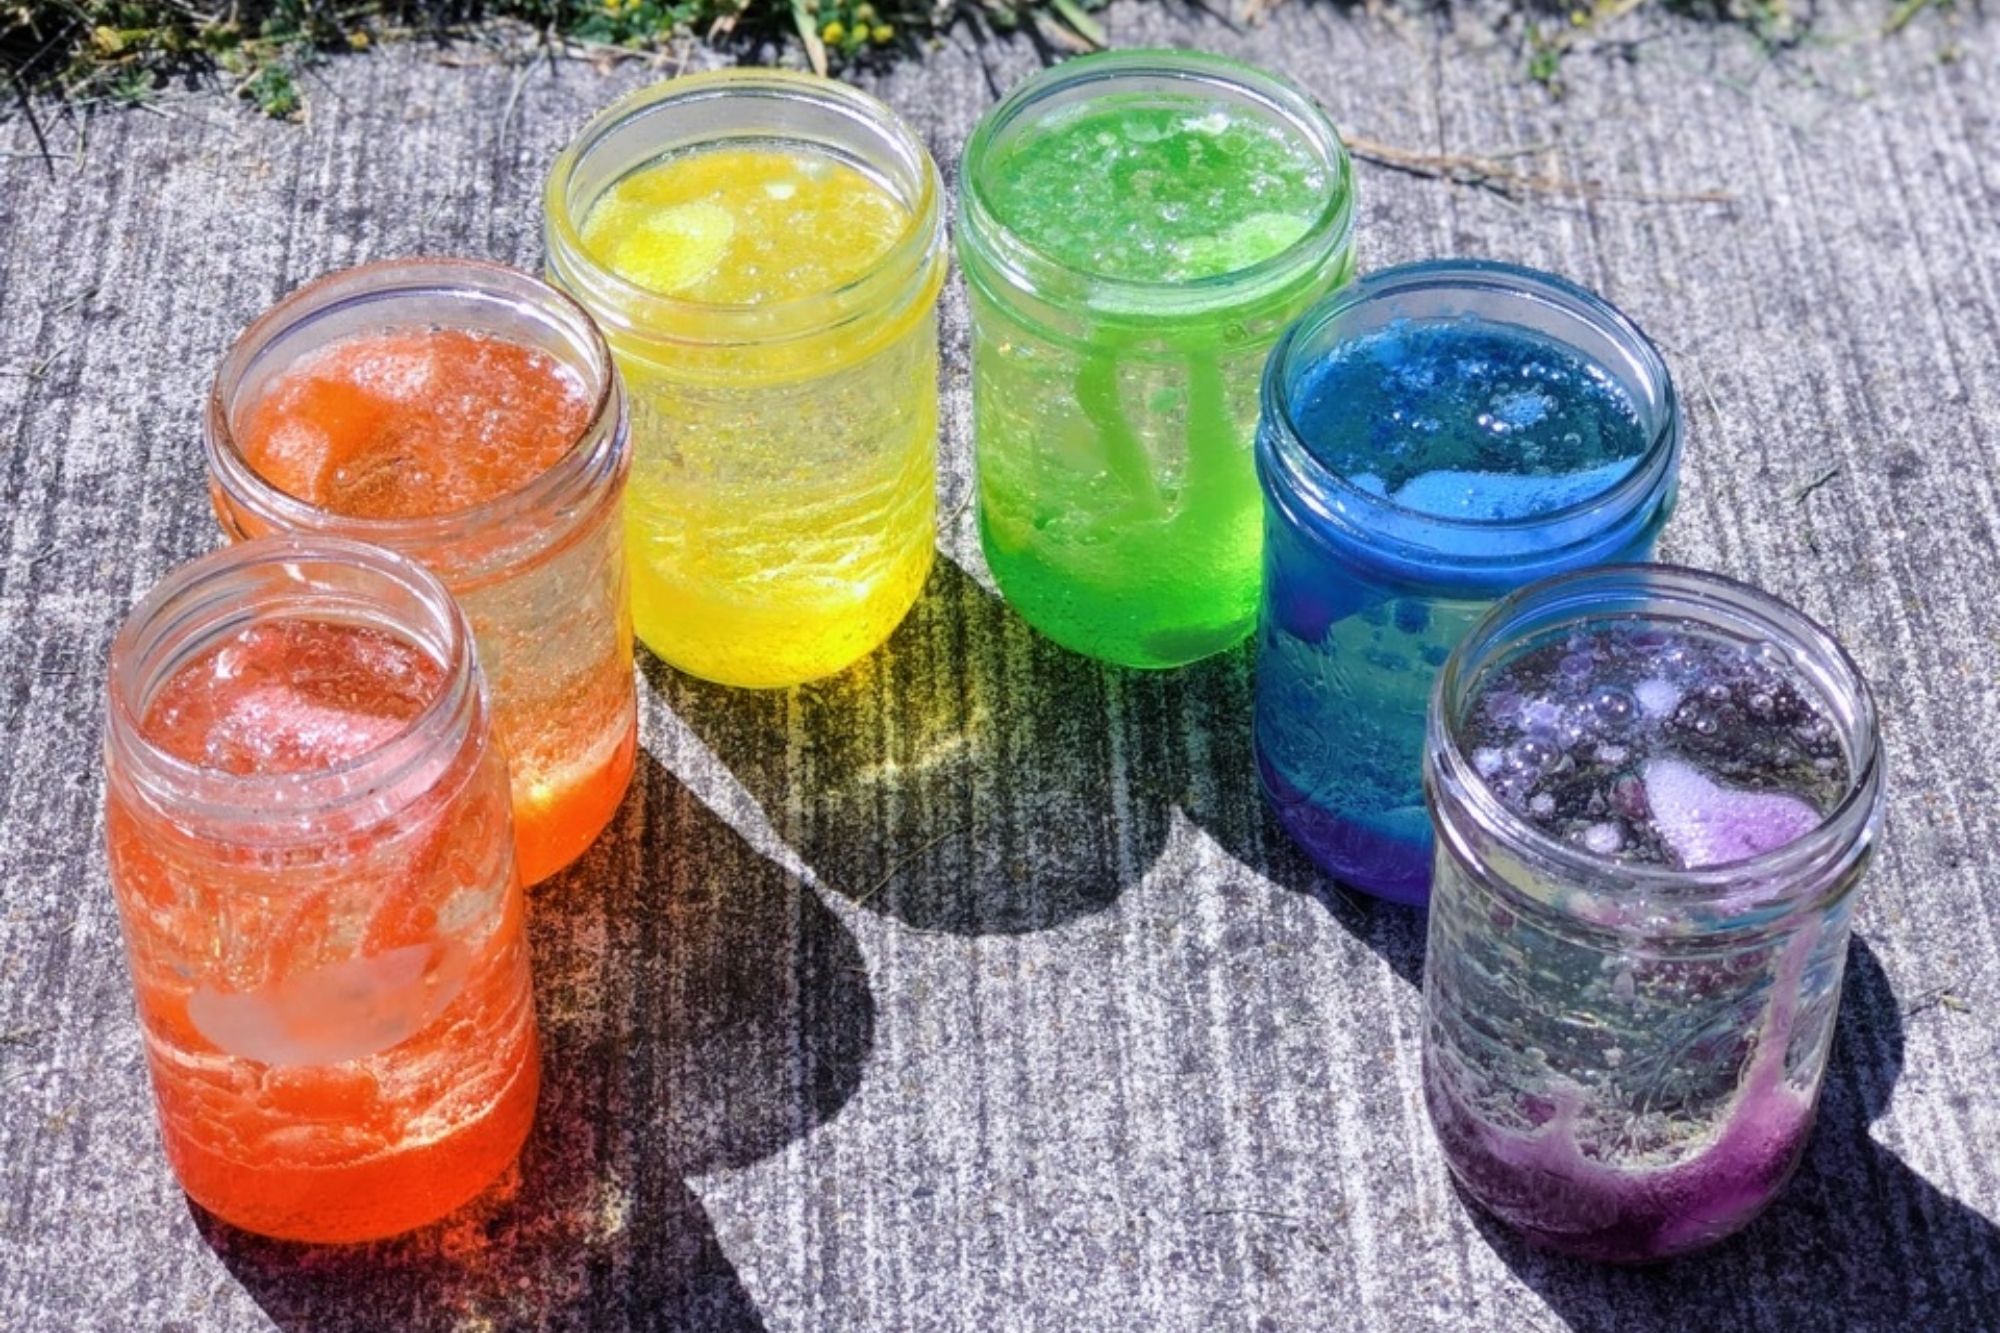
Once the water is added, it’s time to introduce some color. Choose a food coloring shade that you like or mix multiple colors for a rainbow effect. Start by adding a few drops of food coloring to the water. Watch as the drops pierce through the oil, slowly diffusing into the water. This creates vibrant, colorful bubbles that will float to the top once the effervescent tablet is added later.
For a truly mesmerizing display, experiment with different color combinations. You can add single drops of various colors for a multicolored look. Use a toothpick or stir stick to mix the colors gently if desired. This allows each hue to blend seamlessly with the water, creating a unified rainbow effect. Have fun with creativity here.
The amount of food coloring can influence the intensity of the colors. More drops will result in a deeper shade, while fewer drops will create a lighter hue. Feel free to adjust the quantity based on your preference. The goal is to achieve a vibrant array of colors that will stand out during the lava lamp effect.
Double-check that you haven’t overfilled the container. There should be enough space left for the effervescent tablet to work its magic. Ensuring these small details prepares your lava lamp for the best possible outcome. Your colorful concoction is now ready for the next exciting step.
Step 4: Drop in the Effervescent Tablet
Now comes the exciting part of the process: dropping in the effervescent tablet. Break the tablet into smaller pieces for a more controlled reaction. This allows you to prolong the lava lamp effect by adding more pieces as needed. Carefully drop a piece into the container and observe the magic. The reaction will start immediately, creating bubbles that rise through the oil.
The effervescent tablet reacts with the water, producing carbon dioxide gas. This gas forms bubbles that carry the colored water upward through the oil. As the bubbles reach the top, the gas escapes, and the colored water sinks back down. This creates the mesmerizing, lava-like motion that gives the lamp its name. The chemical reaction is both fascinating and educational.
You can extend the bubbling effect by adding more pieces of the tablet over time. This ensures that your lava lamp continues to perform. The periodic addition of tablet pieces can keep the display lively and engaging. It also provides a chance to experiment with the size and number of pieces to see how it affects the movement. Have fun making adjustments and observations.
For an added layer of excitement, try different tablet brands or flavors. Some may produce larger bubbles or longer-lasting effects. Record your observations in a notebook to compare the different outcomes. This can make the activity not only fun but also a minor scientific experiment. Discover which combination works best for your desired effect.
Ensure that the container is placed on a stable surface during this step. The bubbling action can sometimes cause slight vibrations. Keeping it steady helps maintain the visual appeal. Enjoy the glowing dance of colorful bubbles as they float and sink rhythmically.
Step 5: Watch the Magic Happen
With the effervescent tablet working its magic, it’s time to sit back and enjoy the show. The colorful bubbles will dance and float through the oil, creating a mesmerizing effect. Watching the lamp can be both relaxing and captivating. The changing colors and continuous movement are soothing to the eyes. It’s a perfect moment to appreciate the blend of science and art.
Observe the various patterns as the bubbles rise and fall. Each tablet piece you add will create a new wave of motion. The interaction between the colored water and oil produces unique designs every time. Encourage kids to describe what they see and discuss how the reaction works. This can spark curiosity and a love for science.
If you want to enhance the visual experience, dim the lights in the room. Placing a small lamp or flashlight behind the container can add an extra glow. This makes the colors stand out even more, offering a kaleidoscope effect. Watching the lava lamp in a dimly lit room can be even more magical.
You can keep the display going by periodically adding more pieces of the effervescent tablet. However, just a few pieces are enough to give you several minutes of enjoyment. Write down any observations in a science journal. Compare how different amounts of tablet pieces affect the motion and color intensity. This adds an educational twist to the fun.
Watching the rainbow lava lamp is an experience that never gets old. Each viewing provides a fresh perspective on the beauty of science. Share the experience with friends and family to spread the joy. You’ll find that everyone is fascinated by this simple yet stunning creation. Enjoy the magic of your homemade lava lamp!
The Science behind a Rainbow Lava Lamp
The magic of a rainbow lava lamp is not just mesmerizing; it’s also a great demonstration of scientific principles. One key concept at play is density. Oil and water have different densities, which causes them to separate when combined. The oil floats on top of the water because it is less dense. This separation creates the perfect environment for the lava lamp effect.
Another principle involved is solubility. Food coloring mixes with water but does not dissolve in oil. Thus, the colored bubbles you see are actually water-based, floating up through the oil due to the chemical reaction from the effervescent tablet. This interaction showcases how different substances interact based on their chemical properties.
The effervescent tablet introduces an exciting element: a chemical reaction that produces gas. When the tablet hits the water, it produces carbon dioxide gas, forming bubbles. These bubbles carry droplets of colored water upwards through the oil layer. As they rise, they create dynamic patterns and colors that make your lava lamp come alive.
The rising and falling motion involves buoyancy and gravity. Once the gas escapes at the top, gravity pulls the denser colored droplets back down through the oil layer. According to this process, you can observe how varying densities and buoyant forces work together in an intricate dance that can captivate anyone’s attention.
You can even think of making adjustments for controlled scientific experiments. For example, try using different oils or flavors of effervescent tablets to notice changes in bubble size or reaction speed. This gives you hands-on experience in experimental science while enjoying beautiful visual effects.
Safety Measures While Making a Rainbow Lava Lamp
When making a rainbow lava lamp, it’s important to keep safety in mind. First, be sure to work in a well-ventilated area. The chemicals in effervescent tablets can release gas, which should be used in sufficient airflow. Avoid confined spaces to reduce any potential risk. Having a window open can make a significant difference.
Another essential safety measure is using non-toxic materials. Ensure that all your ingredients, especially the food coloring and tablets, are safe for handling. This is particularly important if kids are involved in the project. Double-check the labels to confirm that no harmful chemicals are present. Safer materials make the activity enjoyable and risk-free.
To prevent spills, place a towel or tray under your work area. Spilled oil or water can make surfaces slippery and hazardous. This precaution also simplifies cleanup once your project is complete. Additionally, a stable surface helps ensure that your container remains upright. This minimizes the risk of accidentally knocking it over.
Be mindful when handling glass containers. Glass can break easily if dropped or knocked over. Consider using plastic containers as a safer alternative. If you do use glass, handle it with care, especially around the edges. Take extra precautions when younger children are involved.
Finally, properly dispose of the materials after the experiment. Do not pour oil down the drain, as it can clog pipes. Instead, seal it in a container and throw it away with your regular trash. Make sure all other materials are disposed of in an environmentally friendly manner. This keeps your home safe and ensures a responsible approach to DIY science projects.
How to Maintain Your Rainbow Lava Lamp
Maintaining your rainbow lava lamp ensures it stays beautiful and functional. Start by keeping it in a cool area, away from direct sunlight. Excessive heat can cause the oil to become cloudy and affect the colors. Regularly check the lamp to see if it needs any cleaning. Dust and grime can dull its appearance.
If you notice the liquid becoming dirty or cloudy, it might be time for a refill. Carefully pour out the old mixture and rinse the container with warm water. Thoroughly dry it before adding fresh oil, water, and food coloring. This refresh helps maintain the clarity and vibrancy of your lava lamp. Enjoy the renewed brilliance in each use.
Store extra effervescent tablets in an airtight container. This prevents them from absorbing moisture and losing their fizz. Having them on hand makes it easy to rejuvenate your lava lamp whenever needed. Be sure to keep the tablets in a safe place, away from young children and pets. Safety should always be a priority.
Periodically, you might want to experiment with new colors and combinations. Feel free to add different food coloring to change the look. This constant change keeps the lava lamp exciting. Try seasonal colors or even match them with room decor for a fresh touch. Personalizing your lamp adds a creative aspect to its maintenance.
Maintaining a rainbow lava lamp is simple and rewarding. A few mindful practices can keep it in great condition for a long time. Enjoy the vivid display and unique patterns every time you light it up. These small efforts guarantee that your lava lamp remains a delightful feature in your space. Happy lamp watching!
Frequently Asked Questions
Here are some common queries related to making a rainbow lava lamp. Each answer provides helpful insights for those interested in this fun and educational project.
1. What materials do I need to make a rainbow lava lamp?
To create a rainbow lava lamp, you will need a clear container, vegetable oil, water, food coloring, and effervescent tablets. These basic items can be easily found in most homes or purchased from a local store.
A clear plastic or glass container works best for observing the colorful effects. Ensure you have enough space to mix and watch the bubbles rise through the oil.
2. Why does the oil float on top of the water in a lava lamp?
The key reason is density; oil is less dense than water, causing it to float. This difference in density allows for distinct layers that contribute to the lava lamp effect.
This setup is essential for creating the mesmerizing bubbles filled with colored water rising through the oil layer due to effervescence.
3. How long does the bubbling effect last in a homemade lava lamp?
The duration of the bubbling effect typically lasts several minutes per piece of effervescent tablet added. For extended effects, more pieces can be added over time to keep the display lively.
You can repeat this process multiple times during one session by adding additional tablet pieces as needed. Proper storage of tablets extends their usability for future sessions.
4. Is it safe for kids to make rainbow lava lamps?
Yes, with proper supervision, making rainbow lava lamps is safe and educational for kids. It’s important to use non-toxic materials and follow safety instructions like working in a well-ventilated area.
An adult should always handle any glass containers or sharp edges involved in preparing materials. Kids will enjoy learning basic scientific principles like density and chemical reactions through this fun activity.
5. Can I use other types of oils or liquids instead of vegetable oil?
While vegetable oil is commonly used due to its availability and price, other oils can work too if they differ sufficiently in density from water.
Using different types of oils may produce varying effects in bubble size or motion speed.
If experimenting with alternatives such as baby oil or mineral oil maintains visual clarity similarly,
this tiny variation keeps your homemade science experiment interesting by diversifying outcomes observed ideally within experimentation plans having variations achieved comparisons recorded.
Conclusion
Making a rainbow lava lamp is a fun and educational project that blends the wonders of science with artistic beauty. Using simple household materials, you can create a captivating display that demonstrates principles like density and chemical reactions. It’s a great way to engage kids and adults alike while learning something new.
As you experiment with different colors and combinations, you’ll find endless possibilities for creativity. This hands-on activity not only brings joy but also provides valuable insights into basic scientific concepts. Enjoy the mesmerizing effects and the satisfaction of creating something magical with your own hands.

I’m Emily Johnson, an affiliate marketer and blogger focused on lamps and lighting. I share honest reviews, simple buying guides, and practical tips. My goal is to help readers choose the right lamp for their space, style, and budget with confidence.